
A ring of twelve triangular pyramids can be flexed to create this cube.

In this series of four blog entries, I will be recreating, in the style of, Naoki Yoshimoto's "Shinsei Mystery Puzzles". The word "shinsei" means application in Japanese. This blog entry will explore the puzzle entitled Yoshimoto's Cube #3. In 1971, Naoki Yoshimoto discovered a way to divide a cube into equal parts in three-dimensional space. The result was a series of three puzzles by Yoshimoto.
This design is twelve flexible triangular pyramids that are glued together to create a cube. When the triangular pyramids are flexed, many different configurations are created. Here are some of the unique configurations that are produced.

This shape is a rhombic dodecahedron which is essentially a stellated cube.

More fun shapes.
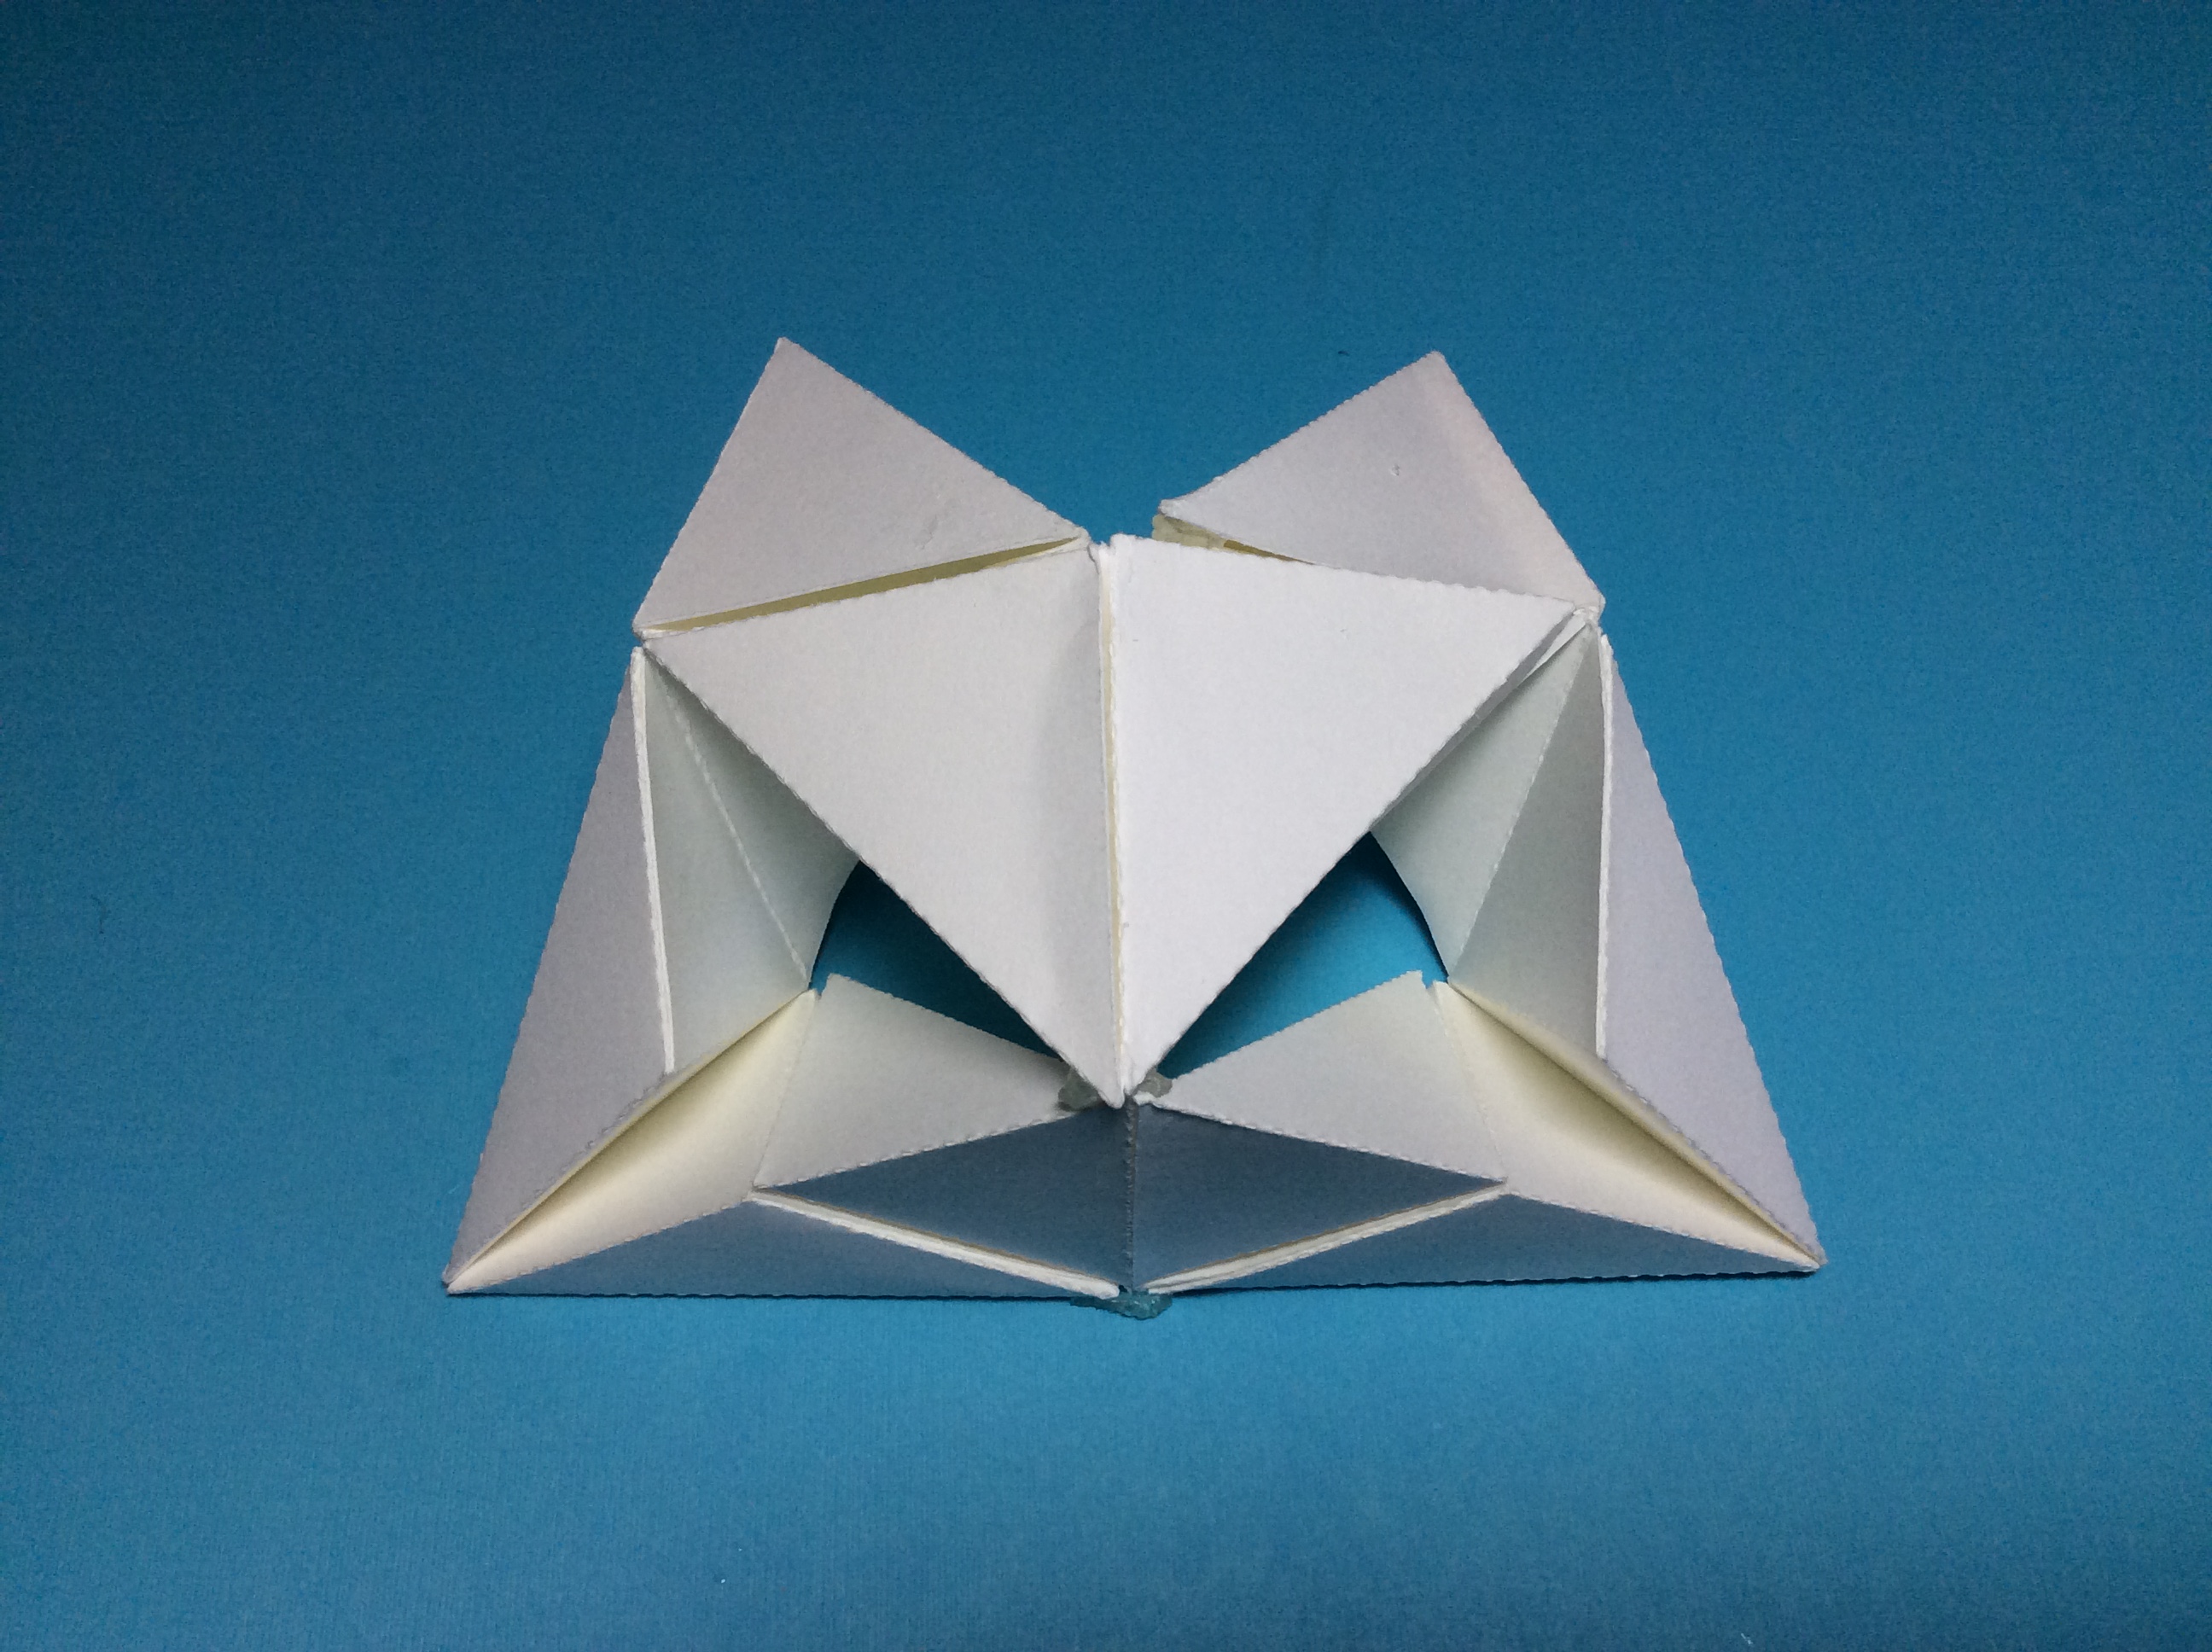


Frontside

Backside of above shape.
Try to make some of these interesting shapes. There are more shapes to explore beyond what I have shown here.

I have included a box to contain the flexible cube.
Here is the PDF. I used 65 lb. cardstock.
Here is the .Studio file.
Here is the SVG.
To Make Yoshimoto's Cube #3

Cut three of the above pieces. Orient the piece as shown above. This piece creates four triangular pyramids, two on each side of the halves. I recommend making all three sections together as an assembly line as the instructions are the same.

Fold the center dotted line as a mountain and then a valley fold. Fold the two dotted lines on each side of the center dotted line as a valley fold. Valley fold the two top tabs.

Mountain fold the tab (where the glue bottle is pointing)and apply glue to the tab. Valley fold the next dotted line on the right. Adhere the tab to the center dotted line.

Apply glue to the top of the tab that you just adhered. The location is where the glue bottle is pointing. Valley fold the next dotted line on the left. Adhere the tab to the center dotted line.

Mountain fold the tab on the right side and apply glue to the two tabs in this triangular region. Mountain fold the dotted line and adhere the tabs to create a triangular pyramid.

Repeat for the other side. Valley fold the dotted lines on either side of this triangle and adhere the glue on both sides.

Valley fold the top dotted line of the triangular pyramid

Mountain fold the remaining dotted lines. Please note that the large tab is the connector tab.

Apply glue to the small tabs and adhere to create a triangular prism. The larger tab remains unglued at this time. Repeat for the other side.

Completed section.

Apply glue to both sides of the big tab and insert into the hole in the adjacent section. Repeat until a ring is formed.

Completed ring of 12 triangular pyramids. Make sure the glue is dry before trying to flex the shape. The shape flexes easily into a rhombic dodecahedron.

This rhombic dodecahedron can form a cube by flexing the triangular pyramids inward. (Essentially you will be turning the entire figure inside out.) If you continue to flex the shape inward, the result will bring you back to the original rhombic dodecahedron.

Make the box to contain the flexible triangular pyramids.
Please check out my other blog postings for Yoshimoto's Cube #1
and Yoshimoto's Cube #2
Hello,
ReplyDeleteI would love to read your content. It was great content. Thank you for gifting us such content. We also work with crafts and art. You can visit our website once. Hope this will be your choice.
꧁ We are working on all these issues ꧂
《craftsvalue.blog》
➥Wallmate Craft
➥Paper Craft
➥Wood Craft
➥Handcrafting
Hello,
ReplyDeleteThanks for this nice papercraft tuto.
I work with 3D papercraft too and I offer several free & paid papercraft patterns. You can check them here:
Ecogami papercraft