Our world has been turned inside out with the Coronavirus and I felt like doing the same with paper.
The Inside Outside World of Paper
In this blogpost, I have made seven models which turn paper inside out. They include three versions of the Hexaflexagon, an inside out cube, an inside out rectangular prism, Bryan Tuckerman's Möbius polyhedron and Arthur H. Stone's Flexatube.
Twisting and folding paper is the basis for the study of topology. Mathematicians like
Möbius (see previous blog post,
https://papercraftetc.blogspot.com/2020/05/a-stem-project-magical-mathematical.html ) twisted a strip of paper to turn it inside out. In this blogpost, paper will be folded with triangles to turn it inside out. This folded concept was discovered by Arthur H. Stone, a graduate student at Princeton University. He was from England and the paper that he brought with him was an inch larger than his American binder. He cut off the excess paper and discovered that he could turn the paper from one side to the other with a few triangular folds. He called this phenomena Hexaflexagons because a hexagon was created when the paper was flexed and the end triangles were glued together.
I used scrapbook paper which is similar in weight to copy paper for all of the models.
I recommend using paper that has contrast on at least one side so that you can see the movement of the triangles when they are turned inside out.
Here is the PDF.
https://drive.google.com/file/d/14u43MYIE1BFWHQDteiy4F5wnF3B6sK8t/view?usp=sharing
Here is the .Studio file.
https://drive.google.com/file/d/13eIkbST9p0q0gCG-LqEuROl8bilkOOMW/view?usp=sharing
Here is the SVG.
https://drive.google.com/file/d/1P-0m1vccafDG72aFOG-DKGhLMRJLRZ-F/view?usp=sharing
1. Arthur H. Stone's Hexaflexagon
Crease all the triangles in both directions and fold up the first triangle on the bottom.
Fold up the next triangle on the bottom.
Fold down the top four triangles.
Flip the paper over to the other side.
Fold over the left hand triangle.
Apply glue to the upper triangle and adhere it down.
Completed Hexaflexagon.
Pick up the Hexaflexagon with both hands. Put your fingers into its center. Loosely try to move the triangles in a circular motion. With each turn, two triangles are switching positions. One is moving to the backside and the other is moving to the front. This movement is similar to what would happen with a Möbius strip but with a graduated triangular sequence. When moving the triangles in a clockwise motion, you will notice that it takes nine iterations, or movements of a triangle, to get back to the original design. In this model, there is always at least one triangle which is a different color. In order for all of the triangles to be the same color, I discovered that the paper needed to be cut differently.
2. My version of the Hexaflexagon
Cut my version of the Hexaflexagon by line in the Silhouette software. The red line is the cut line and the blue line is the sketch pen line. Crease the triangles in both directions.
Flip over the piece that says 4, 5, 6 horizontally.
Tape the trapezoids together as shown above.
Fold the top three triangles downward.
Fold the bottom three triangles upward.
Tape the outer edge where the scissor is pointing to create a continuous band.
Flip the paper over.
When moving the triangles in a clockwise motion, you will notice that it takes nine iterations to get back to the original design and every third iteration is a solid color.
There is a side dependency and each side is different. In my example, I have a white side and a patterned side where each third iteration results in the color or pattern of the side.
Looking at the patterned side, do you notice a way to turn this side turn all white? If the #1 triangle is flipped to white, the hexaflexagon will turn all white. (This also can be true for either the #4 or #7 triangle.) In my updated version, I will flip the #1 triangle to see if I can have one side of the hexaflexagon have an all white and an all patterned design.
3. My updated version of the Hexaflexagon
My updated version of the Hexaflexagon. Crease the triangles in both directions.
Flip over the piece with the numbers 1 and 4, 5, 6 triangles horizontally. Tape the pieces together to make a strip as before.
Fold down the top three triangles and fold up the bottom three triangles. Tape the edge as before and the hexaflexagon will be all white. There is a side dependency and this side will not turn to an all patterned design. It will turn all white at three and six iterations.
Flip the design over to the other side. When moving the triangles in a clockwise motion, you will notice that it takes three iterations to get to all patterned, four iterations to get to all white and five iterations all patterned. Repeat moving the triangles in a clockwise motion. You will see that the pattern is four iterations to get to white and five iterations to get to patterned. (The first three iterations were to set the starting point correctly)
If you flip the paper over, you will see that this side turns all white after three iterations. One of the iterations, shows where the #1 triangle was flipped over.
You are probably wondering at this point...what am I learning? You are learning about sequencing and spatial reasoning. A Hexaflexagon is a deterministic system because it produces the same result each time and there is no randomness involved. To further expand your mathematical mind, Google Trihexaflexagon and Hexahexaflexagon to see if you can create these interesting models.
In this next model, I will turn a cube, inside out by folding it a few times.
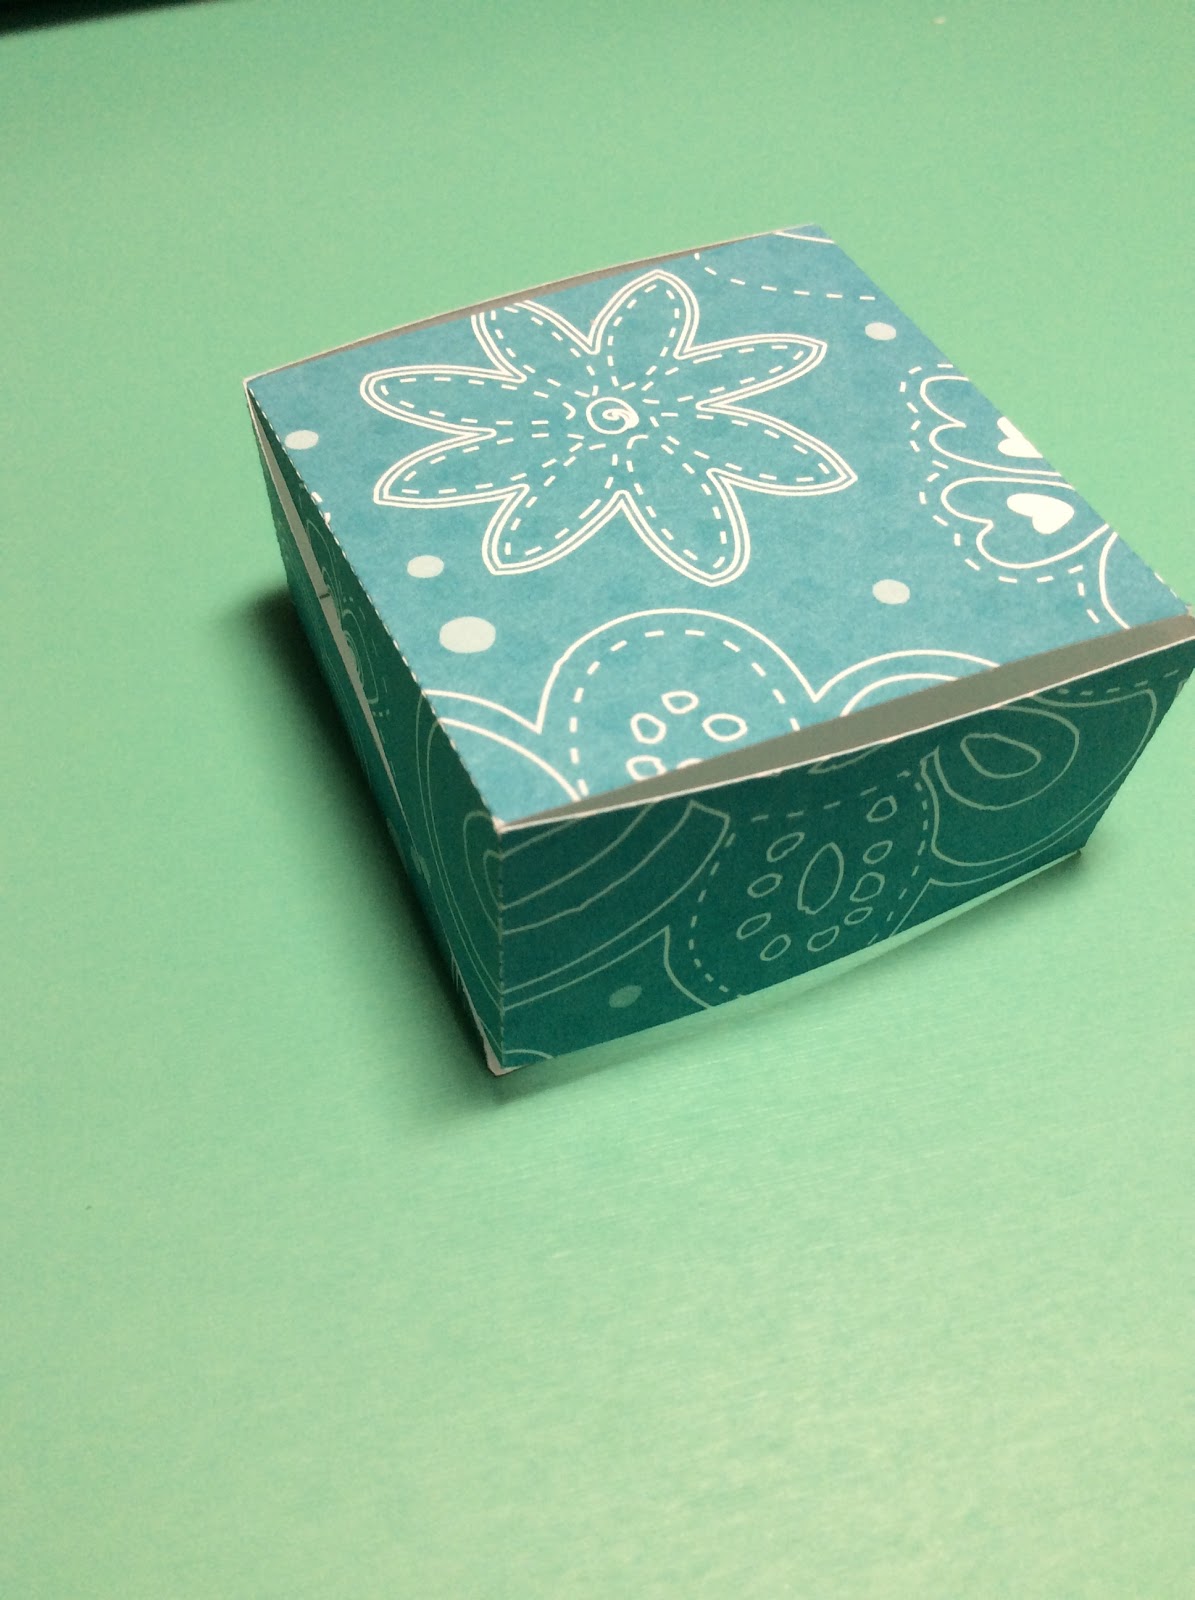
4. Turning a Cube Inside Out
Crease the folds
Bend the folds to create a cube. Apply glue to the tab on the left.
Adhere the tab.
Cube to be turned inside out.
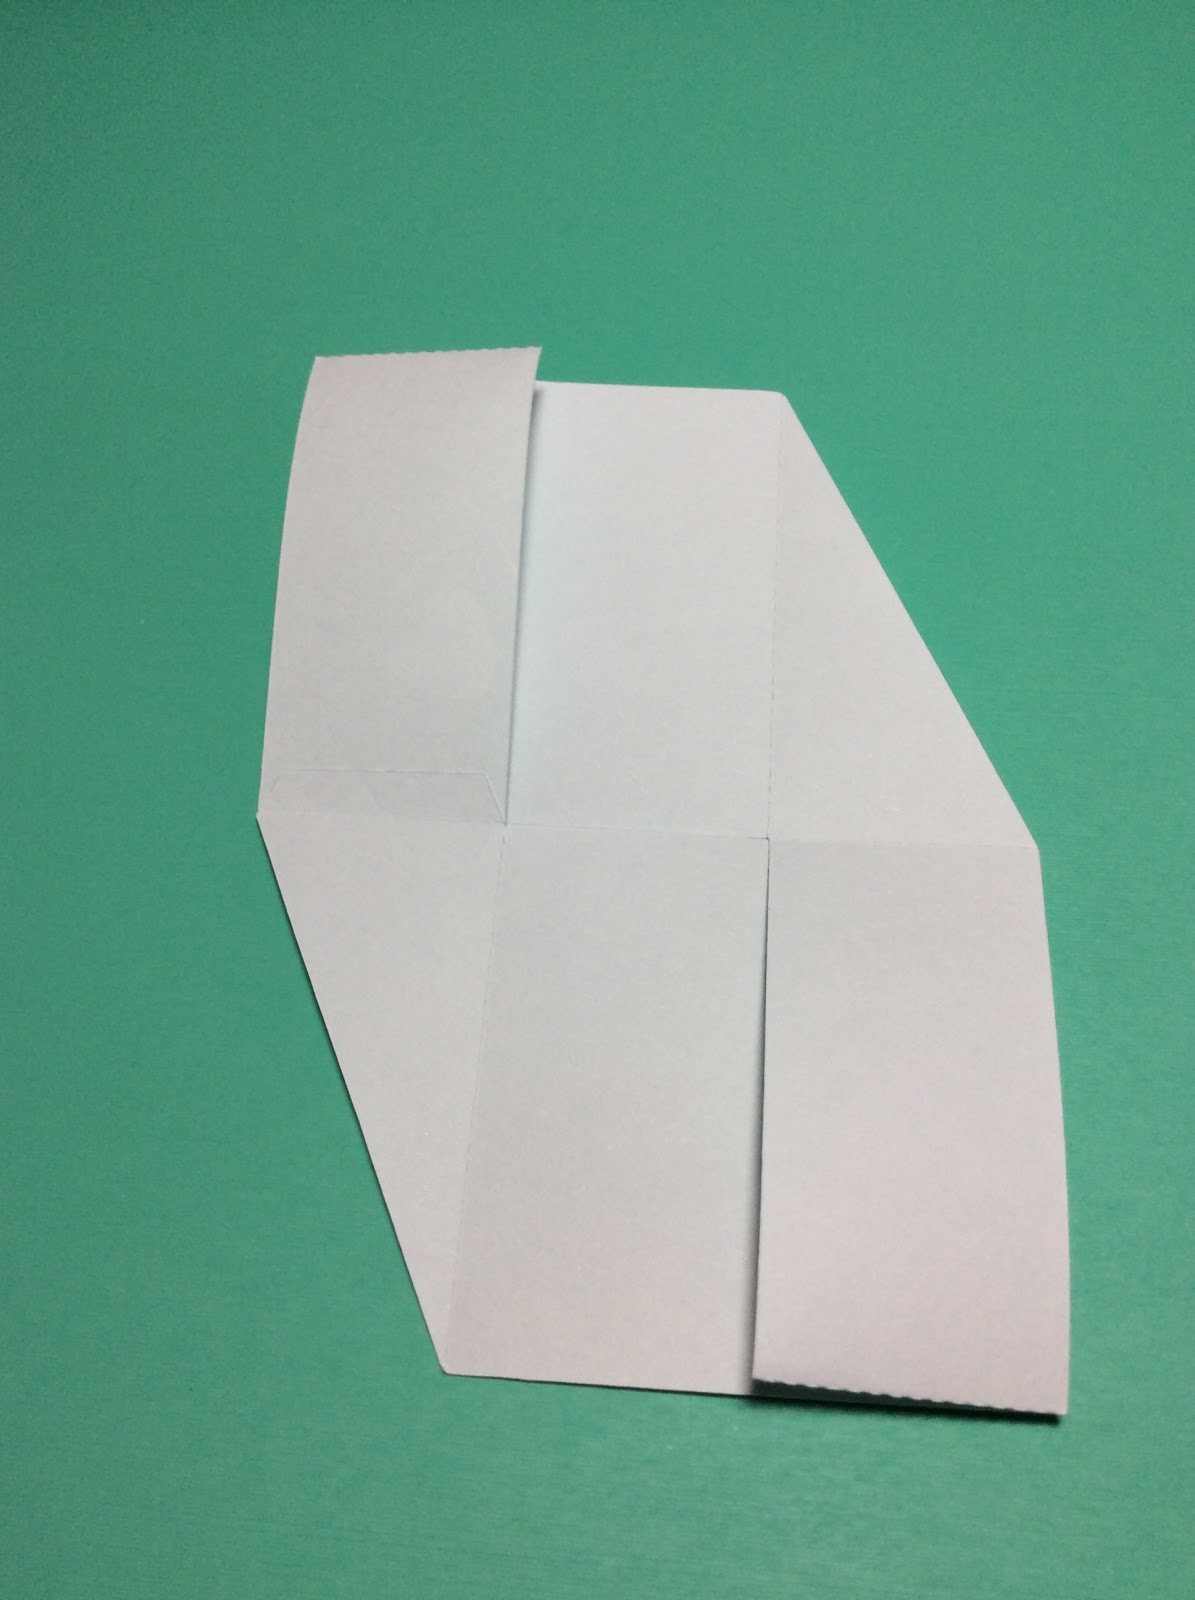
Make the cube flat as shown above.
Fold the top half of the cube down.
Fold the top left corner down.
Pull the center apart slowly.
Until it looks like this.
Rotate the top right square counter clockwise which will make it into a cube. The cube is now inside out! Try to figure out how to return it back to its original state.
In this next model, I will turn a rectangular prism, inside out by folding it a few times.
5. Turning a Rectangular Prism Inside Out
Crease the folds.
Bend the folds to create a rectangular prism. Apply glue to the tab on the right.
Adhere the tab.
Rectangular Prism to be turned inside out.
Rotate the top counter clockwise and flip to the back.
Flip the bottom side up.
Flip the bottom left side up.
Pull the center apart slowly.
Until it looks like this.
Rotate the top right square counter clockwise which will make it into a rectangular prism. The rectangular prism is now inside out! Try to figure out how to return it back to its original state.
6. Bryant Tuckerman's Möbius Polyhederon
Bryant Tuckerman's Möbius polyhedron twists two sets of triangles to form pyramids on opposite sides. The top pyramid folds on the printed side and is attached to a center triangle. The bottom pyramid is folded on its opposite white side and attached to the same center triangle.
Crease the folds.
Apply glue to the tab as shown.
Adhere the tab to the back of the center triangle and make this structure into a pyramid by pushing in the tab at a right angle. The pyramid that you just formed has one side missing.
Apply glue to the bottom edge as shown above.
The top pyramid is twisted to adhere the top tab to the glued area.
Apply glue to the tab shown.
Adhere it to the inside of the pyramid as shown above. Apply glue to the other tab as shown. Bend the triangle of this tab inward.
Align this tab with the adjoining tab along the edge of the center triangle.
Completed Bryant Tuckerman's Möbius polyhedron
Opposite side
Side view
7. Arthur H. Stone's Flexatube
Arthur H. Stone was fascinated by Hexaflexagons and he discovered this Flexatube in the process. It is a simple strip of paper which is creased with triangles and formed into a tube. With a few flexes of the triangles, the tube is turned inside out.
Crease the triangles and tape the ends together.
A tube is created.
Bend the two layers of left and right triangles back.
Back side view.
Open up the center
Put your fingers in the center and pull down the top point as shown.
Pull the triangles out.
Until it looks like the above photo.
Flip it over horizontally
Open up the center and fold the triangles inward.
Keep pushing the triangles inward.
Until it looks like the above photo.
Flip it over and unfold the triangles.
The Flexatube has now been turned inside out.
My hope for the world is that our "inside outside world" will soon be turned back to normal to the right side.