
Rubber Band Butterfly
While I was researching the rubber band polygons from the previous postings, I discovered a few YouTube videos that made a similar butterfly model. I liked the rubber band mechanism but thought I could improve the design. I felt that their top wings were too small and the winding mechanism could be simplified.

I made four models with different wings. After you make a few of my butterfly models, I recommend designing your own wings to determine which type of wing flies the best.
Video of the paper butterfly fluttering when the rubber band is stretched and tossed into the air.
The rubber band has no power until the band is stretched. When the butterfly is released into the air, the stored energy in the rubber band causes the butterfly wings to flutter in a circular motion opposite to the direction that the rubber band was stretched. In other words, the rubber band unwinds to return to its normal state.
Video of the Rubber Band Mechanism Being Wound and Released
Materials needed to make the rubber band butterflies:
- 20 lb. copy paper or construction paper
- Scotch Tape to adhere the wings to the winding mechanism
- 2 1/2 inch x 1/16 inch rubber band
- Scissors or an electronic paper cutter like a Silhouette or Cricut.
- 20 gauge craft wire
-wire cutters
-1/8 inch dowel
-cellophane (if you are cutting the model with holes in it)
-cellophane (if you are cutting the model with holes in it)
If you are cutting the models with scissors, here is the PDF:
https://drive.google.com/file/d/150AL32bUHfzu8__XONHkh0e1LtHZoBjN/view?usp=sharing
https://drive.google.com/file/d/150AL32bUHfzu8__XONHkh0e1LtHZoBjN/view?usp=sharing
If you are cutting the models with a Silhouette, here is the .Studio file:
https://drive.google.com/file/d/1yRAlXk6A6YAcZFw58PLA_k6ZbWHESkib/view?usp=sharing
https://drive.google.com/file/d/1yRAlXk6A6YAcZFw58PLA_k6ZbWHESkib/view?usp=sharing
If you are cutting the models with a Cricut, here is the SVG:
https://drive.google.com/file/d/1GIg6PcuJHE_0xqD0yQrgwK9JXxJvN4Zg/view?usp=sharing
https://drive.google.com/file/d/1GIg6PcuJHE_0xqD0yQrgwK9JXxJvN4Zg/view?usp=sharing

Cut the butterfly wings. Cut two pieces of 20 gauge wire that are 6 inches and 9 inches long.
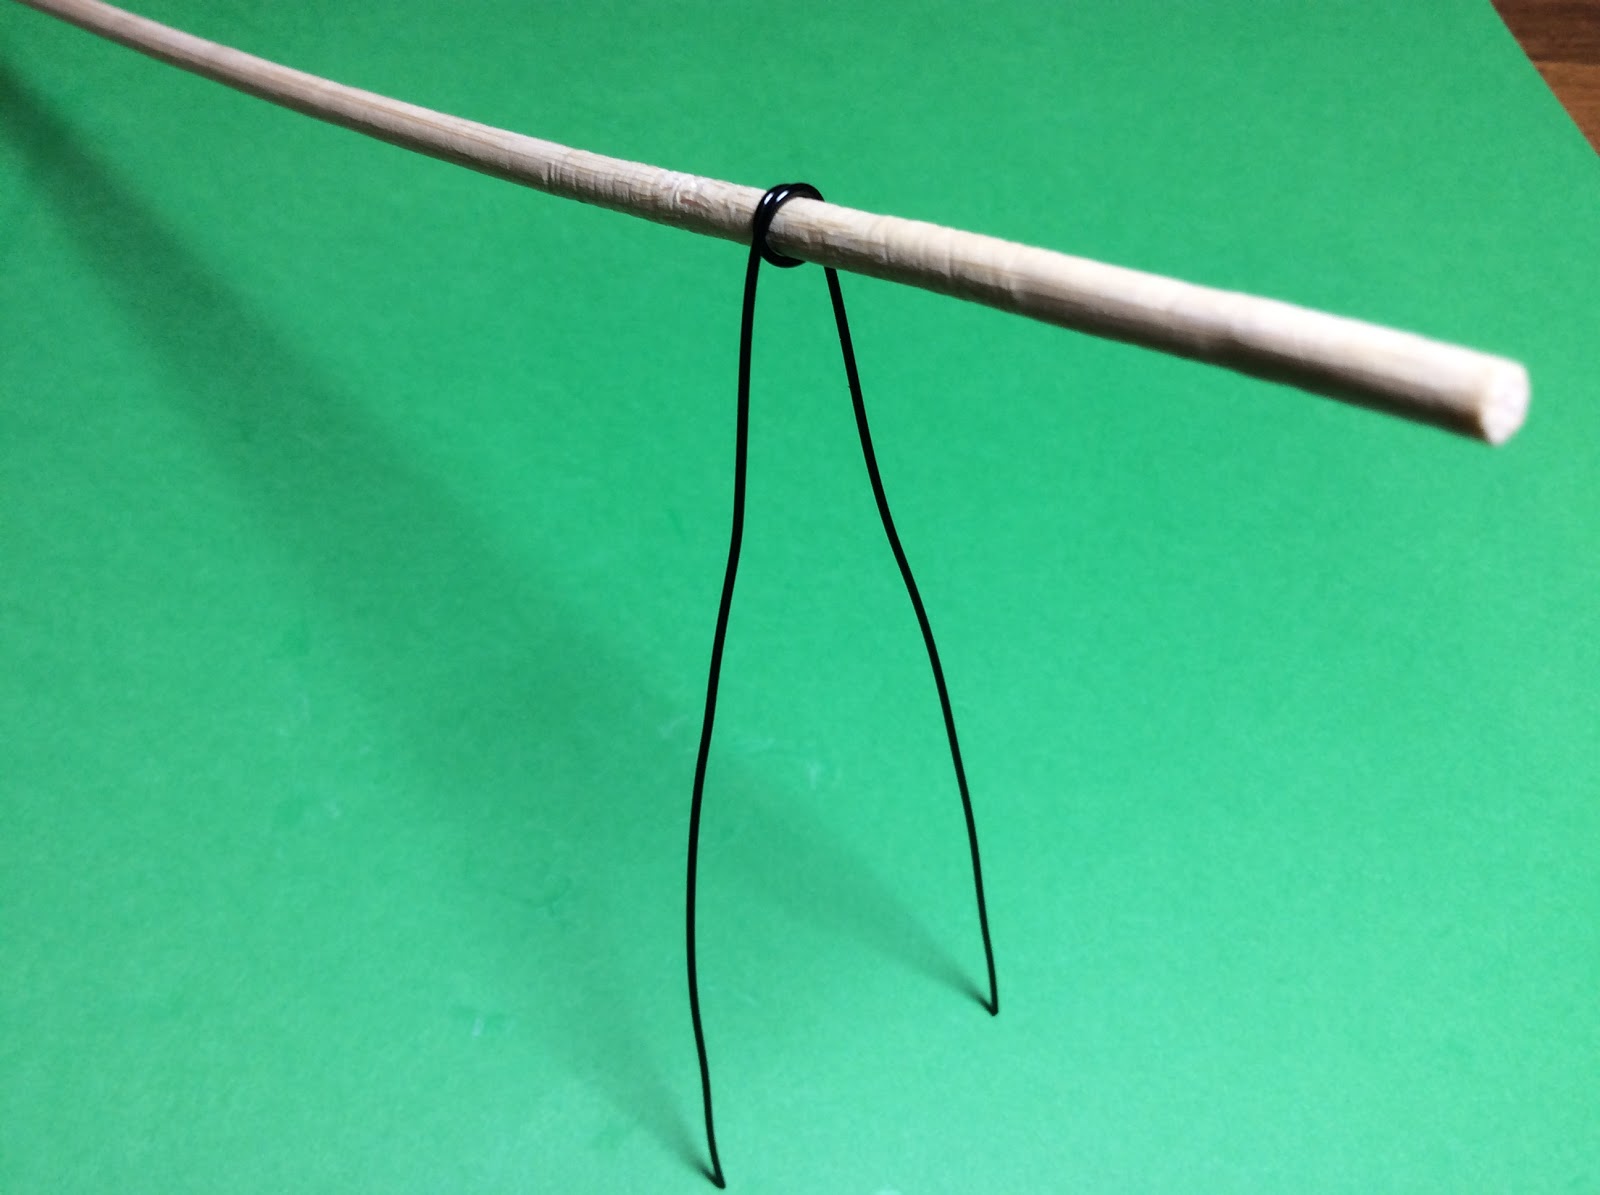
Wrap the 9 inch wire around a 1/8 inch dowel as shown above to form a circle.

Another view of the wire.

Make another circle by wrapping the wire around the dowel. Look at the photo above for placement of the circle. The entire mechanism needs to be 2 inches long.

Make a figure 8 with the 2 1/2 inch rubber band.

Fold the rubber band in half.

Slide the rubber band onto the wire until it resides inside the circle.

Twist the ends of the wire together.

Cut the excess wire off.

Bend the opposite circle, without the rubber band, at a right angle.

Fold the 6 inch piece of wire in half and put a twist in the wire as shown above on the right. The loop created should be 3/8 inch long.

Slide the rubber band onto the 6 inch wire. This will create the crossbar wire.

Squeeze the 6 inch wire together and thread this wire through the center of top circle. Bend this 6 inch crossbar wire so that it is at a right angle to the rubber band.

Close up of the rubber band mechanism.

Wind the rubber band about 35 times to test the winding mechanism. The crossbar wire should move freely.

Cut a piece of tape, adhere it to one side the bottom wing. Cut off any excess tape. Please note: too much tape adds weight to the model.

Wrap the tape around the wire.

Adhere the tape to the back side of the wing.

Repeat taping the other bottom wing to the winding mechanism.

Cut a piece of tape, adhere it to the bottom side the top wing. Cut off any excess tape.

Wrap the tape around the crossbar wire as shown above and adhere the tape to the back side of the top wing. Notice that there is a little wire showing.

Cut this excess wire off.

Repeat taping and adhering the other top wing to the crossbar wire.

Completed Rubber Band Butterfly

This butterfly model has cellophane glued over the holes. The holes need to be covered for aerodynamics.