A Christmas Tree Pop-Up With Ornaments
This Christmas Tree can be mailed as the hexagonal base and tree lie flat for mailing. It will fit in an A7 envelope which is 5.25 in. x 7.25 in.
I used Neenah brand 65 lb WhiteGold metallic cardstock from Office Depot and 65 lb Recollections brand card stock from Michaels. I used wrapping paper to make the metallic spiral garland.
Here if the PDF.
Here is the .Studio file.
Here is the SVG.
Cut out the hexagonal base.
Fold the piece starting at the top, four mountain folds, one valley fold, one mountain fold, one valley fold and four mountain folds. Fold the two tabs on the sides of the three squares.
Turn the piece over and apply glue to the two rectangles adjacent to the center hexagon as shown above.
Fold the piece in half at the hexagon. Part of the hexagon is now hidden from view as the rectangular area will be creating a ledge.
Apply glue to the bottom tab as shown above. Apply glue to the opposite top tab (not shown).
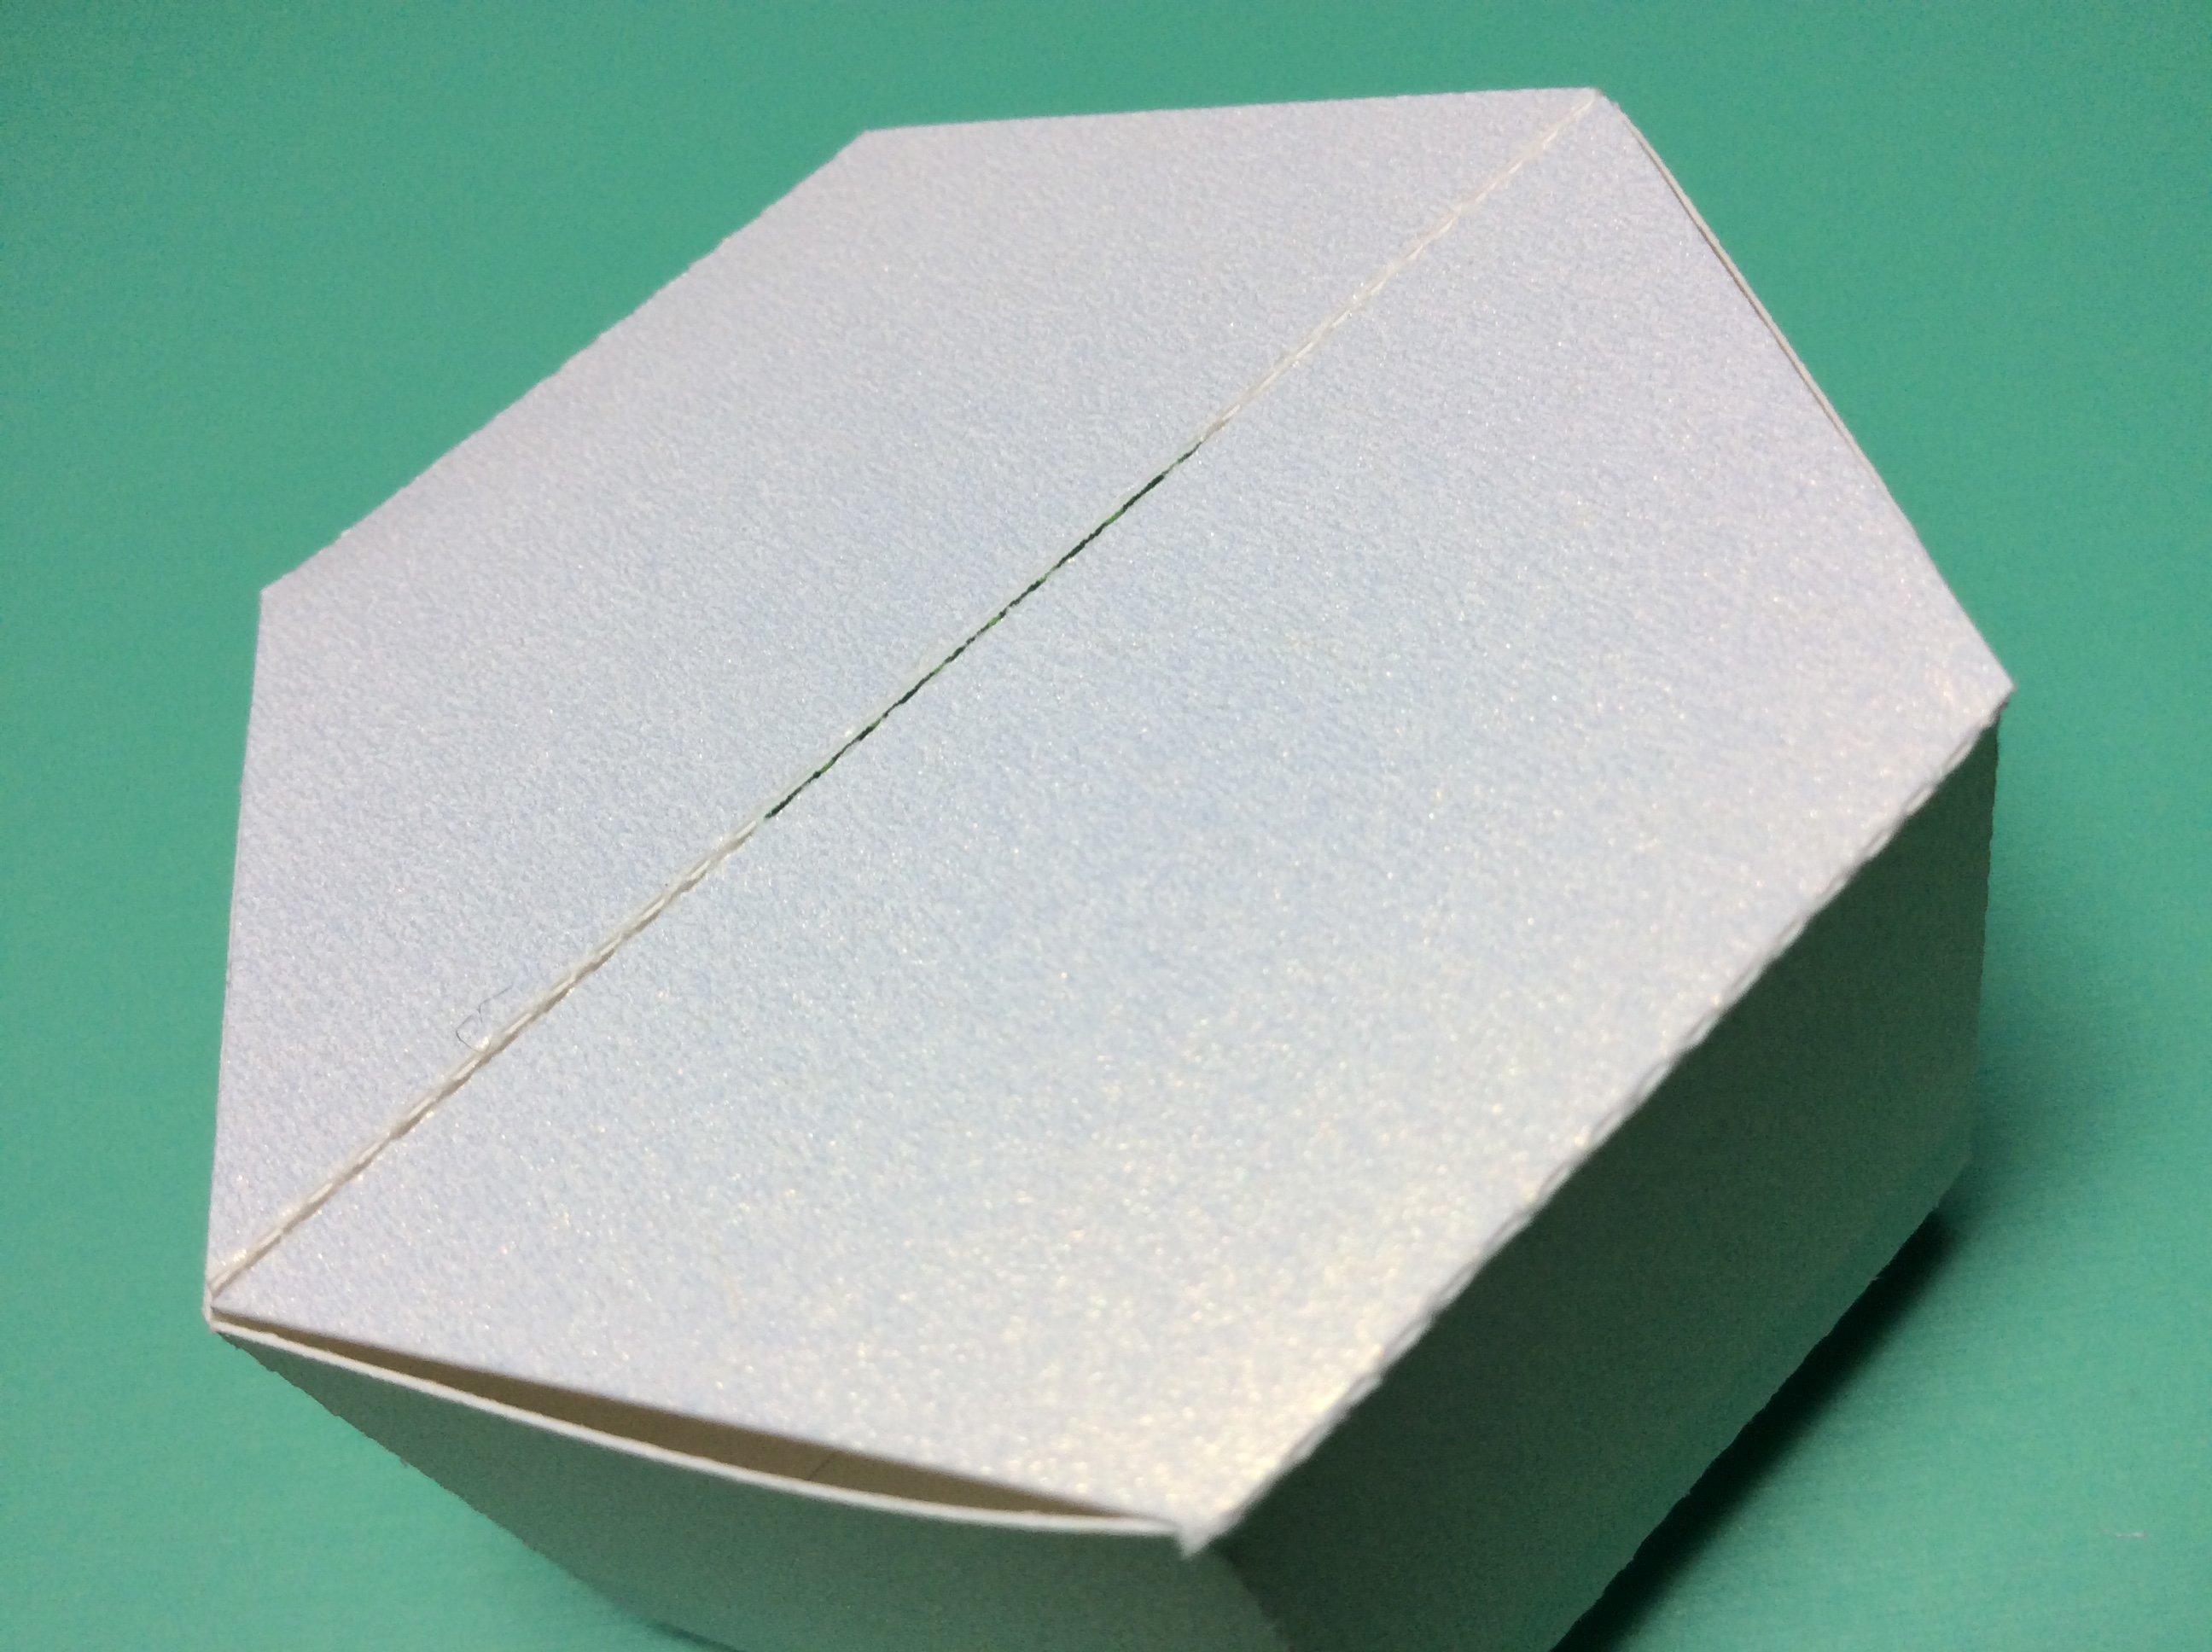
Adhere both sides down to make a hexagon sleeve.
Push the center hexagon inward.
Bend the hexagon into the center of the piece.
Bend the other side of the hexagon into the center of the piece.
This is what it looks like when the pieces are bent inward.
Apply glue to the tabs as shown.
Adhere the glue by pressing down in the center.
Push the bottom of the hexagon box into the hexagon sleeve.
Make sure the center slit does not have any glue in it.
Push the rectangular tree tab into the slit.
Pull the rectangular tree tab outward and apply glue on both sides of the rectangle as shown above.
Insert the rectangular tree tab into the base. Turn the piece over to make sure the tree tab is flush with the bottom.
Completed rectangular tree tab to attach the tree to the base.
Glue the three sections of the tree together. And then glue the other three sections together to make two halves.
Glue the two halves of the star together.
Glue the star to half of the tree and apply glue to the tree as shown.
Apply glue to both sides of the rectangular tree tab. Adhere the two sides of the tree around the rectangular tree tab by sandwiching the two sections of the tree together.
Completed tree
It is possible to make a larger sized tree using the same hexagonal base and ornaments. I resized the original tree (six pieces of the tree shape) to be 125% bigger in the Transform Scale Window in the Silhouette software. The larger sized tree is shown on the right.