Here is the PDF.
https://drive.google.com/file/d/1W1ObcRulwpE97ZSr_wjrbZOLChjfa9ux/view?usp=sharing
Here is the .Studio file.
https://drive.google.com/file/d/1jCiV-ce20-bw7jUXVtdoNhYCoDlRebBD/view?usp=sharing
Glue the E closure together
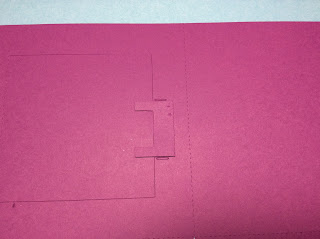
Center the E closure with the holes in the paper outside the door. Notice that the middle segment of the E goes on the back side of the door. The front side of the door is shown. Glue down the tabs on the E closure to the door.
Insert the closure tab into the two slots and glue to the back of the box. Make sure that the latch can slide into the closure tab. The door can be bent to allow the tab to be inserted into the slot.
Glue the spacers along the slot on what will be the outside of the box.
Glue the spacers along the slot on what will be the outside of the box.
Bend the tabs on the file slide piece (top piece in the photo above) at a right angle. Apply glue to the spacer piece (see photo for where glue is applied).
Slide the file slide piece into the slots, turn the paper over and apply glue to the tabs of the file slide piece as shown above.
Bend the glue tabs inward and apply pressure to adhere the glue. It will take a little longer to adhere as there are two areas of glue that need to bond.
Fold the sides of the box and the tabs at a 90 degree angle and apply glue to all of the tabs to complete the box.
Completed Box


No comments:
Post a Comment