The first model in this exploration of illuminated pictures is a lens assembly, a slice form lens holder and a film strip holder.

I used 65 lb. card stock. The slice forms can accommodate coverstock as the slits have been sized accordingly.
Here is the PDF.
https://drive.google.com/file/d/1vp9zLqyR7MkEI8lUQqKfgmu3TWu9RGre/view?usp=sharing
Here is the .Studio file.
https://drive.google.com/file/d/1RuIGmF0W8--yUAYWXyWCJ6hbstNIWu0m/view?usp=sharing
The lens casing assembly consists of two pieces of paper that are rolled into a tube. The longer tube will be sliding into the shorter tube. In order to glue the tube, I recommend finding a bottle that is a little smaller than the tube and using it as a form to hold the tube together while you let the glue dry. The hardest part of this project is waiting for the glue to dry...so patience is a virtue.

The lens tube is glued so that the dotted lines are showing a little as shown in the photo above. The paper sometimes absorbs the glue so you might have to reapply a few more dots of glue. I used Aleene's Quick Dry Tacky glue. (The 8oz bottle of Aleene's glue is perfect to use as a form for the tube.) I filled a Darice Quilling bottle with the glue. This is the best way to glue paper. It delivers a fine point of glue with accuracy and does not warp the paper. Glue the two lens tube and the lens strap into a tube.

The quilling bottle is shown in this picture along with the Aleene's tacky glue. The lens strap is still around the bottle as the bottle makes it easy to apply pressure to the gluing points without altering the round shape.

Bend the tabs for the lens assembly upward.

When gluing, be careful not to get any glue on the lens.Put a drop of glue on the outside of each tab.

Attach the top of the lens assembly. If any glue got on the lens, now is the time to remove it with a wet paper towel. At this point, take a few minutes to let the glue dry thoroughly. This is a crucial step as once the lens is placed inside the tube, any movement of wet glue can skew the lens inside the tube. The alignment can not be fixed and the lens assembly and tube will have to be redone.

Put a drop of glue on the outside of each tab.

Insert the lens into the lens casing.

Put glue on the outside of the the lens casing and insert it at the bottom of the smallest tube. Make sure that the lens is perpendicular to the sides of the tube.

Insert the longest tube into the tube with the lens. If you feel that the lens is loose in the assembly, add a bead of glue to the edge of the tube. Your lens assembly is now complete.
The next step is to make the slice form lens holder.
The next step is to make the slice form lens holder.

Lay out the pieces for the slice form lens holder. I recommend cutting out the pieces in two different colors because when the slice form is laid flat, the contrasting colors make an interesting design.

Slide the green center piece (the shortest height of the three green pieces) into the center slot of each yellow piece. The easiest way to do this is by laying the green center piece flat on the table sliding the yellow piece into the center piece. The slits are a little loose for 65 lb cardstock which I used. I have made accommodations for coverstock to be used which is a thicker and more sturdy paper.

Stand up the pieces that you are working on and add the two remaining side pieces.

The completed lens holder is 6 inches long and the spaces between the slices are one inch. This holder can now be used as a ruler to measure distance.

This is what the lens holder looks like when flat.
The next step to make the film strip holder.
The next step to make the film strip holder.

These are the pieces for the film holder assembly.
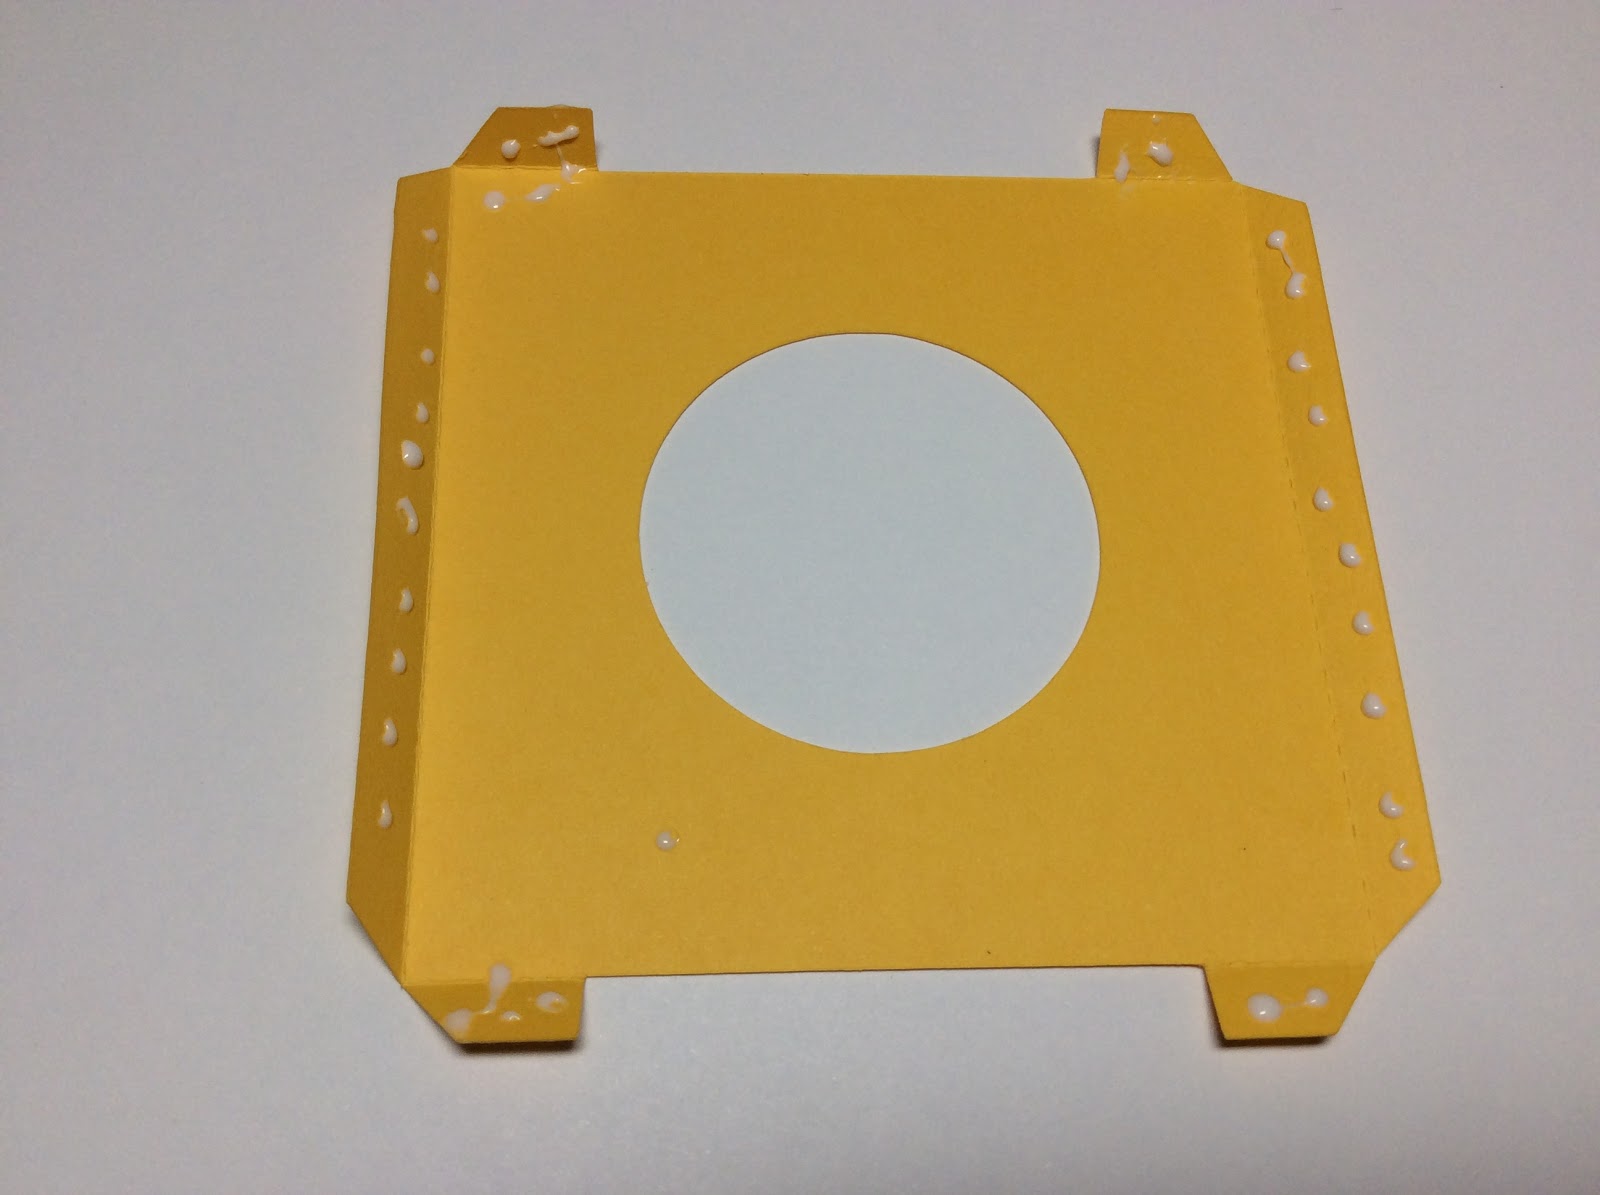
Put glue on the inside of the tabs. and then fold them down.

Put glue on the outside of the tabs that you just glued. Do not put glue in other other places because the film needs to slide into the two pieces when placed together. Place the glued piece on to the other similar looking square piece and align the edges.

Layout the lens holder as shown. The two pieces on the left are the sides. The two pieces on the right that are identical make the other side.

A square is made when the four pieces are slid together.

The slide holder is slid into the two wide slots on the remaining piece.

Insert this last piece into the film holder assembly.
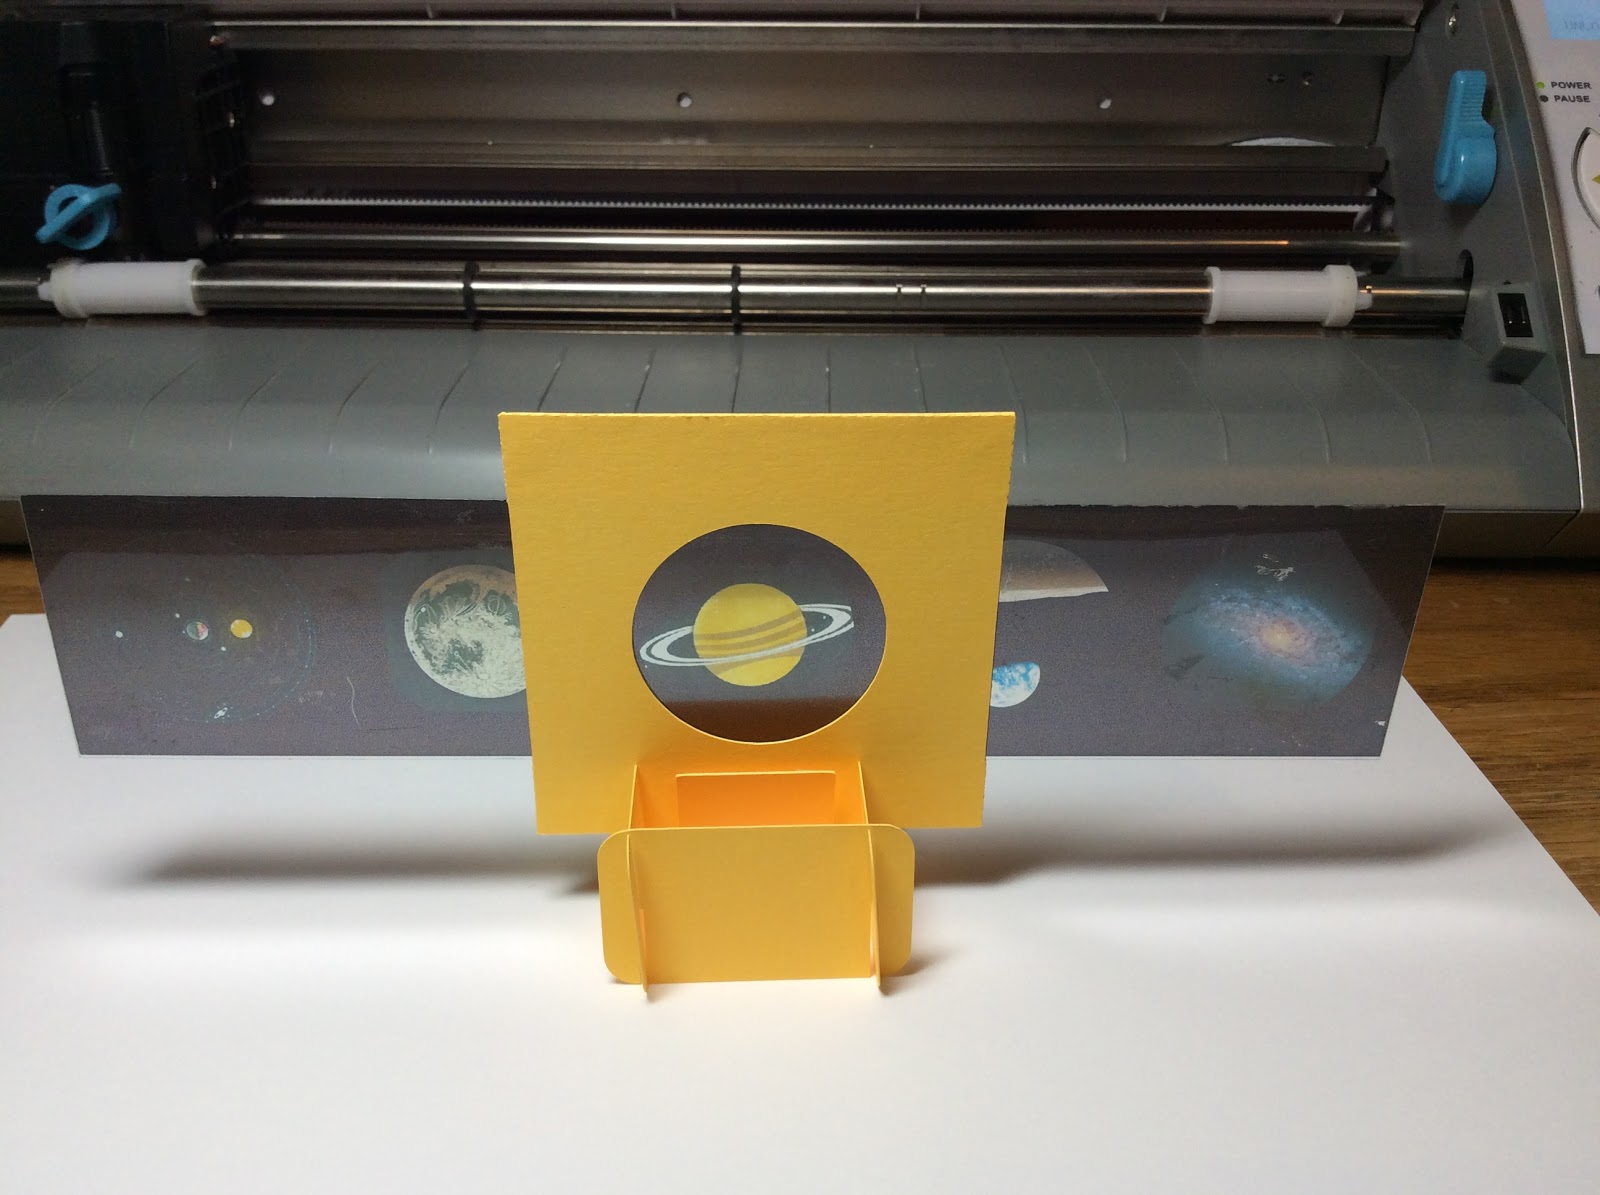
The film holder assembly is now complete.
No comments:
Post a Comment