
Airplane Carousel
Here is the PDF. I used 65 lb. cardstock.
https://drive.google.com/file/d/1oLjzy28F9Rq9CltGj-O-fT0P2mThv36W/view?usp=sharing
Here is the .Studio file.
https://drive.google.com/file/d/11rMFviEs44dA_9xFb-gNWZYSCcgUMlvn/view?usp=sharing
Here is the SVG.
The carousel canopy made in this blog posting is 5 inches. To make a 6 inch version, go to this blog posting. https://papercraftetc.blogspot.com/2021/05/a-stem-project-world-war-ii-airplane.html


Make the box by bending the bottom piece in an octagon.

Glue together and bend the top tabs downward. Glue the bottom of the box to the tabs.

Apply glue to the top of the tabs and adhere the top of the box. (The box has two of the same pieces glued together to give the box stability.)

Glue the star to each octagon segment using the template for placement. Repeat the above instructions for the bottom of the box.

The smaller wing has a tab which must be moved at a right angle. Glue the corresponding wings together. Crease the dotted lines as shown in picture above for the airplane.

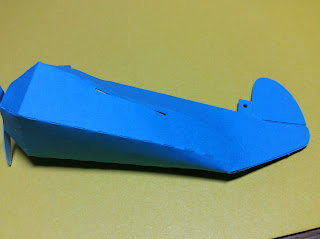
Glue the trapezoid shapes together precisely. It should look like the photo above. Make sure the glue dries before continuing.

Glue three circles together to form a stack of circles. Glue a larger circle onto the top of the stack of circles. This assembly will make a brad which allows the propeller to spin around. If you do not care if it spins, just glue the propeller and head of the brad to the airplane and skip the next four steps.

After the glue has dried on the brad, thread the circle through the hole in the airplane.

Thread the propeller onto the brad and apply a small drop of glue to the center.

Attach the head of the brad (dark blue circle). Make sure that it does not move around and that the glue remains in the center so that the propeller can move freely.

Interior view of the propeller assembly.

Crease the pentagon tabs inward and apply glue to the tabs.

Apply glue as shown in the photo above. There was glue applied to the hanger at the left. It is not visible in the picture though.

Side view of the airplane.

Insert the wings. Apply a small bead of glue on the main wing. Glue the tabs underneath on both sides the plane as shown above.

Completed airplane. Repeat the above instructions for the other three planes.

Make the canopy by bending the whole tab of the hanger upwards and then downwards to create a double sided hanger. Glue this hanger together. Repeat for the remaining seven canopy pieces.

Apply glue as shown above.

Adhere the piece as shown above. Notice that the piece is place downwards with the edges aligning together with the previous piece. Repeat until the canopy is completed. Notice that the hangers are all sticking upwards. This will be where the airplanes will be attached to the canopy with a thread. Repeat for the rest of the canopy pieces.

Make the center cone by creasing the folds and gluing together. Above it is laying flat. Below is a picture when completed gluing in a circle.

Crease the edges of the cone as shown above and put the gear with the hole in it though the cone. Glue the gear to the cone.

Apply glue as shown and adhere the corresponding teeth together.
 Glue the sun-like looking piece to the gear.
 Slide the star piece onto the cone.
 Glue the corresponding piece to the bottom of the cone structure. Glue the tabs as shown to the outside of the piece.
 Slide the canopy onto the cone and apply glue to the tabs as shown above.
 It might take a little while to apply the glue to the canopy tabs. I had to reapply the glue a few times to get the tabs to lay flat against the canopy. Apply glue and attach the decorative cones to the top of the canopy.
 Glue and attach the smallest cone.
 Cut 4 twelve inch pieces of button thread to hang the airplanes. (You can use any thread if you do not have button thread.) Thread to one end of the plane.
 Thread it through two of the holes in the roof of the canopy. I did multiple threading in this picture. You can do one at a time.
 Apply glue to the top of the box (I used a tape runner) Adhere the airplane carousel to the box.
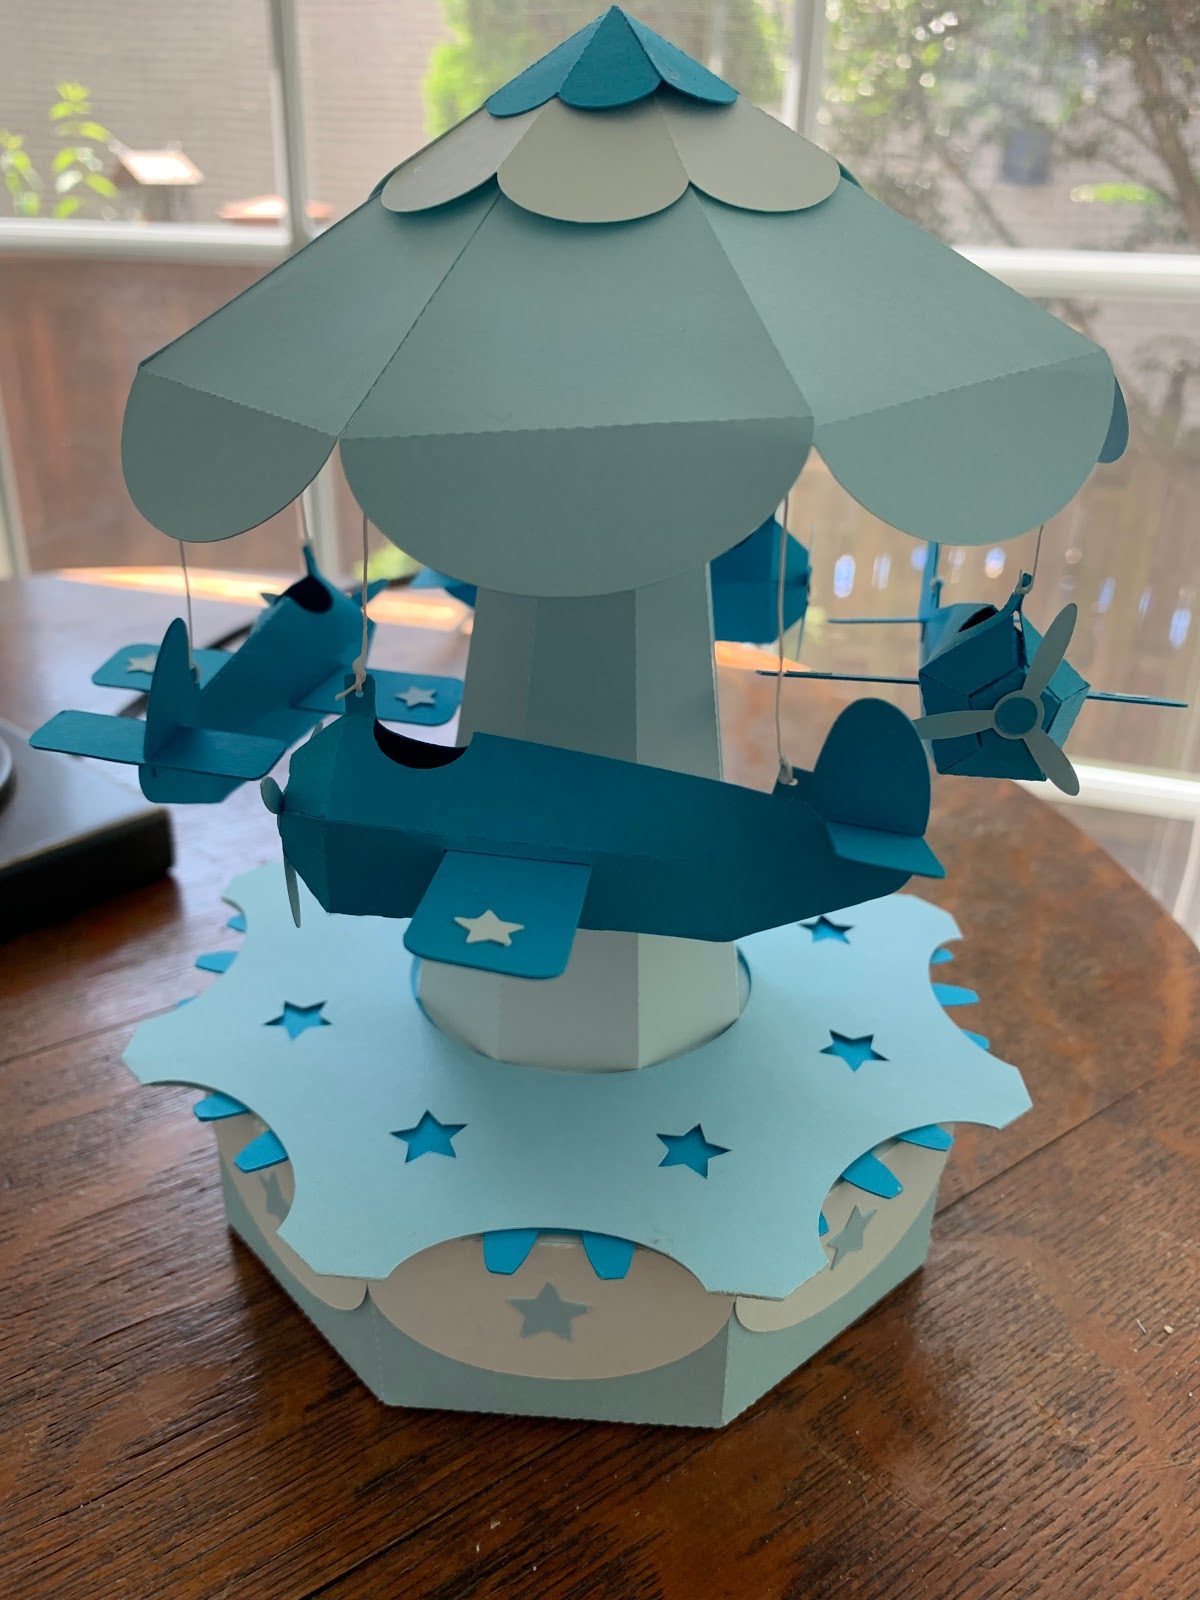
 Completed airplane carousel


Video of the airplane carousel in action
I hope you enjoy making this airplane carousel. This model took me over 100 hours to design. Please leave a comment if you liked making this model. I definitely like feedback.
Thank you!
Elaine
This is so cute! I haven't made this yet but plan on making one with my 5 year old grandson for his room. I just want to say thank you for taking so much time to design things like this and sharing with us!
ReplyDeletebeautiful , great , thanks !!
ReplyDeletej'adore !! felicitations à vous
ReplyDeleteAdorable Carousel! What a darling idea using airplanes. Great for birthdays and special occasions. You did a splendid job! Thank you so much for share the file and your step by step tutorial. You're awesome!
ReplyDeleteI just found your project. It's adorable. I'm going to be a grandmother, so I'm doing it for my grandson. Thank you very much for sharing the files, I know how many hours each design takes. I really appreciate.
ReplyDelete