
Planetary Gear Steering Wheel
Henry Ford used a planetary gear in his steering wheel assembly in the Model T Ford. If you would like to read more about the Model T, here is an interesting article. https://www.fordmodelt.net/kids-corner.htm
A picture of the Model T steering wheel assembly
https://commons.wikimedia.org/wiki/File:Ford_model_t_1919_d003_steering_wheel_assembly.png
Here is the PDF. I used 110 lb. card stock.
https://drive.google.com/file/d/1JOI7tiYNHfKMTxXNQqH-5zWOP0HFVSud/view?usp=sharing
Here is the .Studio file.
https://drive.google.com/file/d/1S_fJPorTIa3s98Uyi0HHYAiXYmTIEgpa/view?usp=sharing
Precision gluing and attention to detail are required for this model to work. The glue must be allowed to dry when making the brads...either a few hours or overnight. I have to admit. The first time I made the model, it worked perfectly. The second time, the model did not operate as smoothly. In the second case, I slowly moved the sun gear by itself. It eventually loosened up because the sun gear was sticking. Please realize that this is for representation only. It might not work perfectly.

Make the carrier. Glue the six ring gears together.

Glue the ring gear to the base.

Completed base unit.

Make the brads for the planets.

Glue four circles together. Repeat for the other two brads.

Glue the top on the brad.

Repeat the above brad assembly for the sun brad. The sun brad is the largest circle on the left.

Bend the axle as shown above and apply glue as shown.

Apply glue to the inner support as shown.

Bend the axle into a square tube as shown.

Glue the axle to the carrier on the steering wheel assembly.

Flip the steering wheel assembly over. Apply glue to the axle and glue on the steering wheel.

Apply glue to the steering wheel and adhere the top of the steering wheel.
Using the second carrier piece, thread the sun brad through the center.

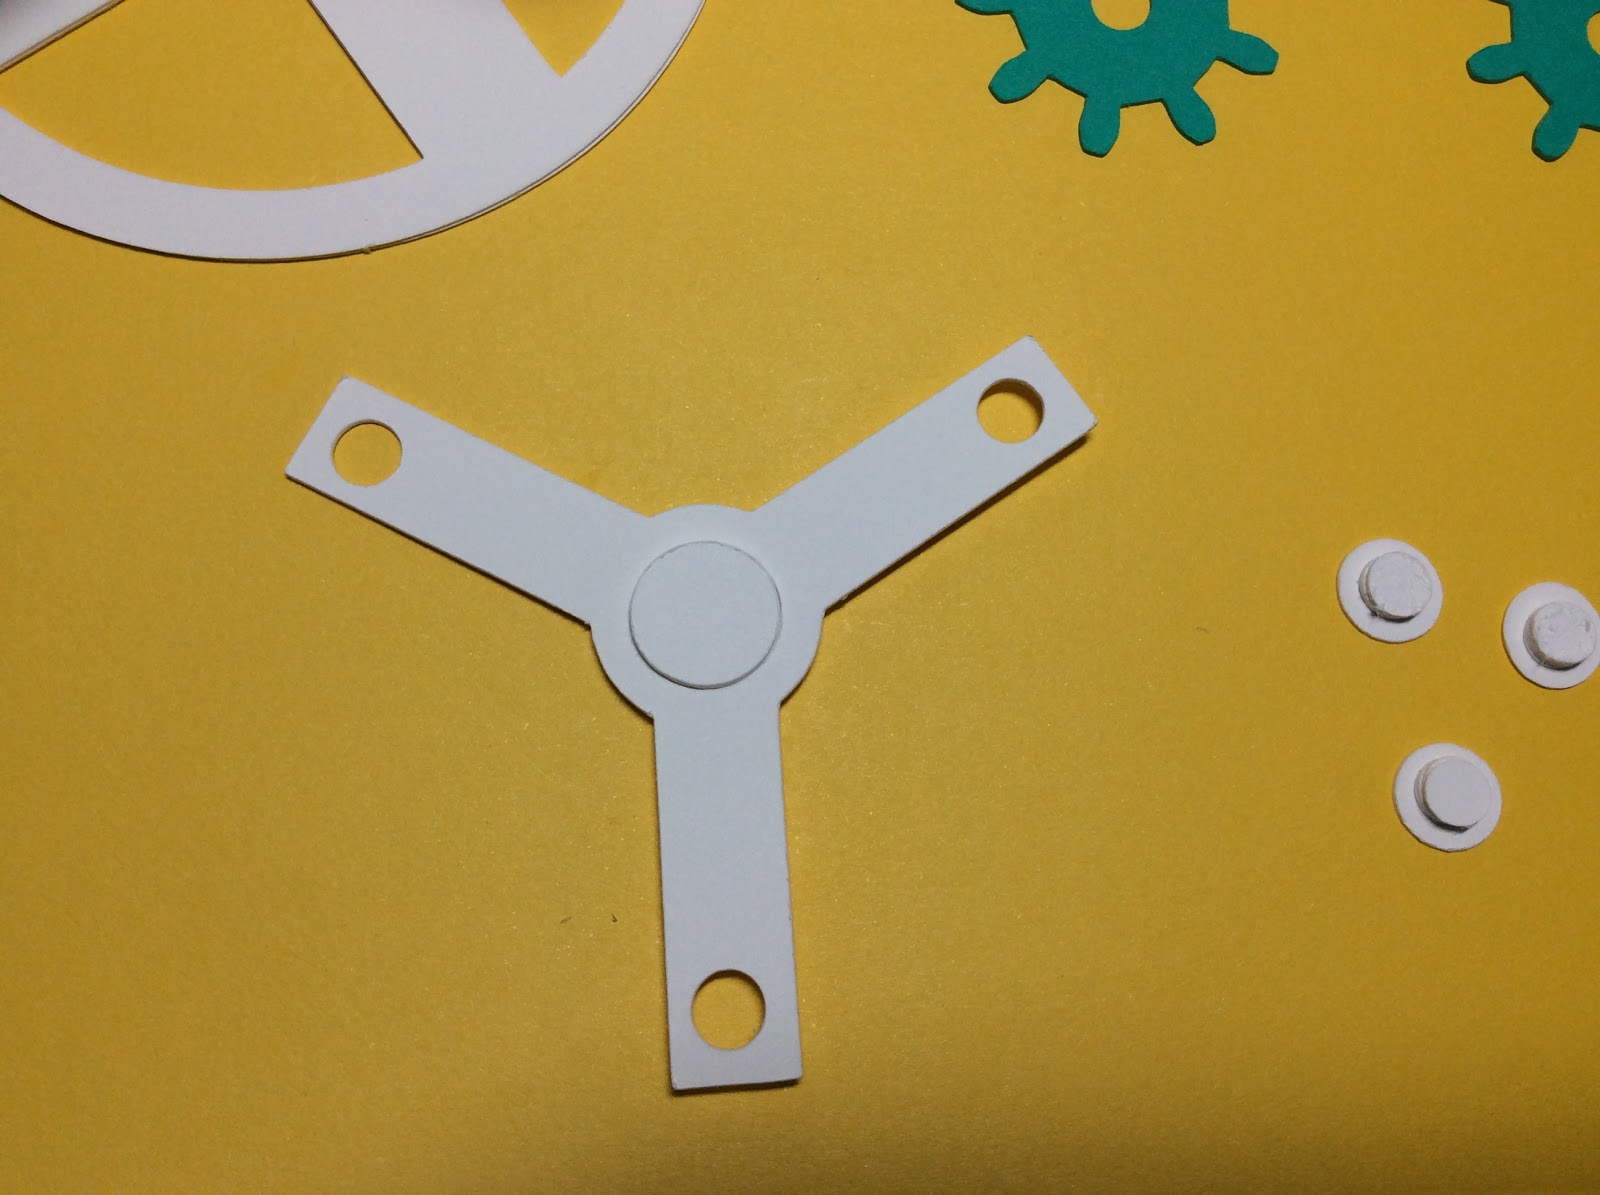
Apply glue first carrier piece. Make sure you align all three of the holes correctly.

Adhere the second carrier to the first carrier.

Thread the planet brads to the carrier. Make sure that the brads are seated correctly and move freely. (Two planet gears have been completed in this photo.)

Add the planet gear. Make sure that the planet gear rotates smoothly.

Put a drop of glue in the center of the brad.

Place the cap on the end of the brad. Thread the sun gear on the center brad. Gently make sure that the gears rotate. Do not apply too much force as the paper gears might bend. Adjust them if necessary to make the gears move freely.

Thread the sun brad through the base and apply glue as shown.

Adhere the cap to the brad. Before operating the steering wheel, allow the glue to dry for a few hours or overnight.

Add embellishments to the planet gears.

Add embellishments to the steering wheel.

Completed steering wheel.
No comments:
Post a Comment