Monday, February 11, 2019

Square Gear Box


Square Gear Box

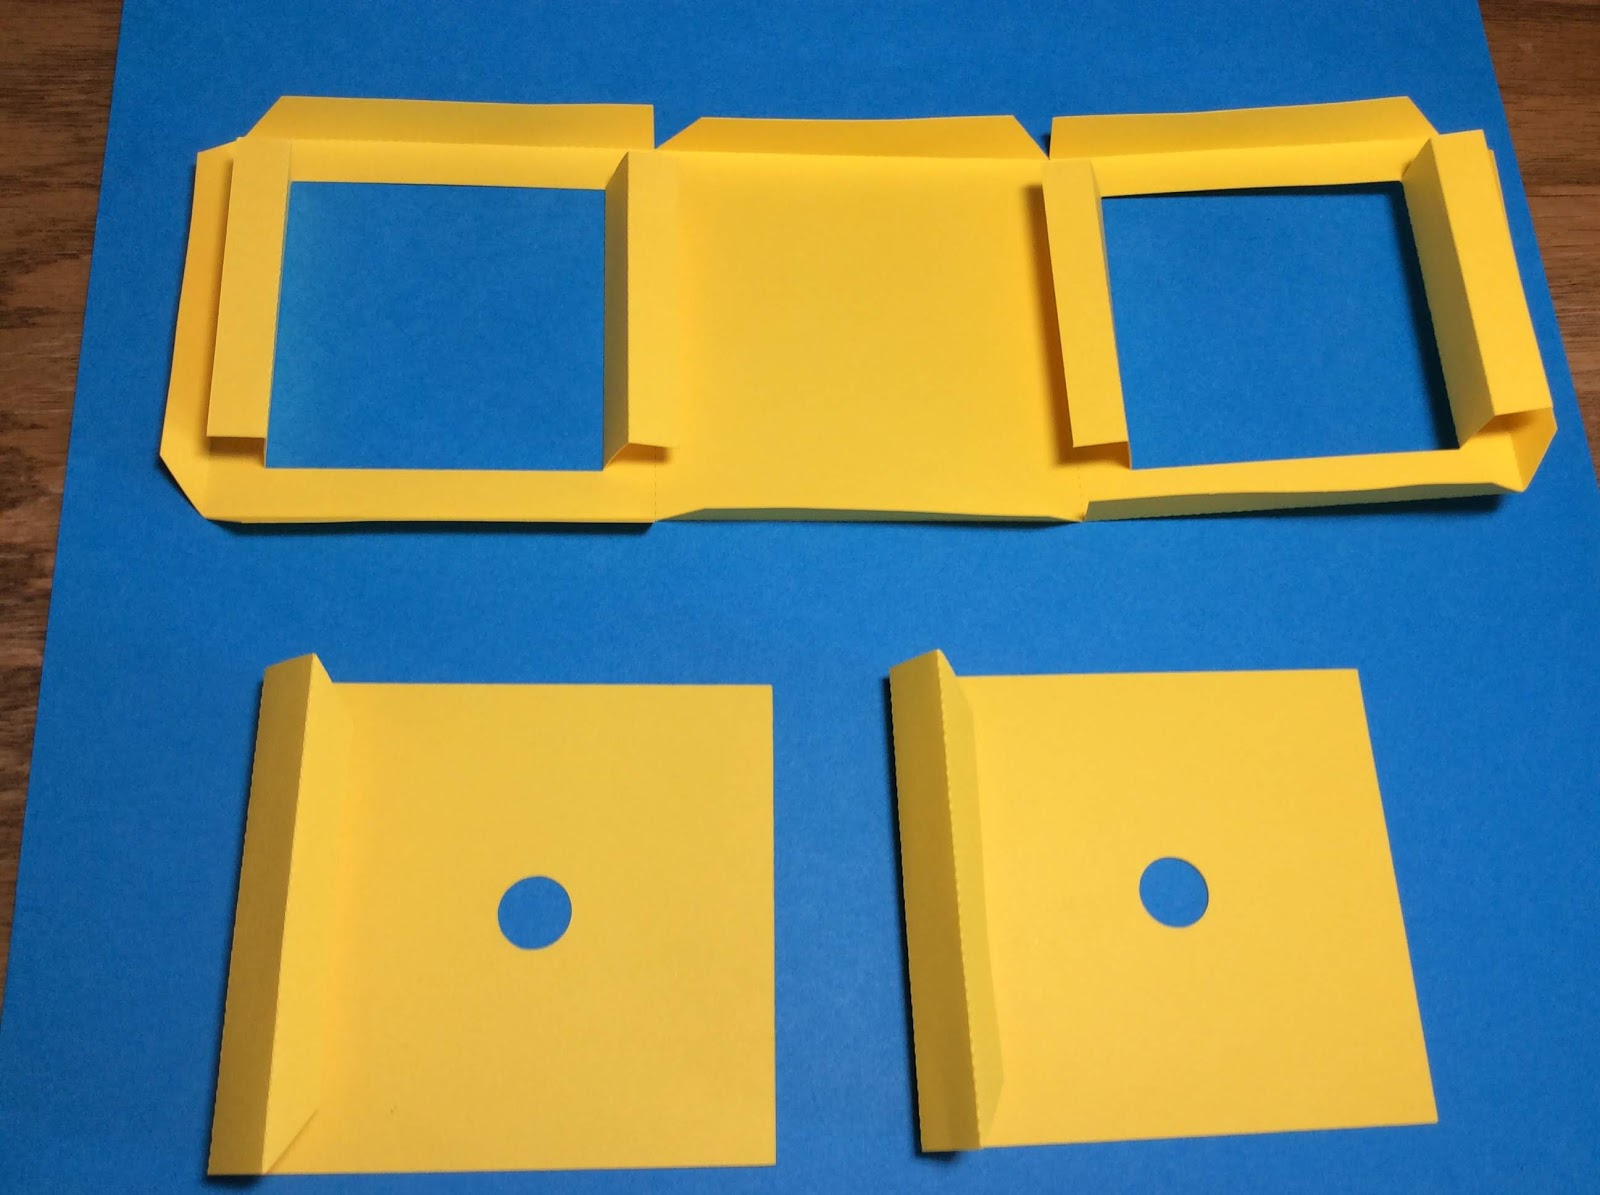
The square gear box has a vertical axle which animates a model. The directions  in this blog posting are for making the components of the gear box only.  See this blog posting for the file and directions for making the square presentation box which includes the main axle.  https://papercraftetc.blogspot.com/2019/02/rectangular-and-square-presentation-box.html


Here is the PDF. I used 65 lb cardstock.
https://drive.google.com/file/d/1M71Qh9EkPSLwsOq0rkA1zYdcrNgm_LoE/view?usp=sharing

Here is the .Studio file.
https://drive.google.com/file/d/1bccKWNde0rgWxB5ky6IiGuL5nYU8U0pN/view?usp=sharing


The main axle has a large gear and a hand crank attached. The large gear intertwines with a small gear.  This movement of the small gear moves another axle which animates the model.
 Main axle and hand crank
 Glue the main axle and hand crank into a four sided tube. Glue the end of the hand crank closed.  Its the side with just two tabs.
 Insert the axle into the center of the end cap. Insert the hand crank into the small offset square as shown above.
 Glue the tabs down to both the main axle and hand crank.
 Crease the bridge parts as shown above and glue together.

 Bend the center arch and apply glue to the inside fall the tabs.
 Slide the archway onto the bridge piece.
 Adhere the glue.  I had to use a wooden stick to help apply pressure to adhere the glue from the inside of the bridge.

 Make the gears by gluing the tabs together.  
Make sure when gluing the large gear that the center square is aligned properly.
 Crease the long axle. Apply glue to the one edge as shown.
 Fold in half and apply pressure to the area where the glue was applied.
 I used a dowel to open up the axle and to make the large axle into a tube.
 Glue the axle into the round circle as shown above.
 Thread the axle holder onto the axle.
 Thread the small gear onto the large axle. Use mini glue dots to prevent the gear from moving.  See photo where the glue dots were placed. 
 Apply glue to the axle holder as shown
 Attach the glued axle holder to the center of the bridge.
 Put two glue dots on the tab.
 Fold the tabs inward.
 Insert the large gear into the box and thread the axle with the crank through the hole in the side of the box, through the axle, underneath the bridgeand then through the hole on the other side of the box.

 The assembly should look like this photo.
 Thread an end piece through axle and glue the tabs down.
 Glue  an end piece on one side.
 And a crank piece on the other side.
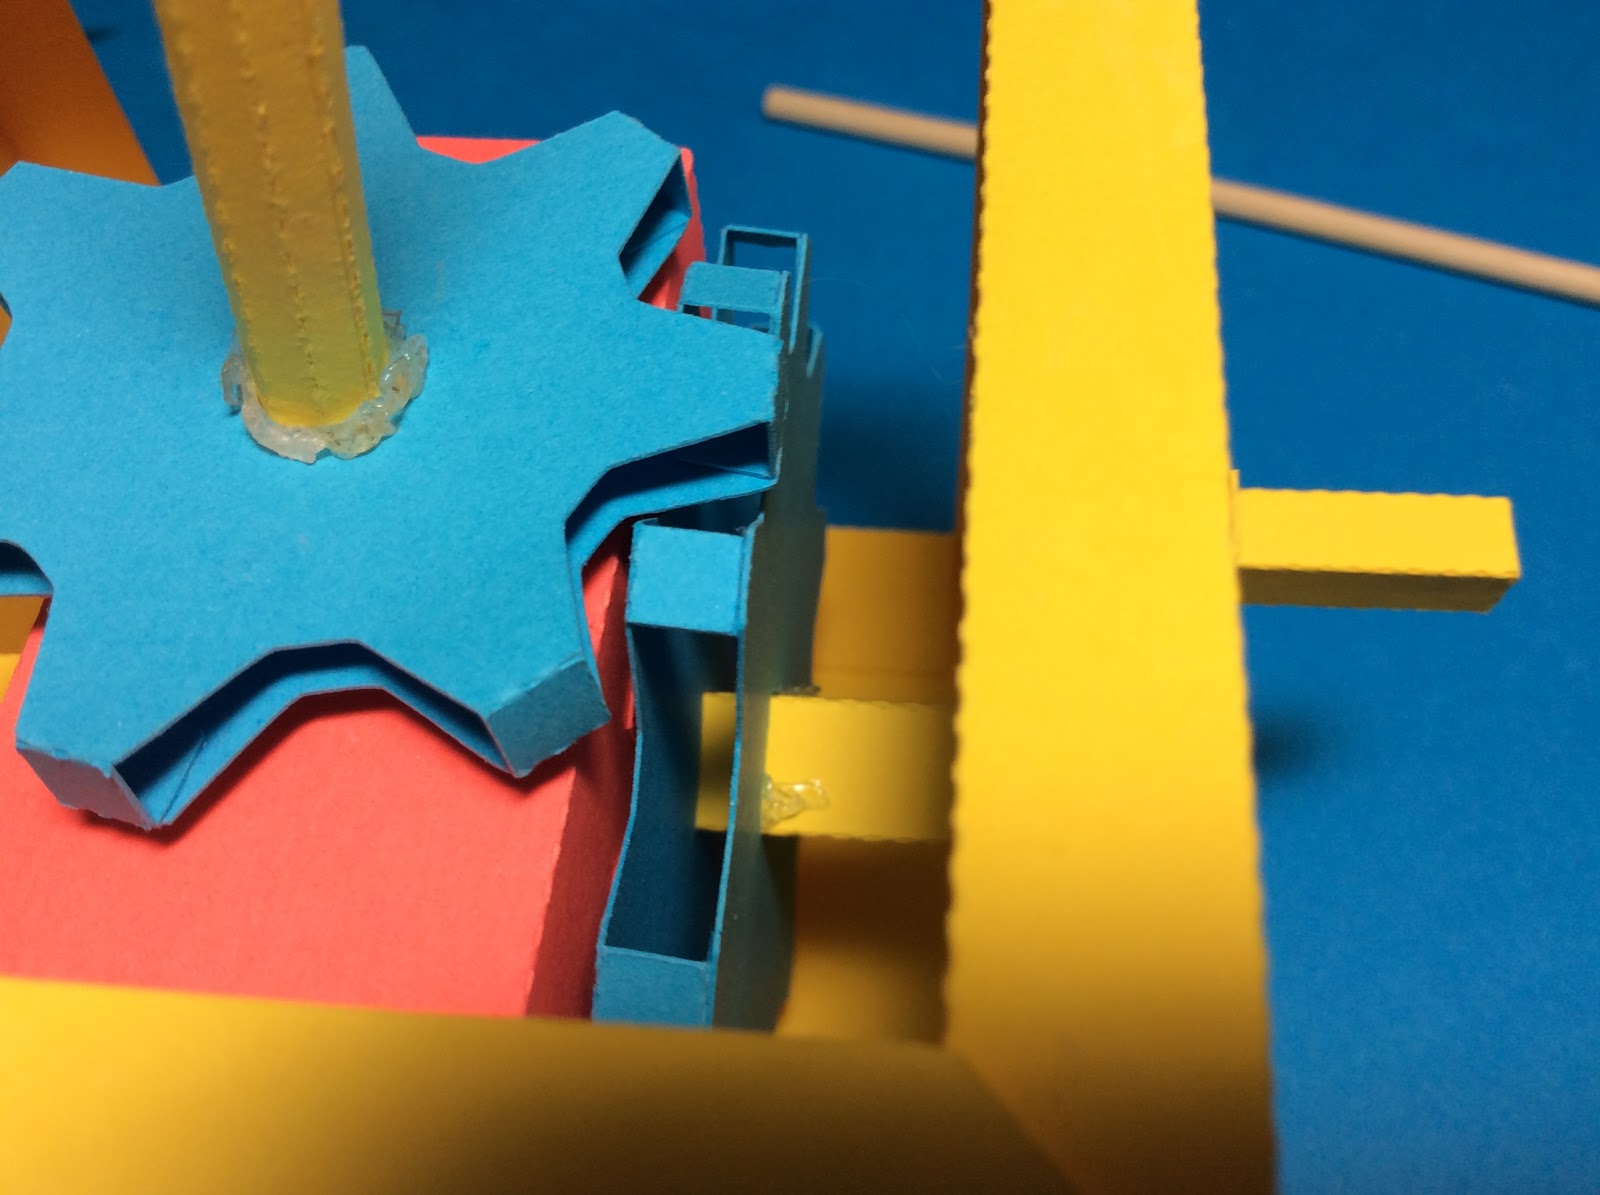
The gears should mesh.  Apply a few Glue Dots by the axle on the large gear.  You might have to use a pencil or a wooden stick to reach the axle.  The placement  of the Glue Dot is shown in the picture.  It is on the main yellow axle.  It is a little shiny blob. 


Gear Box in Motion


Rectangular and Square Presentation Box


Rectangular and Square Presentation Box

Presentation boxes are basic boxes.  The internal components will change based on the model being assembled. While the box that is described below, is square.  These directions are the same for making the rectangular box. Please note that these boxes have a hole in the side for an axle.  Your model might not have this hole and these directions will not change for your designated model.

There are two boxes in this file...a square box and a rectangular box. Pick the one you want to make.
Here is the PDF.  I used 65 lb cardstock.
https://drive.google.com/file/d/1I5C0lUtHOp9UlBslF2PnGCaXv58jY7sp/view?usp=sharing

Here is the .Studio file.
https://drive.google.com/file/d/1nrz1KI5wwiLmSueAzl1w7MZmE--pFKYP/view?usp=sharing


 Presentation Box Pieces
Crease the edges of the box as shown above.
 Apply glue to the tab of the side of the box.  Please do not put glue all the way to the point of each side.  This piece needs to slide into the main box piece. Put glue dots as shown.
 Adhere the isosceles triangle to the side wall for each side piece.  Triangles are a sturdy support feature of this box.
Glue four isosceles triangle on the main box piece.  
Notice that the top isosceles triangle forms a trapezoid at the top of the box ledge.
 Apply glue on all three sides as shown
 Adhere the side piece to the main body piece.  The isosceles triangle from the side piece slides into the main tab of the box. Repeat fo the other side piece.
 Apply a drop of glue in each of the four corners.
Completed Box

Thursday, February 7, 2019

Valentine Carousel Box


My carousel has been updated for Valentine's Day with hearts and cupids. This carousel can move because there is an axle built inside. Use my original directions from another blog post, to put the carousel together. https://papercraftetc.blogspot.com/2014/02/a-carousel-box-that-really-spins.html

Here is the PDF.  I used 65 lb cardstock.
https://drive.google.com/file/d/1ZmAVWGyCwVWt5gzAEmaZGL_gzEEVCsbT/view?usp=sharing

Here is the .Studio file.
https://drive.google.com/file/d/1CNeLtMnhpUcIK_mNAkxz4DJROJgy2PHM/view?usp=sharing


Happy Valentine's Day!

Friday, February 1, 2019

Valentine Pop-Ups - a Bear, Cat and Dog

Pop-up Bear, Cat and a Dog.  
I have included an envelope and a notecard in this file.

I love the way these Valentines pop-up when taken out of the envelope.  The envelope is not suitable for mailing but it is suitable for hand delivery.

I used 65 lb cardstock for the pop-up card.  I used copy paper for the envelope.

Here is the PDF.
https://drive.google.com/file/d/17RVcGIoKha_peBPCZN25SQTFbSV7DpET/view?usp=sharing

Here is the .Studio file.
https://drive.google.com/file/d/1Q_zO9lkcEhXVWI1Tj0KVLh2zPg3aqKE3/view?usp=sharing


 Fold the body pieces as shown above.
 Glue the accordion piece to the back side of the pet.
 Glue the heart to the back of the front piece.
 Apply glue to the accordion as shown.
 Quickly attach the front.  Move the heart if necessary for placement.  I recommend using Aleene's tacky glue as you can move the pieces a little before they adhere. Add a small heart to the pets chest and glue on its face.
 Beautiful collection of Pet Valentines
 Fold the envelope sides as shown above.
 Fold where the curve ends as shown above.
 Glue on the heart.
 I love the way that the cat is peaking out of the envelope.  The recipient will be surprised when the cat pops up when taken out of the envelope.
There is a tab closure on the envelope.