
Rectangular and Square Presentation Box
There are two boxes in this file...a square box and a rectangular box. Pick the one you want to make.
Here is the PDF. I used 65 lb cardstock.
https://drive.google.com/file/d/1I5C0lUtHOp9UlBslF2PnGCaXv58jY7sp/view?usp=sharing
Here is the .Studio file.
https://drive.google.com/file/d/1nrz1KI5wwiLmSueAzl1w7MZmE--pFKYP/view?usp=sharing

Presentation Box Pieces
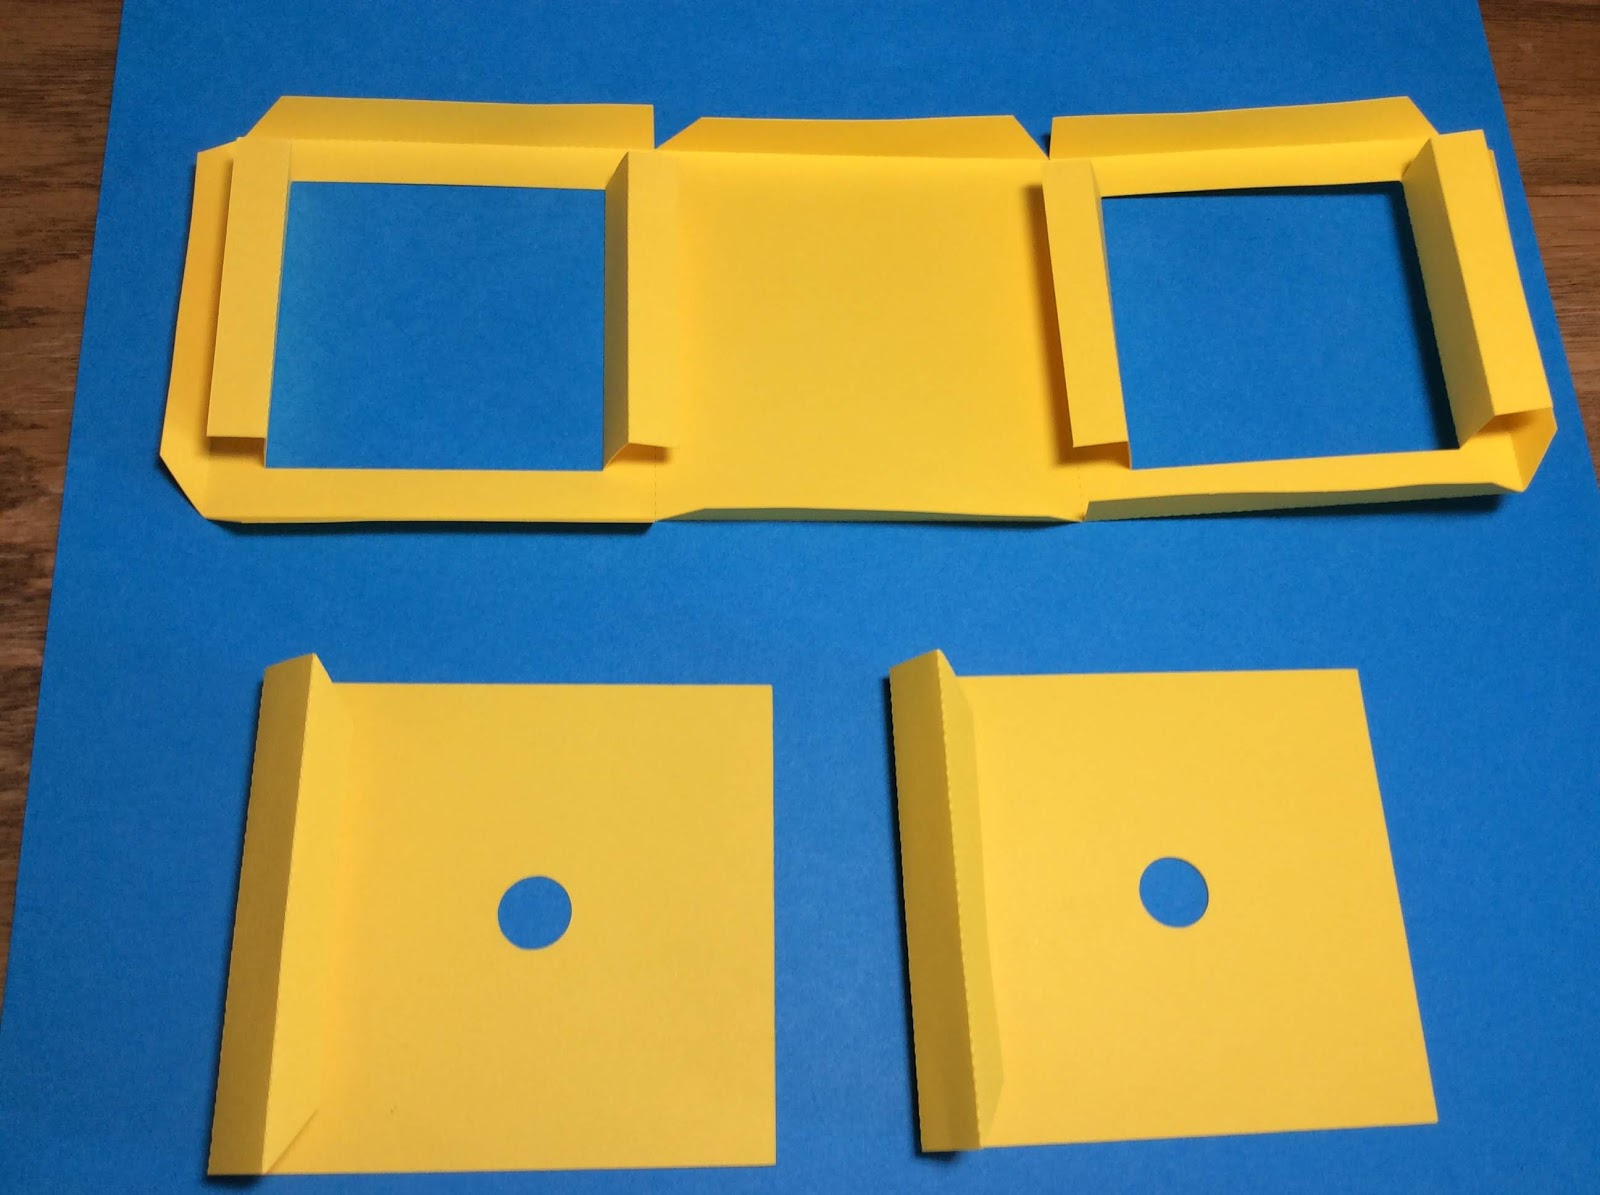
Crease the edges of the box as shown above.

Apply glue to the tab of the side of the box. Please do not put glue all the way to the point of each side. This piece needs to slide into the main box piece. Put glue dots as shown.

Adhere the isosceles triangle to the side wall for each side piece. Triangles are a sturdy support feature of this box.

Glue four isosceles triangle on the main box piece.

Notice that the top isosceles triangle forms a trapezoid at the top of the box ledge.

Apply glue on all three sides as shown

Adhere the side piece to the main body piece. The isosceles triangle from the side piece slides into the main tab of the box. Repeat fo the other side piece.

Apply a drop of glue in each of the four corners.

Completed Box
I love your work.
ReplyDeleteGrietje