
Square Gear Box
Here is the PDF. I used 65 lb cardstock.
https://drive.google.com/file/d/1M71Qh9EkPSLwsOq0rkA1zYdcrNgm_LoE/view?usp=sharing
Here is the .Studio file.
https://drive.google.com/file/d/1bccKWNde0rgWxB5ky6IiGuL5nYU8U0pN/view?usp=sharing
The main axle has a large gear and a hand crank attached. The large gear intertwines with a small gear. This movement of the small gear moves another axle which animates the model.

Main axle and hand crank

Glue the main axle and hand crank into a four sided tube. Glue the end of the hand crank closed. Its the side with just two tabs.

Insert the axle into the center of the end cap. Insert the hand crank into the small offset square as shown above.

Glue the tabs down to both the main axle and hand crank.

Crease the bridge parts as shown above and glue together.

Bend the center arch and apply glue to the inside fall the tabs.

Slide the archway onto the bridge piece.

Adhere the glue. I had to use a wooden stick to help apply pressure to adhere the glue from the inside of the bridge.

Make the gears by gluing the tabs together.

Make sure when gluing the large gear that the center square is aligned properly.

Crease the long axle. Apply glue to the one edge as shown.

Fold in half and apply pressure to the area where the glue was applied.

I used a dowel to open up the axle and to make the large axle into a tube.

Glue the axle into the round circle as shown above.

Thread the axle holder onto the axle.

Thread the small gear onto the large axle. Use mini glue dots to prevent the gear from moving. See photo where the glue dots were placed.

Apply glue to the axle holder as shown

Attach the glued axle holder to the center of the bridge.

Put two glue dots on the tab.

Fold the tabs inward.

Insert the large gear into the box and thread the axle with the crank through the hole in the side of the box, through the axle, underneath the bridgeand then through the hole on the other side of the box.

The assembly should look like this photo.

Thread an end piece through axle and glue the tabs down.

Glue an end piece on one side.

And a crank piece on the other side.
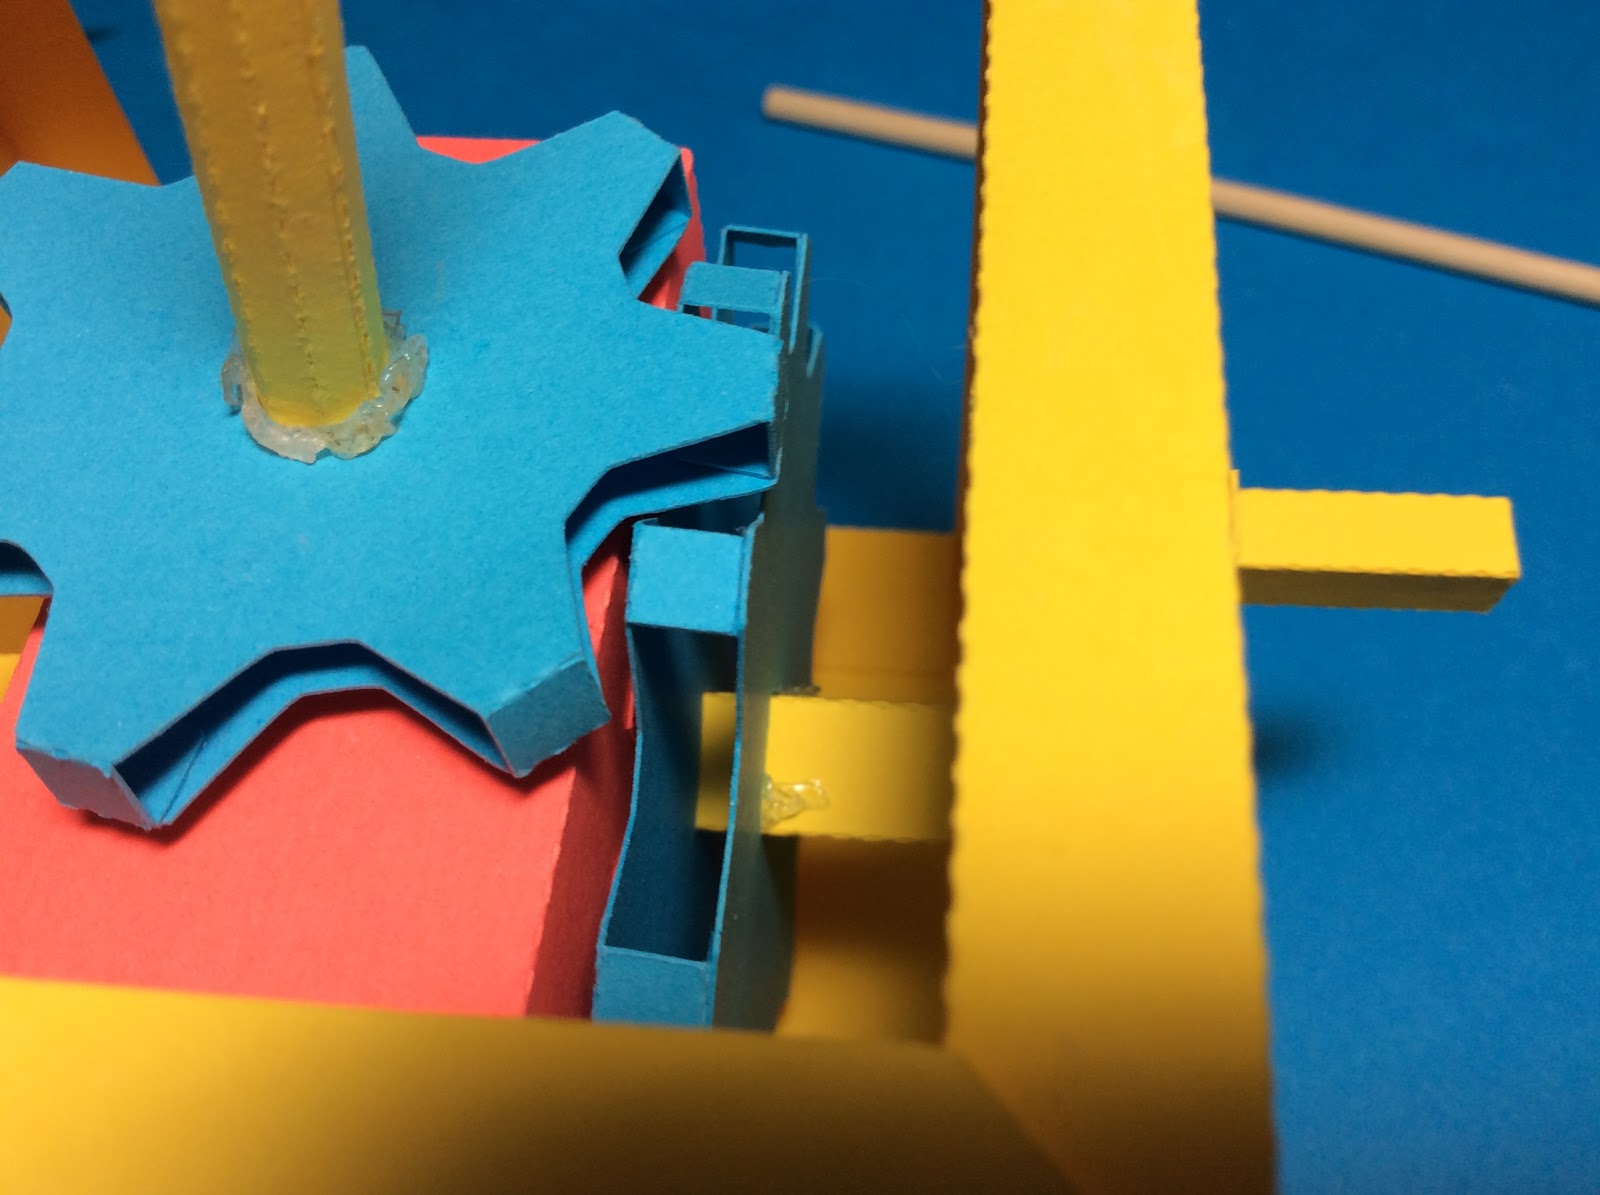
The gears should mesh. Apply a few Glue Dots by the axle on the large gear. You might have to use a pencil or a wooden stick to reach the axle. The placement of the Glue Dot is shown in the picture. It is on the main yellow axle. It is a little shiny blob.
Gear Box in Motion
No comments:
Post a Comment