Stitch Markers for Amigurumi Crochet
I bought an Amigurumi crochet kit at Michaels and discovered that the kit did not include a stitch marker which works as a place holder for the start of the round for the crochet pattern. The stitch marker opens and closes like a safety pin. I was going to purchase a medium size stitch marker but the package of 20 was nine dollars! I was astonished at the price. I didn't want to spend that much money for some stitch markers. I thought, I can 3D print that. And so I did. Here is how I did it. And I made it in two different sizes!
My stitch marker project in Tinkercad. https://www.tinkercad.com/things/0wISXYdyOwp-stitch-marker-for-amigurumi-crochet
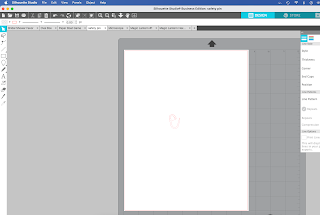
Using the Silhouette software, I designed a stitch marker which will have three layers. (Each layer must be a closed figure with no broken points that are red in point editing mode.) I saved each layer separately and in the same location in Silhouette so that the image will be in the same location in Tinkercad so I do not have to align the layers.
I placed the layers on top of one another as shown above in Silhouette I saved each layer separately. I saved just the bottom base layer (I deleted the middle and top layer ) as an SVG using the file command. I called mine, stitch marker #1. (You must have the Designer Software in order to save the image as an SVG using the Silhouette software.)
Using the Undo command, highlighted in the top left in blue. Save just the middle layer by deleting the top and bottom layers, as an SVG called stitch marker #2.
Again using the Undo command, delete the middle and bottom layers and save the file as an SVG called stitch marker #3. Once all of the layers have been saved, go to the Tinkercad software.
In Tinkercad, Import the bottom base layer and change the height of the layer to .04 inches in the Shape box. This layer will then be approximately 1 mm thick. (The whole design is 3 mm or .12 inches thick.)
Import the middle layer and change the height of the layer to .04 inches in the Shape box. Notice that the middle layer is inside of the base layer.
The middle layer needs to be raised up by .04 inches from 0.
Repeat for the top layer by importing the top layer and changing the height of the layer to .04 inches in the Shape box. Click on the red arrow and change the height to .08 The top layer is now raised up to that height.
A close up look of the stitch marker in Tinkercad.
Group the layers together
Duplicate the shape and make the width and length 85% smaller. This is a two step operation. First double click one side and change the value to 85% and then change the other value to 85%.
I now have two sizes of stitch markers.
Save the file in Tinkercad for the 3D printer.


No comments:
Post a Comment