
Image of an onion bulb epidermis as seen with an iPhone Magnifier

Simple Components of a Marble Microscope
Lens holder with glass marble inside, Slide carrier and a glass marble lens

Simple Microscope Assembly Using a Glass Marble
The microscopic world is an amazing environment to explore. A drop of water placed on a piece of wax paper can begin your journey of magnifying objects. The drop of water forms a round blob because of surface tension on the wax paper. Using this water blob, you can magnify objects.
In this blog posting, I use a clear glass marble from the Dollar store to make a simple magnifying lens.
Here are the files to make the lens holder and the slide holder. I have three versions of the files. The first is a PDF where you can cut out the pieces with scissors. The second file is for the Silhouette and the third file is all other electronic paper cutting machines.
Materials needed. - Glue Dots, Glass Marble and a Tea Light
Here is the PDF. I used 65 lb cardstock.
Here is the .Studio file for the Silhouette.
Here is the SVG. The file goes beyond the viewable area. Zoom out to see the entire file.
Make the Box - The top and bottom construction is the same. The box top and bottom are two walled. This produces a sturdy box.

Crease the box top as shown above and apply glue to the two tabs on the sides.

Apply glue to the four tabs inside the box as shown above. Adhere the box top.

Apply glue to the top of the box and adhere the second wall of the box top.

Repeat the construction for the bottom of the box.

I used a Glue Dot to center the tea light to the center of the bottom.

Put the cover on the box. Apply Glue Dots to the two tabs of the slide carrier.
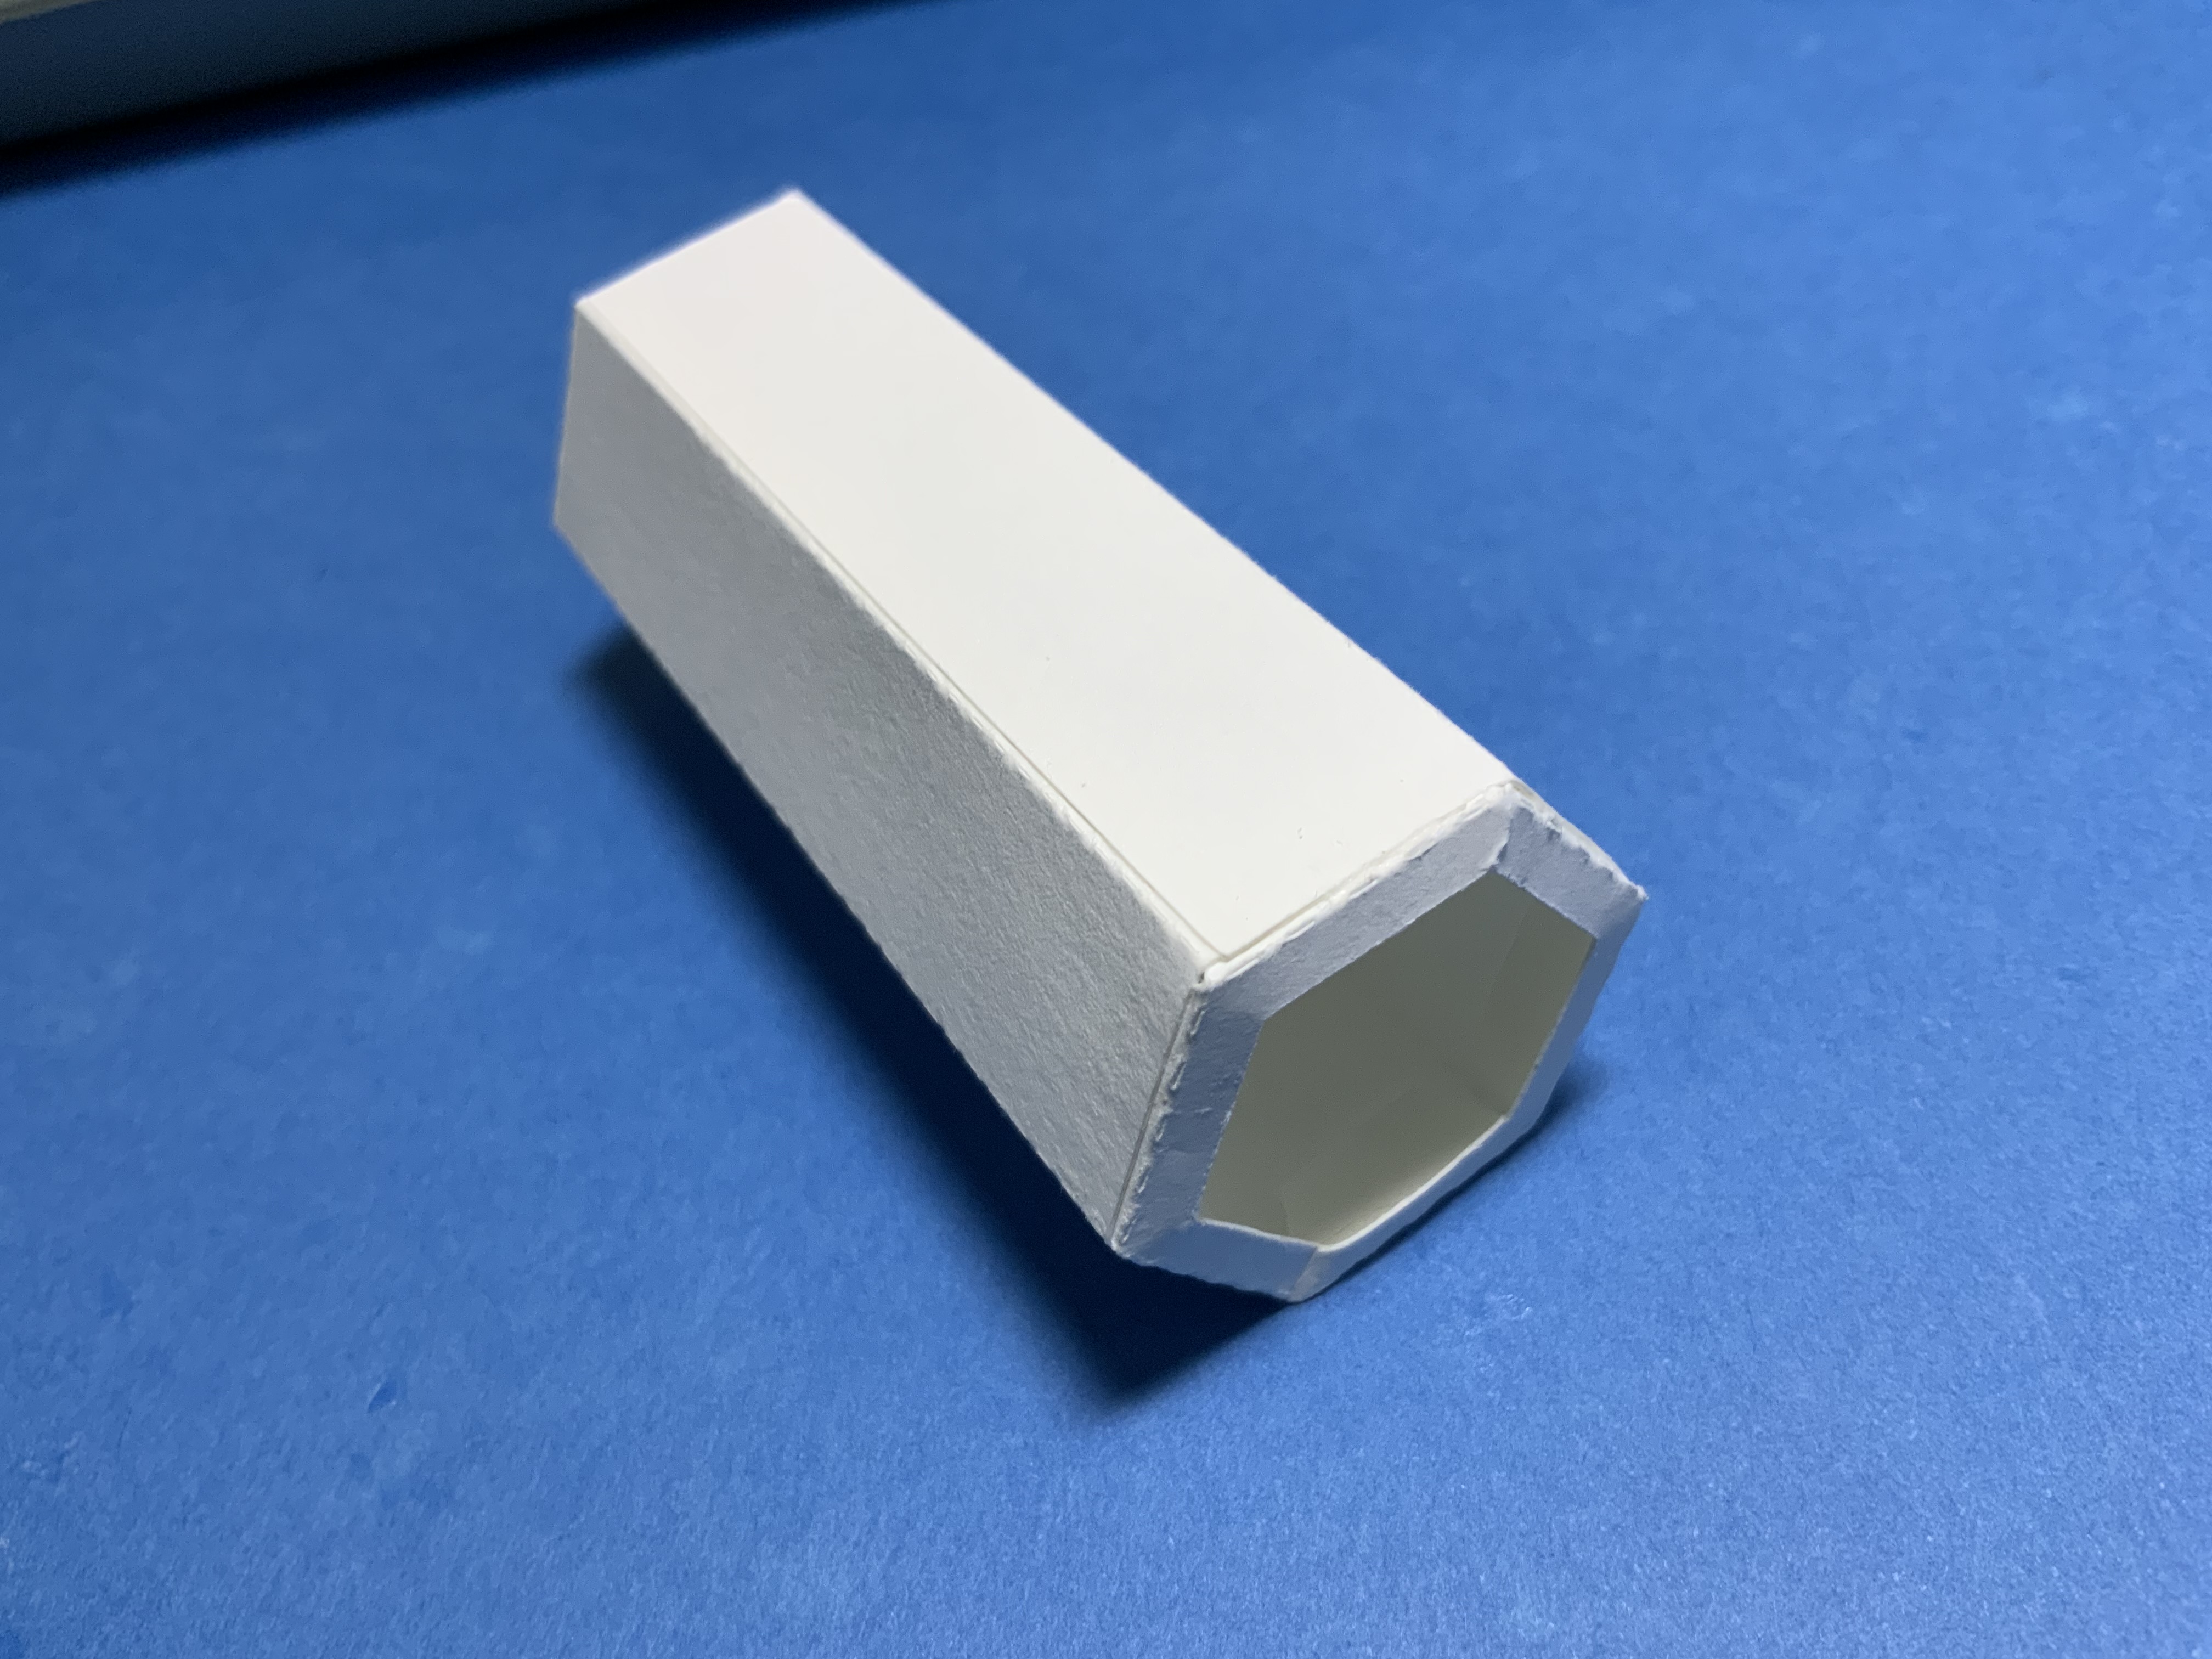
Make the Lens Holder

Crease the tube and apply glue to the side tab. Shape the tube into a hexagonal tube. Apply glue to the lens holder on the six tabs.
Insert the lens holder into the tube.

Crease the two strips into a circle.

Apply glue to the two circle tabs and adhere.
Glue the two discs together.

Glue the circle onto the disc. Repeat for the second one.

Insert the glass marble into the smaller side. Apply glue to the top edge of the larger side.

Adhere the two sides together.
Assemble the Viewing Platform

Insert the slide into the slide carrier.
Place the slide carrier on top of the lite box. Place the lens holder on top of the slide carrier.
i made one with 5 marbles, but they got too blurry
ReplyDelete