In my last blog posting, I made a Birthday Tumble Cube. In this posting, I used the same concept but adapted the cube to have just eight drawers. This Tumble Cube Hanukkah Box is a fun present to give to a child or an adult because they could open one drawer for each of the eight nights of Hanukkah. Small treats can be a put into the eight drawers such as a Hershey Kiss, Shopkins, stickers, or a quarter.
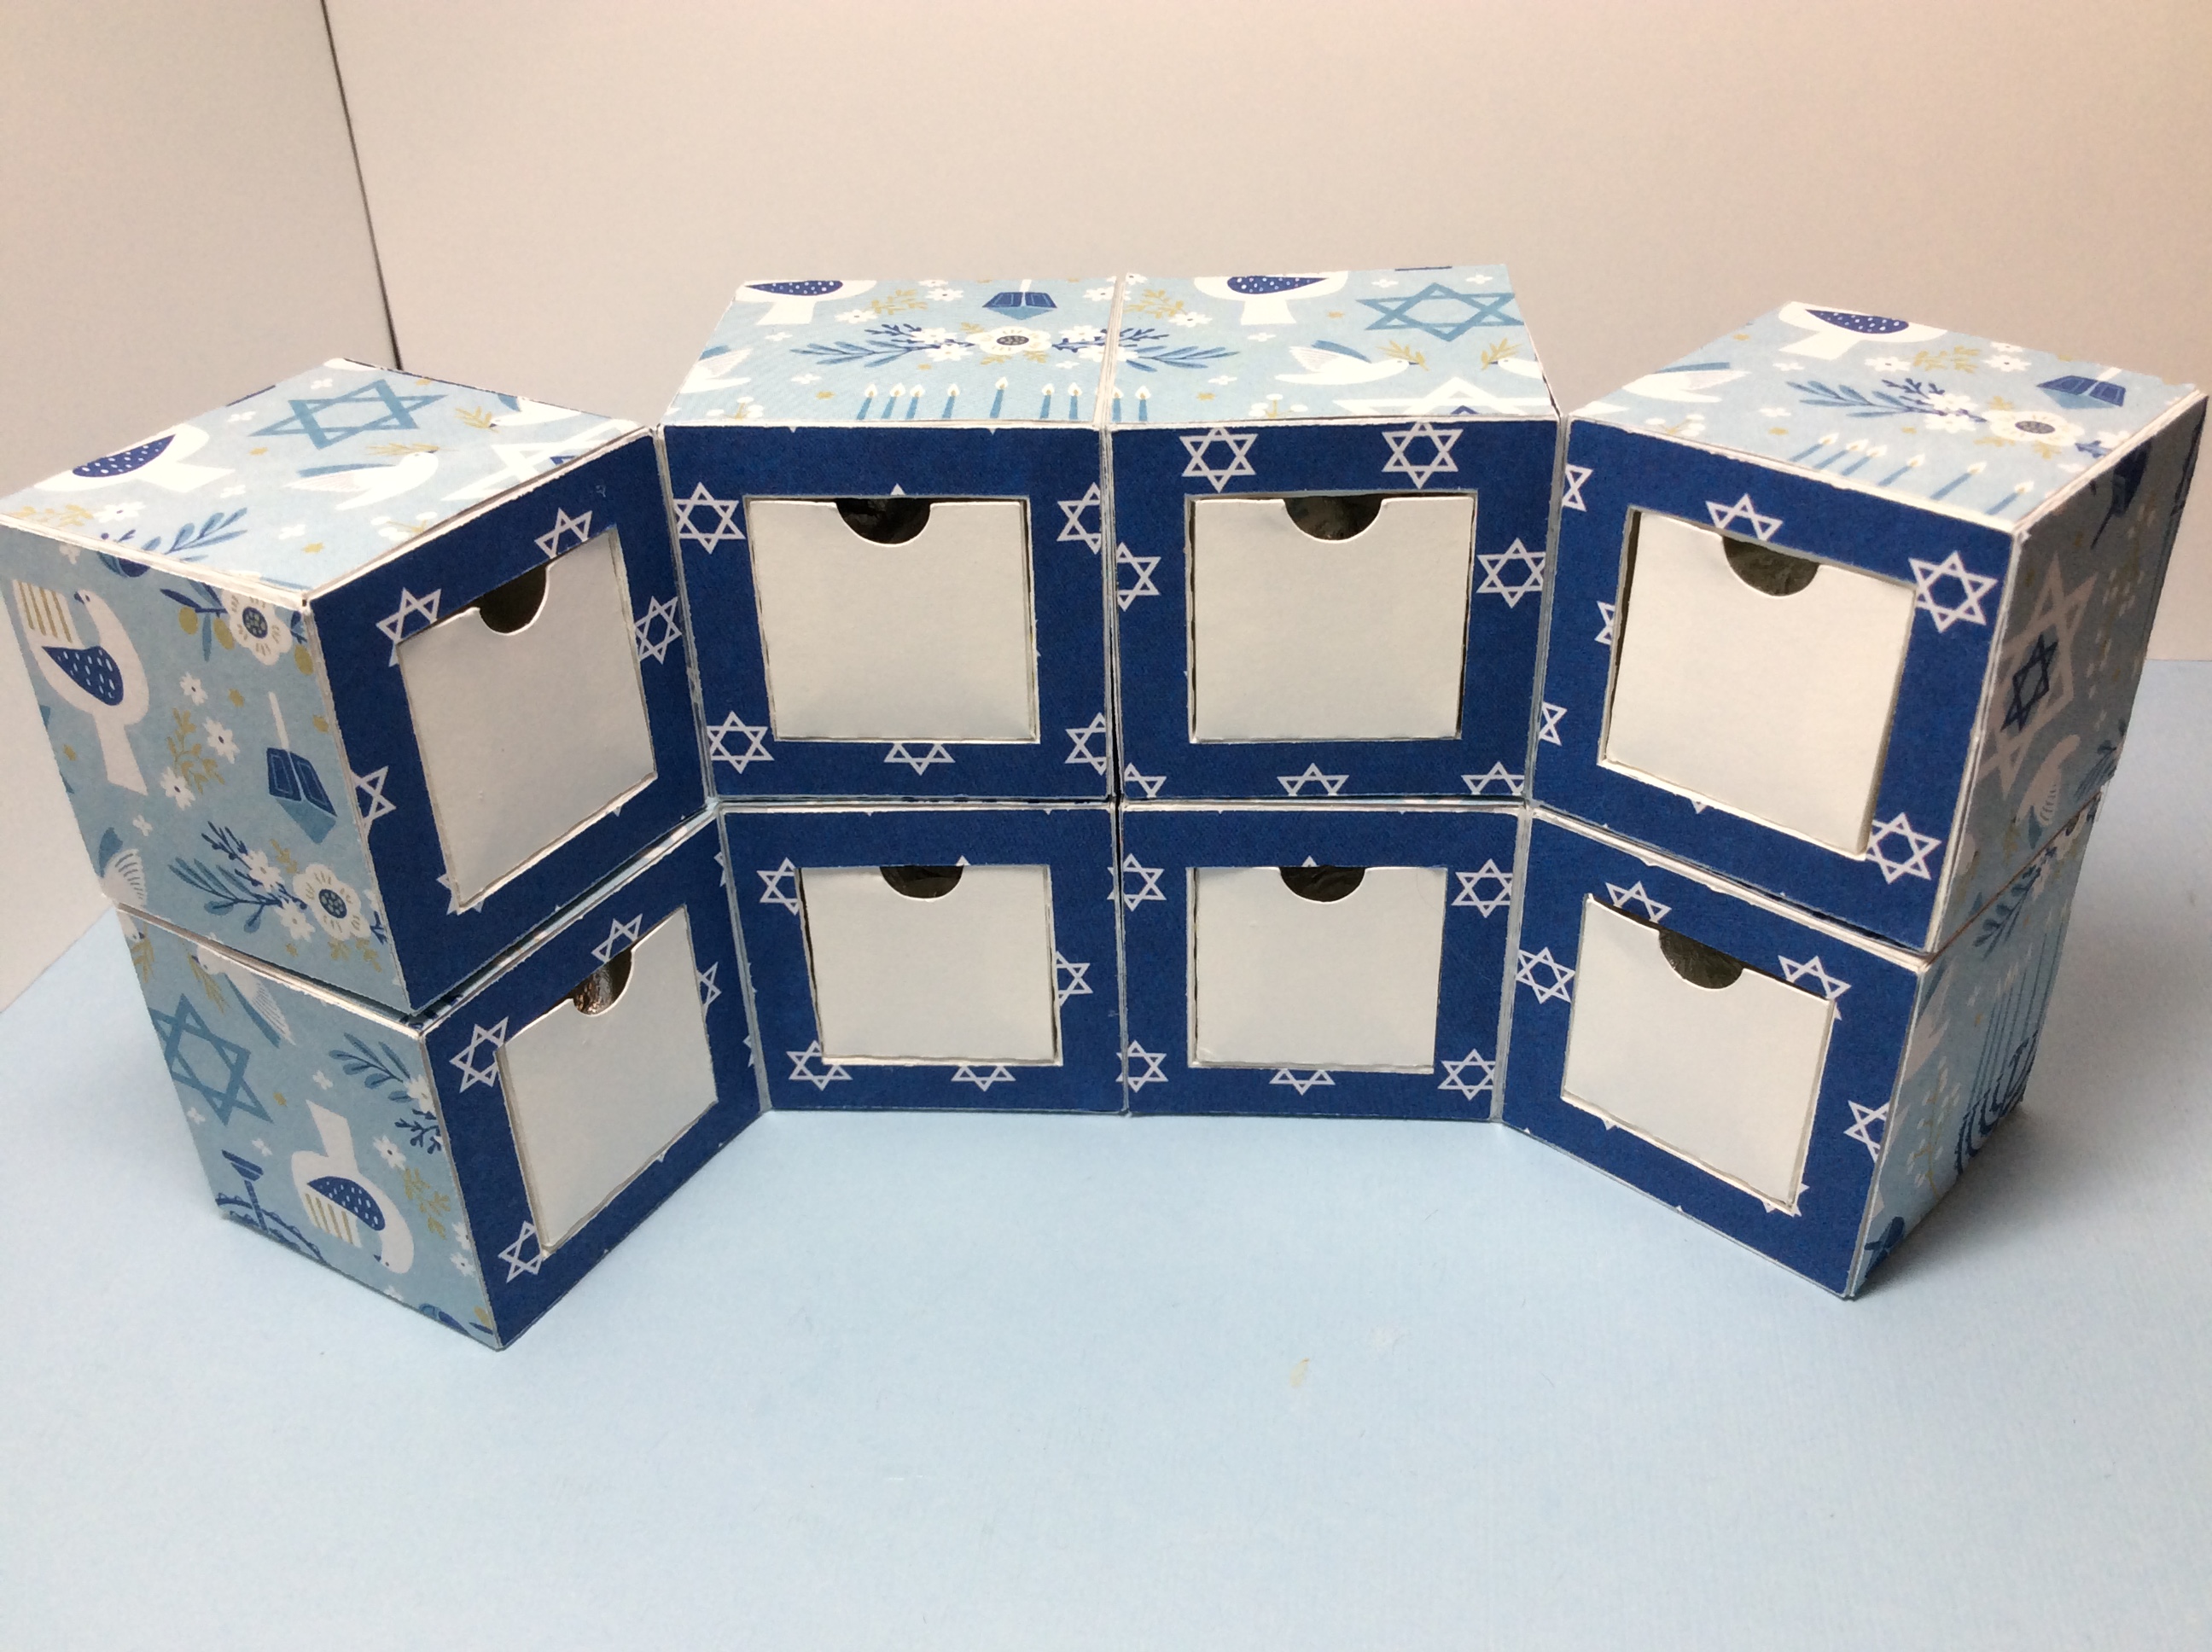
A tumble cube is eight cubes which are tape together. The eight cubes have a drawer on one side which is 1 1/2 inches in depth. The drawer can hold two Hershey Kisses perfectly.

When flexed, the eight cubes form one larger cube.
Watch the video of my Birthday Tumble Cube in action to see the mesmerizing movements of the cubes.
Here is the PDF file. I used 65 lb. white card stock from Walmart for the cubes and Hanukah paper from Michaels for the skin of the cube. I used Scotch Packaging Tape to tape the boxes together.
Here is the .Studio file.
Here is the SVG. The file extends past the viewing area.
Make Eight Cubes

Crease all of the fold lines. Fold the inner window to create a platform. This platform lies flat when the first tab is glued to the box. It will pop up when the window is placed at a right angle to the base. The platform is for the drawer to slide evenly into and out of the box.

The six folded lines around the two cross pieces create triangular beams. These triangular beams provide a sturdy corner so that the cube does not collapse easily. Apply glue to the six outermost tabs and adhere them all into triangular beams. Apply glue to the outer edge of the triangular beam and the bottommost tab.

Adhere into a cube. I like to apply glue to all of the tabs and then form them into a cube. Align all of the edges so that they are all perfectly at right angles to one another. Precision does matter.

The cube is complete with a platform at the base for the drawer. Repeat for the other seven cubes.
Make the drawers

Make the drawers by gluing and adhering the tabs.

Completed cube and drawer.

Insert the drawer into the cube.
Attach the Eight Cubes Together

Tape the cubes together at the six locations indicated above. I used Scotch Packaging tape. The tape needs to be durable because it will be under a lot of stress when the cubes are moved around. Apply the tape precisely as the tape needs a good bond. (The tape on the far side was not cut to size as I wanted to show that tape is applied to this side.)
Please be aware: the tape needs to be the exact length of the box and can not overhang. The tape should not interfere with the movement of the drawers when they are opened and closed.

Flip the boxes over to the other side.
Tape the cubes together at the two locations indicated above. The box can now be flexed into different configurations.
Glue the Pretty Paper to the Boxes.

There are eight windows. Glue and adhere the window frames around the drawers.

Glue on the 40 squares to complete the tumble cubes construction.
Make the box to contain the Tumble Cube (photos from my previous Birthday cube)

Cut out the bottom of the box and crease the tabs as shown above.

Glue the bottom two tabs of the sides to the center square as shown above.

Glue the sides together to complete the bottom of the box.

Glue and adhere the tabs for the top of the box.

Completed box.

The tumble cube fits perfectly into the box.

The Tumble Cube Box makes a delightful gift when wrapped with a beautiful bow.
Génial ! J'attends avec impatience la version calendrier de l'avent, c'est vraiment très chouette ...
ReplyDelete