
Haunted Halloween Mansion With a Rotating Witch Driven By a Hyperduino/MicroBit using MicroBlocks Programming
Here is a video of the Haunted Halloween Mansion in action
This Halloween scene uses a Hyperduino and an attached Adafruit Metro M0 Express to operate a yellow motor to twirl a witch around a lamp post and LEDs to light up this Haunted Halloween scene. MicroBlocks, a blocks based programming language was used to code the LEDs.
The scene includes a silly witch who has lost her bearings when she hits a lamp post and breaks her broomstick. Three happy Jack-O-Lanterns sit in front of a gnarly tree with cats and ghosts hovering around to add their holiday spirit to this Halloween scene.
Here is the PDF. Supplies needed - 65 lb. cardstock, a yellow motor, 6 strand LED lights, Glue Dots, Aleene's Tacky glue and a foam sheet.
Here is the .Studio file.
Here is the SVG. The SVG file goes beyond the viewable area. To see the entire file, zoom out.
Make the Presentation Box For the Hyperduino with the Metro M0 Express

Create a three sided box by folding the dotted areas as shown above

Apply glue and adhere the tab as shown above to create a triangular prism. These triangular prisms create a sturdy support structure for the box.

Apply and adhere the bottom tab. This side will now be at a right angle to the bottom. Repeat this instruction and the one above for the other side of the box.

Side view of three sided box. Set this aside to make the square sides.

Fold the dotted areas and apply glue as shown above. Notice there is no glue on each side (triangular area) of the tab. This area needs to be be free of glue as this will be where the sides slide into one another. Adhere the tab to create another triangular prism.

Apply glue to the three outer flat edges and the bottom tab as shown above.

Align the bottom flat edge of the square side to the three sided box and then slide the two side tabs of the three sided box into the square piece. Align the top edge to create a mitered corner. Adhere the bottom tab to create a triangular prism.

Completed side. Repeat for the other square side piece.

Completed presentation box.
Make the Haunted House

Glue three ghosts to the haunted house

Align the rectangular base as shown above.

Apply glue to the bottom tab of the haunted house so that the tab will face the front edge.

The base should look as shown above. The tab must be facing front so that the other tab can be inserted and it will be facing the opposite direction.
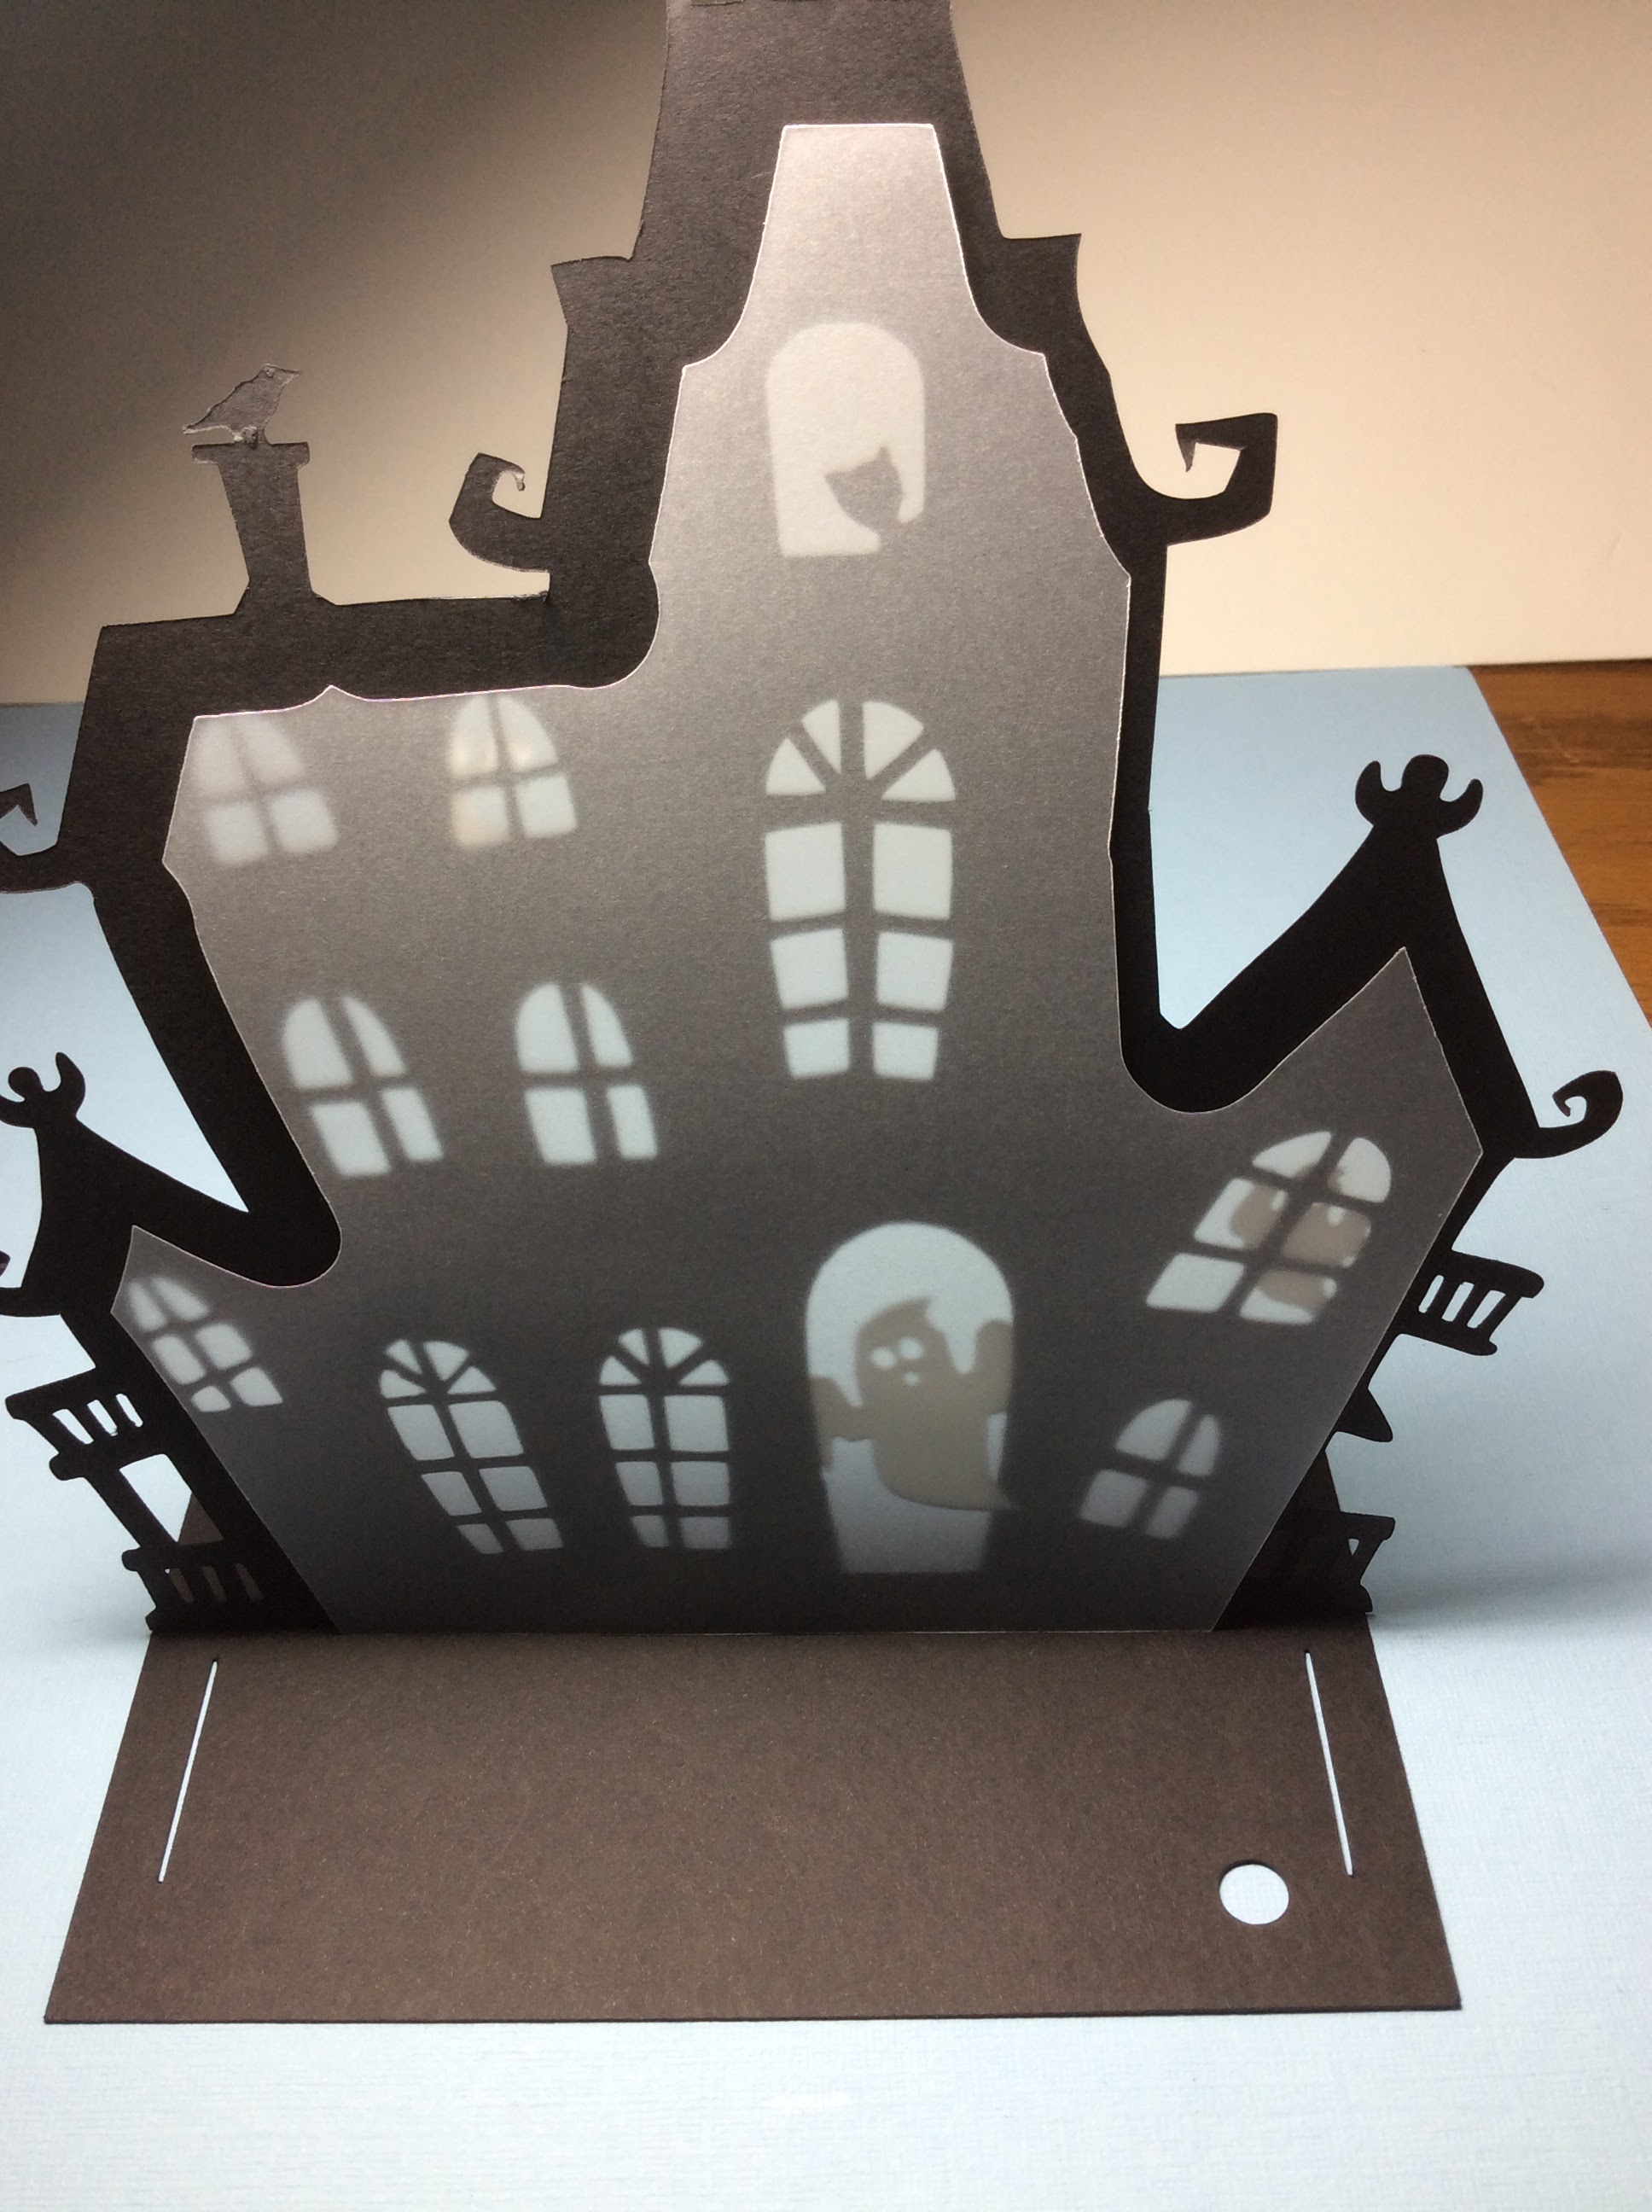
Align the vellum to the back. It will be glued later.

Insert the tab of the haunted house back so that it is facing the back edge.

Apply a few drops of glue to the vellum after the back and vellum have been aligned to the front of the house. Make sure the windows are centered correctly.

Crease the gate tabs as shown above.

Glue and adhere the gate tab towards the outer edge.

Repeat for the other gate.

Insert the side tab of the gate sandwiched into the backside of the haunted house.

Repeat for the other gate.

View of the gates.

Apply glue to the tab of the back of the haunted house. Adhere the tab towards the back edge.

View of the tabs that have been glued.

Apply glue to the backside of the haunted house. Adhere to the vellum and the front of the haunted house.

I noticed some buckling so I applied additional glue to some areas.

Make the square beam support for the tree by creasing the dashed lines and glueing the tab.

Make a beam at the bottom of the tree with the cat.

Insert and glue the beam to make a 'T' on the backside of the tree.

Glue on the pumpkins.

Insert the two tabs of the tree, apply glue and adhere the tabs towards the front.

Apply glue to the bottom beam of the tree.

Crease the ghost with dotted lines and glue in back of the tree.

Make the lamp post by creasing the pole. The lamp post can be folded flat for gluing and adhering. Once the glue adheres, make the lamp post into a tube. Make the top of the lantern into a pyramid and glue the other portion of the lamp together.

I used a diode to simulate a light.

Insert the diode into the lamp post. Glue the light together. Glue the witch to the lamp post. The witch can be slightly creased around the post to make it seem like she has hit the post.

Cut out four 2 1/2 inch x 2 1/2 inch squares for a foam sheet. I used Glue Dots to adhere the foam pieces together.

Attach the sandwiched foam sheet to the bottom of the presentation box.

Apply a Glue Dot to the bottom of the MicroBit.

Adhere the Hyperduino/MicroBit to the foam sheet.

Wrap a Glue Dot around all six LED lights.

Insert the LED connector to the Hyperduino. I used a mini clothes pin to contain the rainbow wires from the LED lights.

Apply glue to the top of the presentation box and adhere the base of the haunted house.

Insert the wires from the yellow motor into the Hyperdino.

All of the LED's have Glue Dots around the edge of the light.

Insert each LED and adhere the light with the attached Glue Dot.

The yellow motor has a white shaft.

Slide the lamp post onto this shaft. Optional, the piece which is a circle with a hole in the middle can be slid onto the lamp post to provide stability for the lamp post.

Make support beams on the bottom of the three trees. Glue the trees where desired.
Add additional ghosts as desired.

The haunted mansion is now ready to be connected to your computer using MicroBlocks.
Please visit https://microblocks.fun/ for more information on how to program with MicroBlocks and SNAP!
Here is the code in SNAP! to run the motor and LED's. https://snap.berkeley.edu/snap/snap.html#present:Username=papercraftetc&ProjectName=Haunted%20Hous
No comments:
Post a Comment