
A Rubber Band Pop-Up Haunted House - Side View #1

Side View #2
This rubber band pop-up card is an engineering marvel. It combines a rubber band mechanism with a house which pops-up when removed from an A4 envelope. An A4 envelope is 4 1/4 in. x 6 1/4 in. The recipient of this card will be astonished when the flat card opens into this amazing three dimensional haunted house for Halloween.

The rubber band expands when the base is pressed down at the seam that is opposite to the internal diagonal. When the side pressure is released, the expansion tension on the rubber band is released and the rubber band returns to its natural state This phenomenon allows the form to deploy and become three dimensional.
Here is the PDF. I used 65 lb. cardstock. A one inch rubber band is required for the pop-up base. (The rubber band is similar to the rubber band used on a Rainbow Loom.)
Here is the .Studio file.
Here is the SVG.
Make the Pop-Up Rubber Band Base

There are two sides to the rubber band base. Each side is folded over to create a two-ply base. Crease the paper as shown above.

Glue the folded sides together.

Glue the tabs together. Make sure that the slits are going in the same direction.

Slide the one inch rubber band into the slit and align the rubber band with the round hole in the base of the slit.

Fold the base so that a square is made with a diagonal in the middle. Slide the rubber band into the slit and align the rubber band as before. There is a gap in the diagonal.

Apply a Glue Dot into this gap.
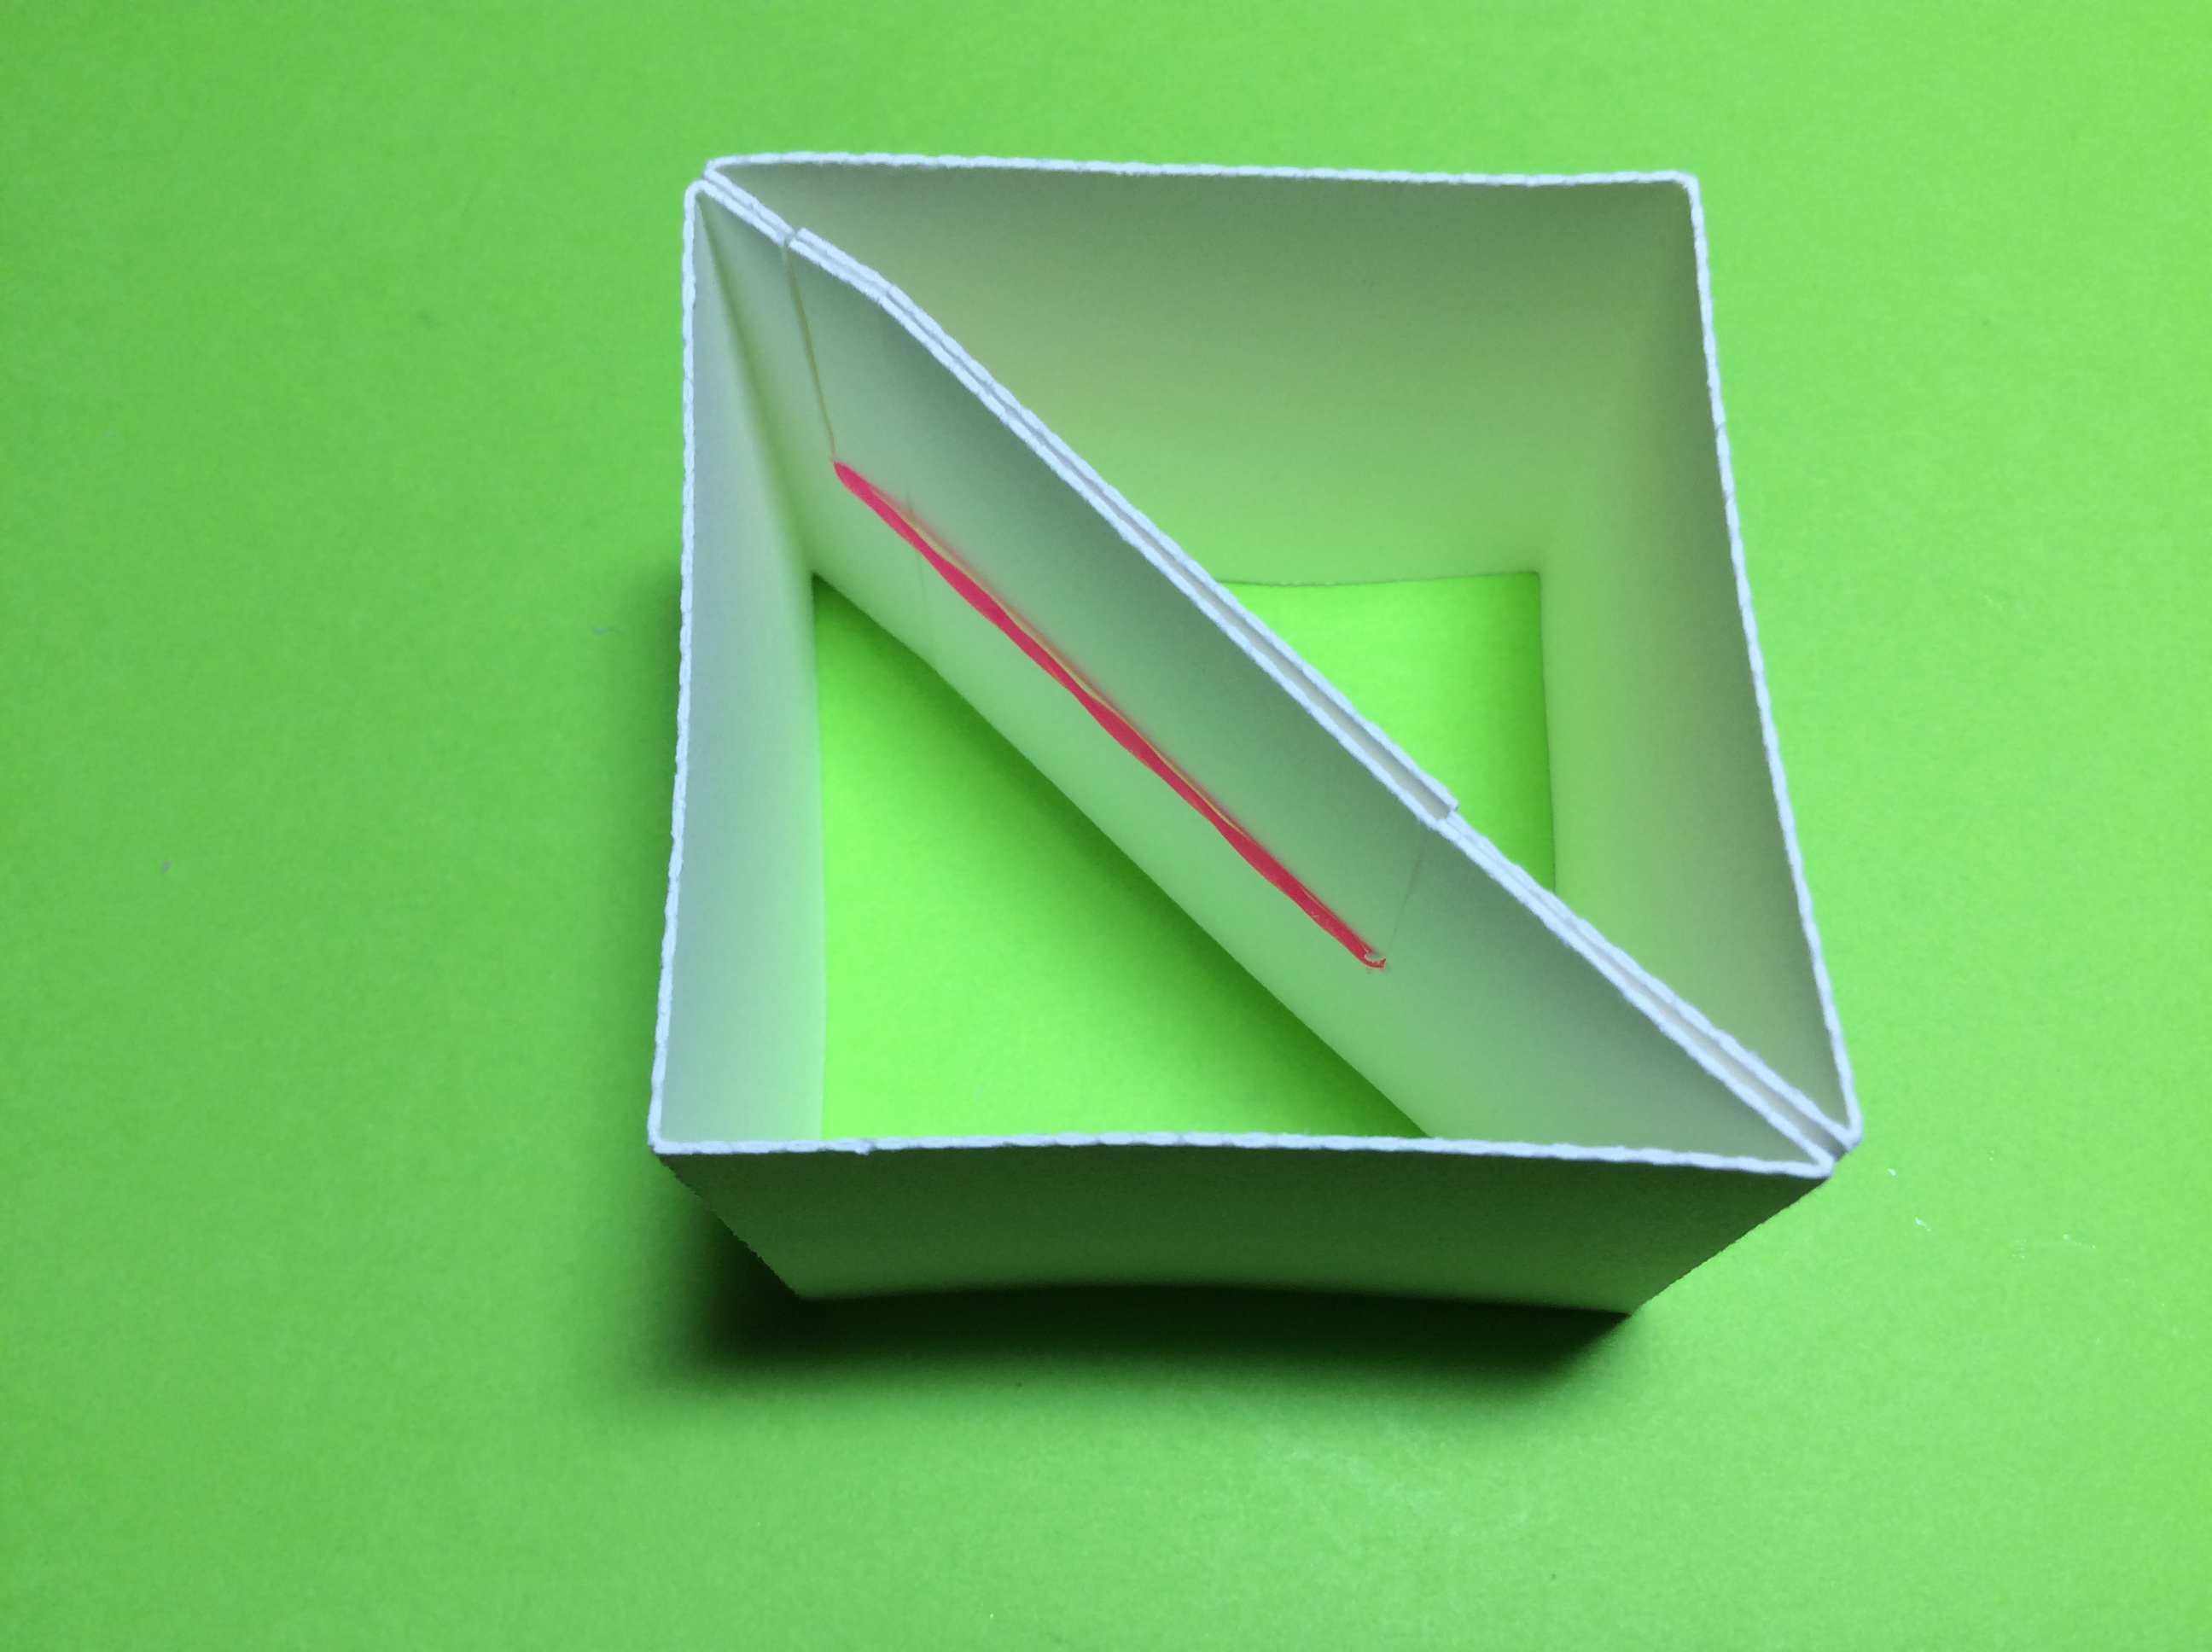
Rubber Band Base
The base can be flattened when the corners without the diagonal are pressed inward.
Make the Haunted House

Wrap and glue the velum to the pop-up base as shown above. Do not use a lot of glue. I glued just the base of the vellum.

Glue the ghost in the doorway. Wrap and glue the house around the vellum. Again, do not use a lot of glue. I applied glue on the bottom and top of the velum and then adhered to the house.

Apply glue on the roof beam and fold in half.

Apply glue to the outer triangle that were formed.

Attach the triangles to the peak of the roof line on both sides. Allow the glue to dry before proceeding to attach the roof.

Glue on the roof tiles to the roof.

Apply glue to the roof line in the two locations shown above. Attach the roof.

Make the trees by creasing the dotted lines into a beam. Glue on the embellishments to the house as desired.
Hope you enjoy making this Haunted House as much as I did!
Happy Halloween!
Bonjour de France,
ReplyDeleteJ'adore vos créations et je prends un réel plaisir à les refaire... Merci beaucoup pour vos partages et vos explications toujours très claires.
Encore un grand merci. Amitiés de France. Suzanne.
Thank you Suzanne! It warms my heart to think that I have a friend in France! I am so happy that you enjoy my designs.
DeleteThis is brilliant and I can't wait to try it (and many other things on your blog, which I just discovered)! I've made similar birthday pop-up cubes, but never thought of a house! Thank you for sharing your steps, files, etc.
ReplyDeleteIf you don’t mind working with computer code, you can change the design of the house too. Instructions are in this blog posting. https://papercraftetc.blogspot.com/2022/10/coding-generalized-house-wrap-for.html
Delete