
Carousel with Gear Box - the gear placement shown above makes the carousel horses go in the opposite direction to which they are facing. If you want them to go in the direction that they are facing, place the gear on the other side of the bridge.
The placement of the gear on the left or right side of the small gear, and the direction the crank is turned, clockwise or counterclockwise will determine the direction in which the carousel rotates.
https://papercraftetc.blogspot.com/2019/02/rectangular-and-square-presentation-box.html
Make the gears, follow just the directions here. The gears are already included in this file.
https://papercraftetc.blogspot.com/2019/02/square-gear-box.html
Make the carousel portion of the model here.
Here is the PDF. I used 65lb cardstock.
https://drive.google.com/file/d/1mCY5jZnLkt8ZcKhmS4_2SR5BCoX4VVFT/view?usp=sharing
Here is the .Studio file.

Glue the cones as shown.

Glue the cones together to make the top of the carousel.

Top of Carousel

Glue strips to the border as shown.

Slide the small strips of paper over a glue stick.

Form into a circle and glue. This will be for the top of the carousel.

Bend the tabs upward.

Glue as shown and align the design to the top of the strip.

Notice the placement of the ledge piece. The trapezoid design is at a right angle to the strip.

Bend into a circle and glue together. Bend the tabs at a right angle.

Repeat for the other strip. Apply glue to each tab.

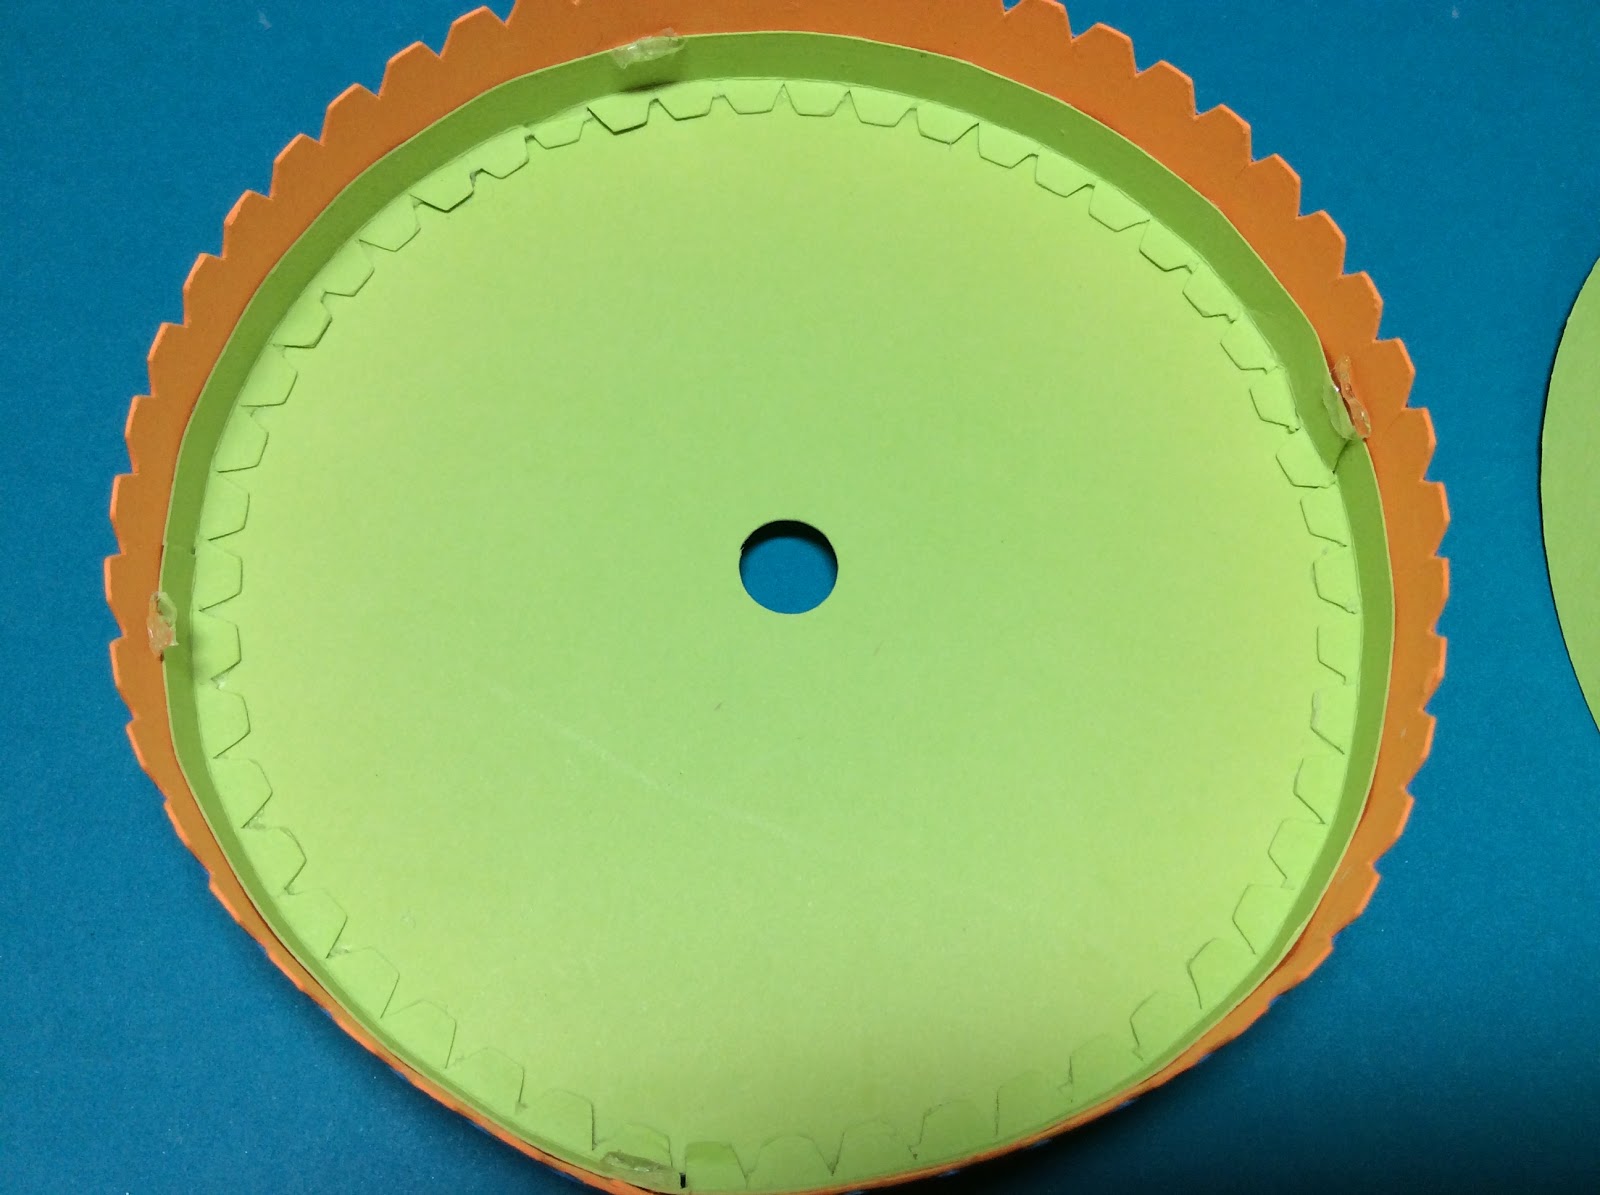
Adhere the center disk with the whole in the middle for each of the assemblies as shown above.

Place a Glue Dot in four spots on the canopy as shown above.
Add four Glue Dots to the inside of one of the assemblies.

Adhere the canopy.

Glue the horses to the circle using the tab as a guide for placement. Make the axle.

Glue the axle to the center.
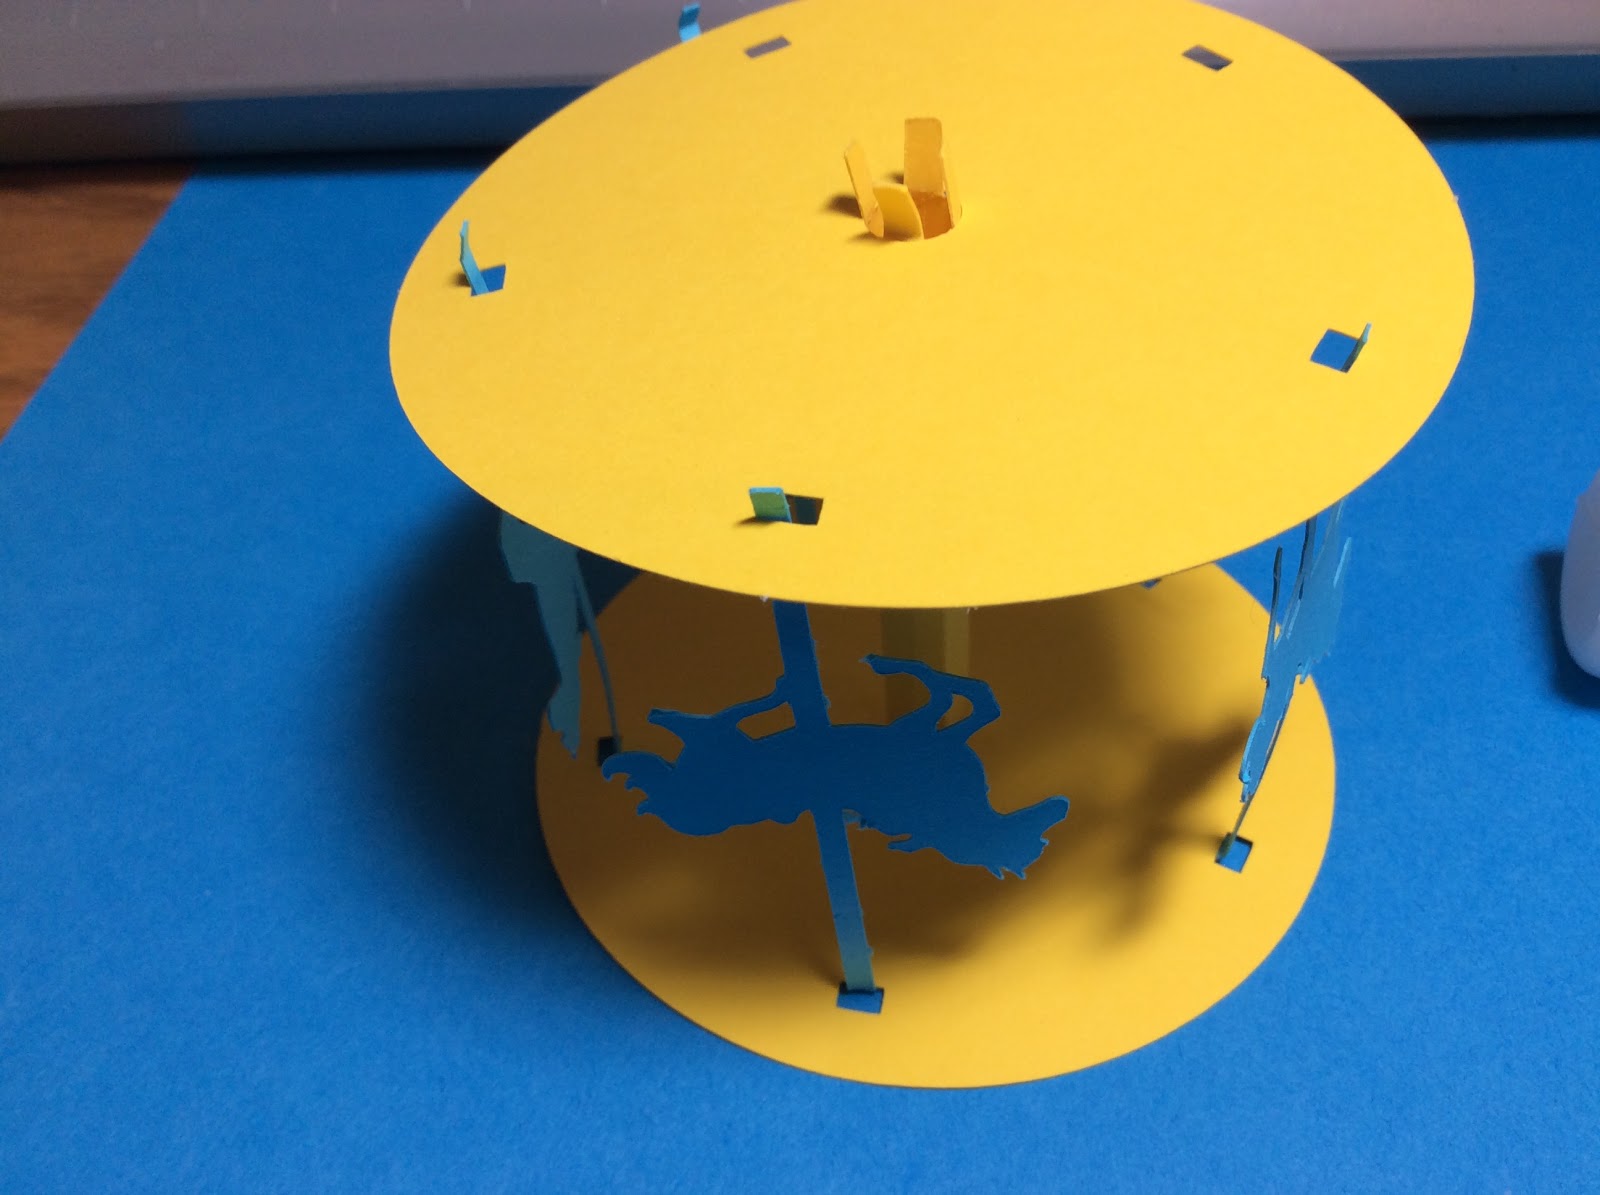
Add the second circle, align the holes for the horse and then glue the axle to the second piece.

Completed horse assembly


Slide the carousel base on the axle.

Add the horse assembly and add a few glue dots to the axle where the horse assembly meets the axle.
 Slide the carousel canopy onto the axle. The gear placement on the left side makes the horses go in the direction that they are facing.


Make the finial. Apply a few glue dots to the finial and add to the top. (The gear placement on the right side in the photo above makes the horses go backwards.) The carousel is now complete.
No comments:
Post a Comment