Monday, September 18, 2023

Ghosts That Rotate Around a Haunted House With a Gear


Two group of ghosts are holding a "Boo" sign which rotate around the haunted house.

Side view

Video of the Gear in action.

Halloween is coming and I wanted to add to my display of Halloween decorations.  The haunted house remains stationary while two groups of ghosts holding a "Boo" sign rotate around the haunted house when the gear is rotated. The haunted house is attached to an octagonal box.   The box can be filled with Halloween candy for gift giving.

Here is the PDF.  I used 65 lb. black and white cardstock, black and white glitter cardstock and orange shimmer paper.

Here is the .Studio file.

Here is the SVG.  The file extends beyond the scope of the viewing field.  Zoom out to see the entire file.

Make the Haunted House Assembly

Glue on the embellishments to the haunted house.

Glue on the orange luster paper to the back of the windows.

Glue on the four black glitter pieces to the roof of the main turret.

Adhere the three turrets into a square by applying glue on the tabs.

Apply glue to the main turret's side tabs and adhere.

Fold all of the tabs as shown above.

Slide the main turret's tabs into the slots on the house piece. Glue and adhere into place.

Apply glue to the six tabs shown (not the bottom tabs). Adhere into a house.

Slide the two side turrets into place on the black glitter roof.  Apply glue to the tabs and adhere.

Apply glue to the inside of the black glitter roof.  Slide the roof onto the house and adhere.

Fold the tabs of the top of the turret and glue the square into place on the top of the turret. Make sure that the fencing is aligned.  I used a needle to move the square accurately into place.

Cut a 5 inch piece of 20 gauge wire.  Glue the white glitter moon shape onto one side of the witch moon piece.

Glue the wire to the moon and glue on the other white glitter moon shape.

 There is a hole in the center of roof. I used a pin to locate the center.  Slide the wire through the hole.

Slide the wire through the black glitter base and bend the wire 1/4 of an inch at a right angle.

Glue the tabs of the house onto the base.  Make sure that the front of the house is facing away from the tab in the back of the base.

Crease the tabs on the tree and fold the center of the tree in half at the dotted line. Slide the tabs into the base and glue the tabs down.

The tree will be facing away from the house when the tabs of the tree are glued down. Glue the gingerbread soffit to both sides of the house.


Glue and stack the four gear axles together. Notice that I do not use a lot of glue because too much glue will warp the cardstock

Apply glue to the axle and adhere the stack of four axles to the base.

I used a small knife to apply pressure to the glue on the base so that it would adhere.

There will be a slight overhang.  Make sure that the overhang is centered.

Glue the two sides of the "Boo" together. Glue the ghosts together but leave the tabs at the bottom and the arms unglued. The tabs at the bottom will be splayed apart later and the "Boo" will be held together at the arms.

Insert the tabs of the ghosts into the gear, splay the tabs and then glue them down as shown above.
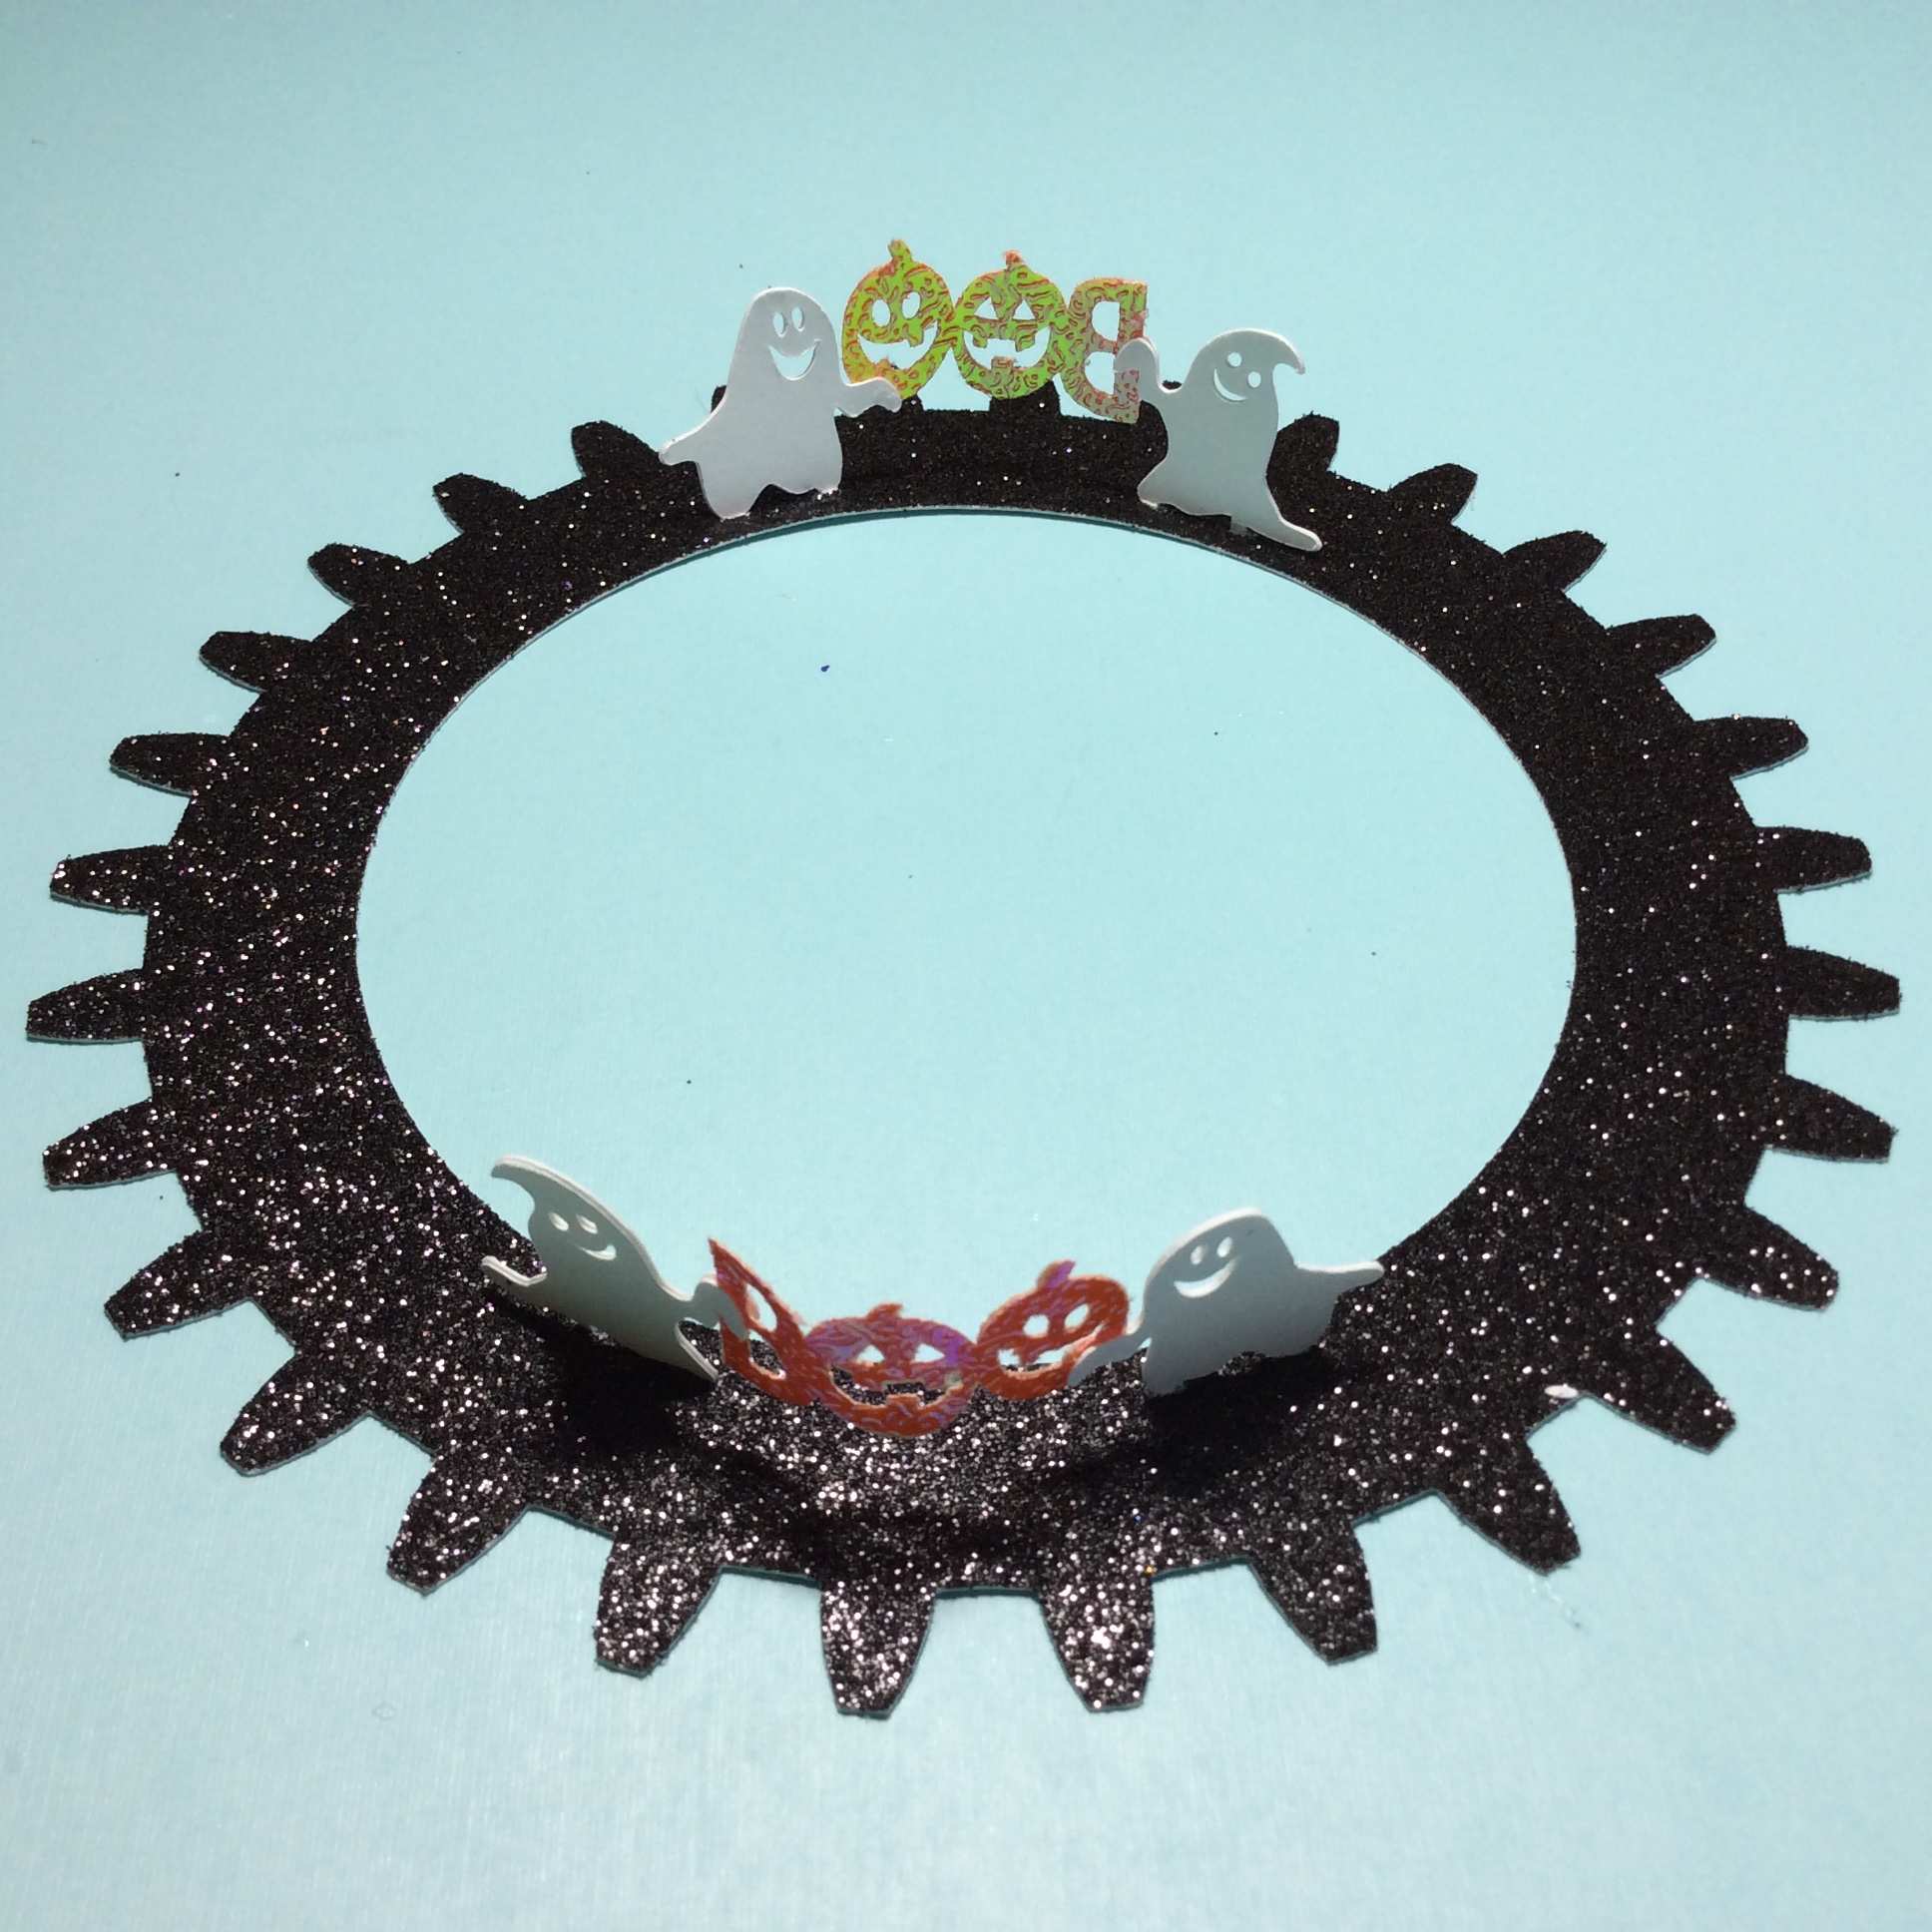
Splay the arms of each ghost and insert the "Boo".  Apply glue and adhere the two sides of the arms together

Glue the outer gear casing to the gear axle and casing template.

Glue the three gears together to create one sturdy gear that will rotate without warping.

Place the stacked gears on top of the outer gear casing assembly.  

Place the black glitter outer gear casing on top of the assembly. Apply glue to the haunted house base and adhere it to the center of the assembly.

Glue the outer gear casing with tabs to the outer gear casing. 

Glue opposite sides together so that the casing is centered correctly. Repeat for the other tabs.

The gear assembly is now complete and the gear should move freely.

Make the Box

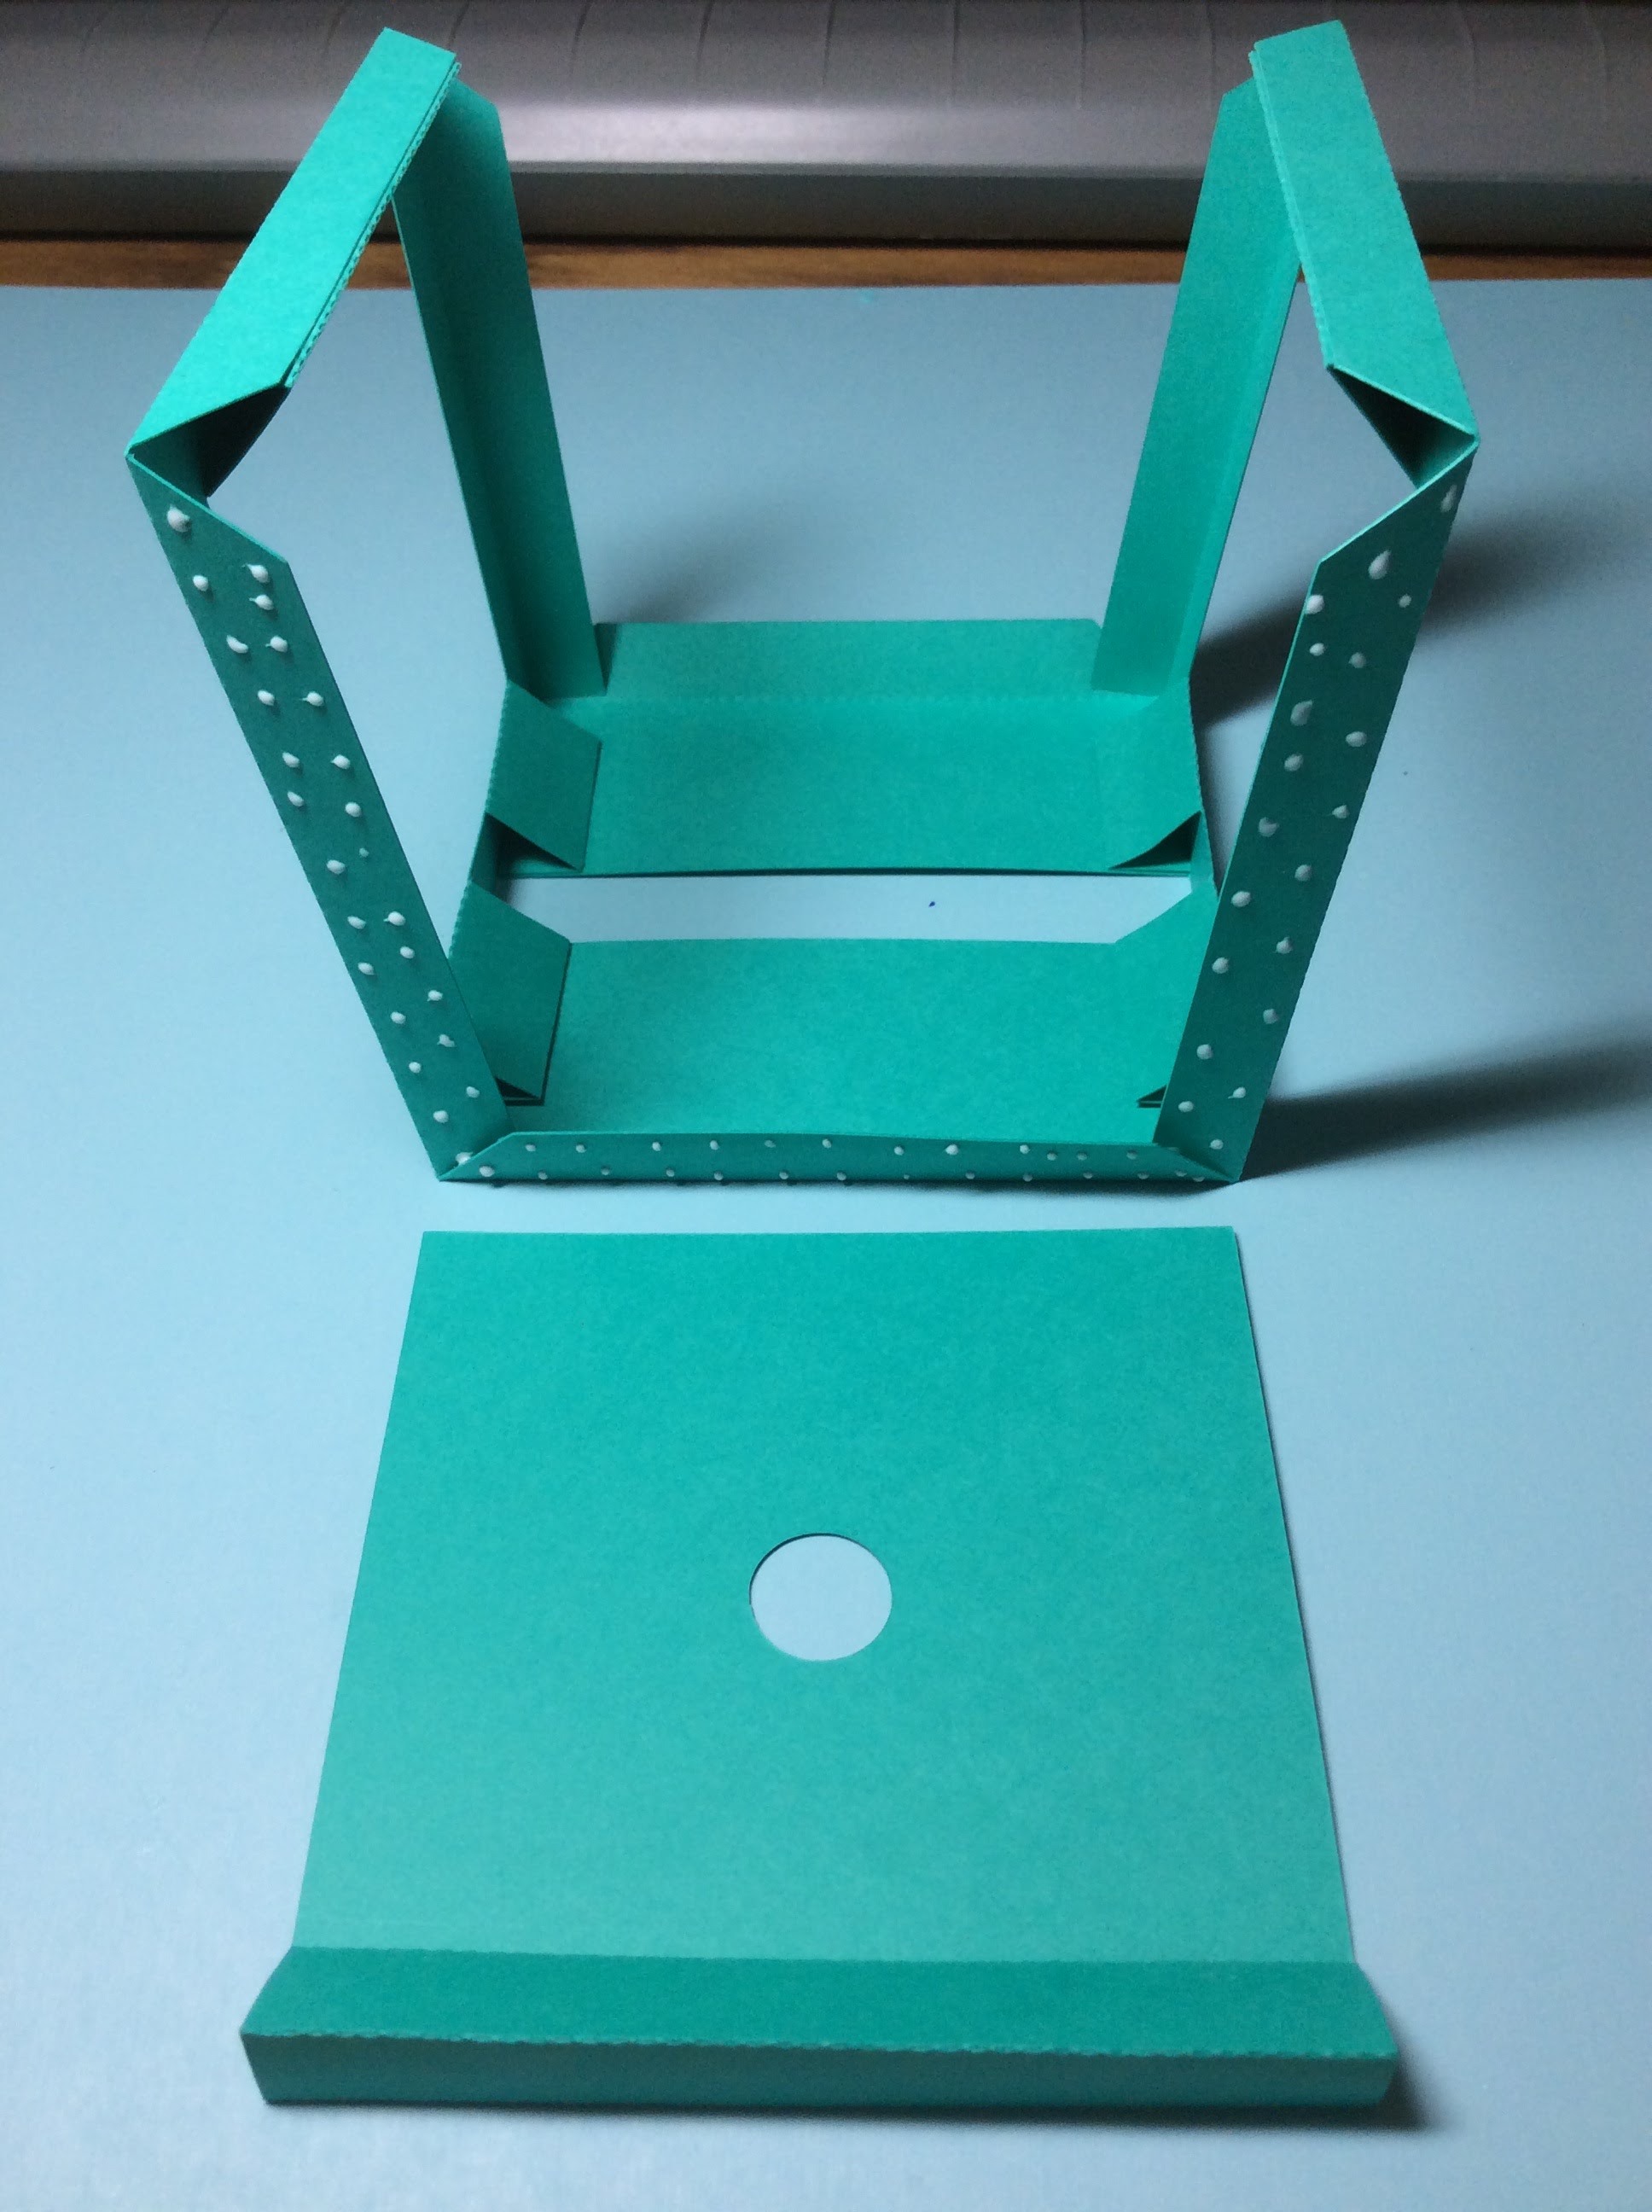
Crease the bottom of the box as shown above.

Glue the tabs of the sides together and apply glue to the inner tabs of the box. Adhere the bottom of the box to the tabs.

Turn the box over and apply glue to the tabs.  Adhere the bottom of the box.  The box is two walled to make a sturdy box.

Glue the pumpkins on the black glitter top. Glue the tabs of the sides together.  

Apply glue to the inner tabs of the box. Adhere the top of the box to the tabs.

Turn the top of the box over and apply glue to the tabs.  Adhere the top of the box.

Apply glue to the top of the box. Adhere the gear assembly to the top.

Make sure the gear assembly is centered correctly.

Glue a piece of cotton to the end of the ghost.

Insert the cotton into the center turret and apply a drop of glue to the side of the ghost to adhere it to the turret fence.


Thursday, September 7, 2023

A STEM Project: A Crank That Moves a Rod In a Circular Motion

A crank is a mechanism whereby a rod is attached at a right angle to an axle. When the axle is moved, the rod which is connected to the axle moves in a circular motion.

Here is a video of the crank in action.

Make the Small Presentation Box

Using the directions from this blog posting, make the small presentation box. https://papercraftetc.blogspot.com/2019/02/rectangular-and-square-presentation-box.html

Make the Crank Mechanism

Here is the PDF. I used 65 lb cardstock.

Here is the SVG for all other cutting machines. The file goes beyond the viewable area.  Zoom out to see the entire file.


Make the axle.  There is one more piece that makes the axle but it is not shown.

Apply glue to the tabs and make a prism out of each piece.

Apply glue to the interior of both three sided pieces.

Bad photo but the two pieces are facing away as an L shape.  Make the center cross piece by gluing into a prism and glue the interior of both three sided pieces.

Insert the center cross piece.  The axle will look as above.

Apply glue to the rod and make into a prism.

Crease the end of the rod.

Fold the rod tab around the center cross piece. Apply glue to the tab on the rod as shown above.

Attach the tab to the rod to create a loop around the axle.

Place the axle into the presentation box.  Apply glue to the axle tabs.

Slide on the decorative gear and adhere the axle tab.

Apply glue to the decorative tab and adhere it to the decorative tab on one side.  On the other side, make the crank handle and then insert it into the side of the decorative gear.  Apply glue to the crank handle and adhere the tabs. 

Apply glue to the underside of the decorative gear and adhere to the other side of the box.

Apply glue to the top of the presentation box and adhere the square top.

The crank mechanism can be rotated in either direction to create a circular motion.

Tuesday, September 5, 2023

A STEM Project: A Cam Mechanism That Moves A Rod Horizontally


A Cam Mechanism that Moves a Rod Horizontally 

Here is the mechanism in action.

The cam is an eccentric circular cam. The cam is off center when placed on the axle. This causes the follower bridge to moves left to right horizontally with a continuous oscillating motion.


Here is the PDF. I used 65 lb cardstock.

Here is the SVG for all other cutting machines. The file goes beyond the viewable area.  Zoom out to see the entire file.


Make the Small Presentation Box

Crease the sides. Apply glue as shown and adhere the tab.  There is no glue on the left and right of the trapezoid.  This is necessary so that this piece can slide into the side of the box.  Repeat for the second side.

Crease the box as shown above. Apply glue and adhere the glue where applied. The box will become three sided.

Apply glue as shown above. Adhere the bottom first and then the sides.  The top edge on each side is slid into the top triangle. Repeat for the second side.

Make the slider bridge by applying glue to the two top tabs and the sides.

Adhere the glue to create the structure shown above.

Make the axle and the rod.  Applying glue to both and adhere into prisms.  The ends of the rod are glued down.

Glue the rod to the center of the slider bridge.

Splay the V's of the eccentric circular cam as shown above.  Apply glue to one side and adhere the other side by aligning the squares.

Slide the cam onto the axle.

Insert the axle with the cam into the box. Slide the decorative gear onto the end of the axle.  Apply glue to the axle tabs and adhere to the decorative gear.  Repeat for the other side of the box.

Make a handle for the second decorative gear as shown above.

Glue on the handle to the decorative gear.

Apply glue to the decorative gears and adhere one to each side of the box.

Side of box.

Slide the slider bridge into the top slot of the box and slide the bridge over the cam.  


This is the view of the cam as it is now sandwiched by the slider bridge.

Apply glue to the rod stabilizer.

Glue the rod stabilizer to the top of the box as shown above. Allow the glue to dry before operating the cam mechanism.


Sunday, September 3, 2023

Two Trick-or-Treat Dioramas To Make for Halloween

Two Trick-or-Treat Dioramas make a beautiful display for Halloween.

The diorama depicts two different sets of trick-or-treaters for Halloween.  The first diorama has three characters which are a witch, a fairy and a devil.  The second diorama has two princesses. The first two slices of the diorama is the Halloween characters.  The next three slices are the same for both dioramas.  Choose the first two slices (I think you can mix or match but you might have to flip the direction the trick or treater is facing.) and then cut the other background slices.

FYI...the haunted house card in the photo above (between the dioramas) is from a previous blog posting. https://papercraftetc.blogspot.com/2018/10/halloween-haunted-house-cascade-card.html

Pretty paper is glued to the front of the first scene.
The tabs slide into the sides of the scenes.

Eight double thickness tabs keep the diorama scenes together.

Here is the PDF file. I  used Neenah brand 65 lb Champagne Pearl metallic cardstock from Office Depot and a sheet of 6 x 6 in DCWV paper called Halloween Town. I recommend using a new blade and overcut to cut out this design as the intricate pieces might not cut correctly.

Here is the .Studio file.

Here is the SVG. The file goes beyond the viewable area.  Zoom out to see the entire file.

I glued the cutout piece of the pretty paper to the back of the last scene. This is optional as not all pretty paper will coordinate as a background.