Monday, December 19, 2022

A Rubber Band Pop-Up Penguin With a Pretty Snowflake Envelope and Notecard


A Rubber Band Pop-Up Penguin With a Pretty Snowflake Envelope and Notecard

Video of the Penguin Popping Out of the Snowflake Envelope

This Rubber Band Pop-Up Penguin makes a fun surprise for the recipient as the penguin pops up out of the Snowflake envelope when it is removed. There is stored energy in the rubber band that was incorporated into the design.  The rubber band was stretched and placed into the Snowflake envelope. The rubber band wants to return to its natural state and it does so when it is removed from the envelope.  It is 3 1/2 inches tall.

The base design is a triamond triangular bicupola from my blog post https://papercraftetc.blogspot.com/2020/02/a-stem-project-rubber-band-polyhedron.html The triamond triangular bicupola is made up of squares and trapezoids with a hexagon center.  I used this design to my advantage when I placed a square and a hexagon together to form the penguin.  The top half has the squares of the triamond triangular bicupola facing forward. The bottom half has the trapezoids facing forward. The reason why this design works is because the smaller base of the trapezoid and the square are the same length. By combining the two, the proportions look different.


Side View of the Penguin - the head appears larger.

Both halves appear to be the same size facing forward.

Here is the PDF. I used assorted 65 lb cardstock and foil cardstock from Michaels. I used a pair of wiggly eyes. I have included two round black dots if these wiggly eyes are not available. This 
Penguin Pop-Up plus the Snowflake envelope/notecard can fit into an A4 envelope for mailing. 

Here is the .Studio file.

Here is the SVG. The file extends past the visible viewing area.  Zoom out to see the entire file.


Rubber Bands from Office Depot

I used the yellow rubber band.

I cut and knotted the rubber band as shown above. The length between the knots is approximately 1 3/4 inches.

Layout the penguin body and glue on the white pieces as show above. The direction of the slits does matter. See below for a close-up of the head half and then the second photo is the body half.

Notice that both slits are oriented in the same direction for the head.
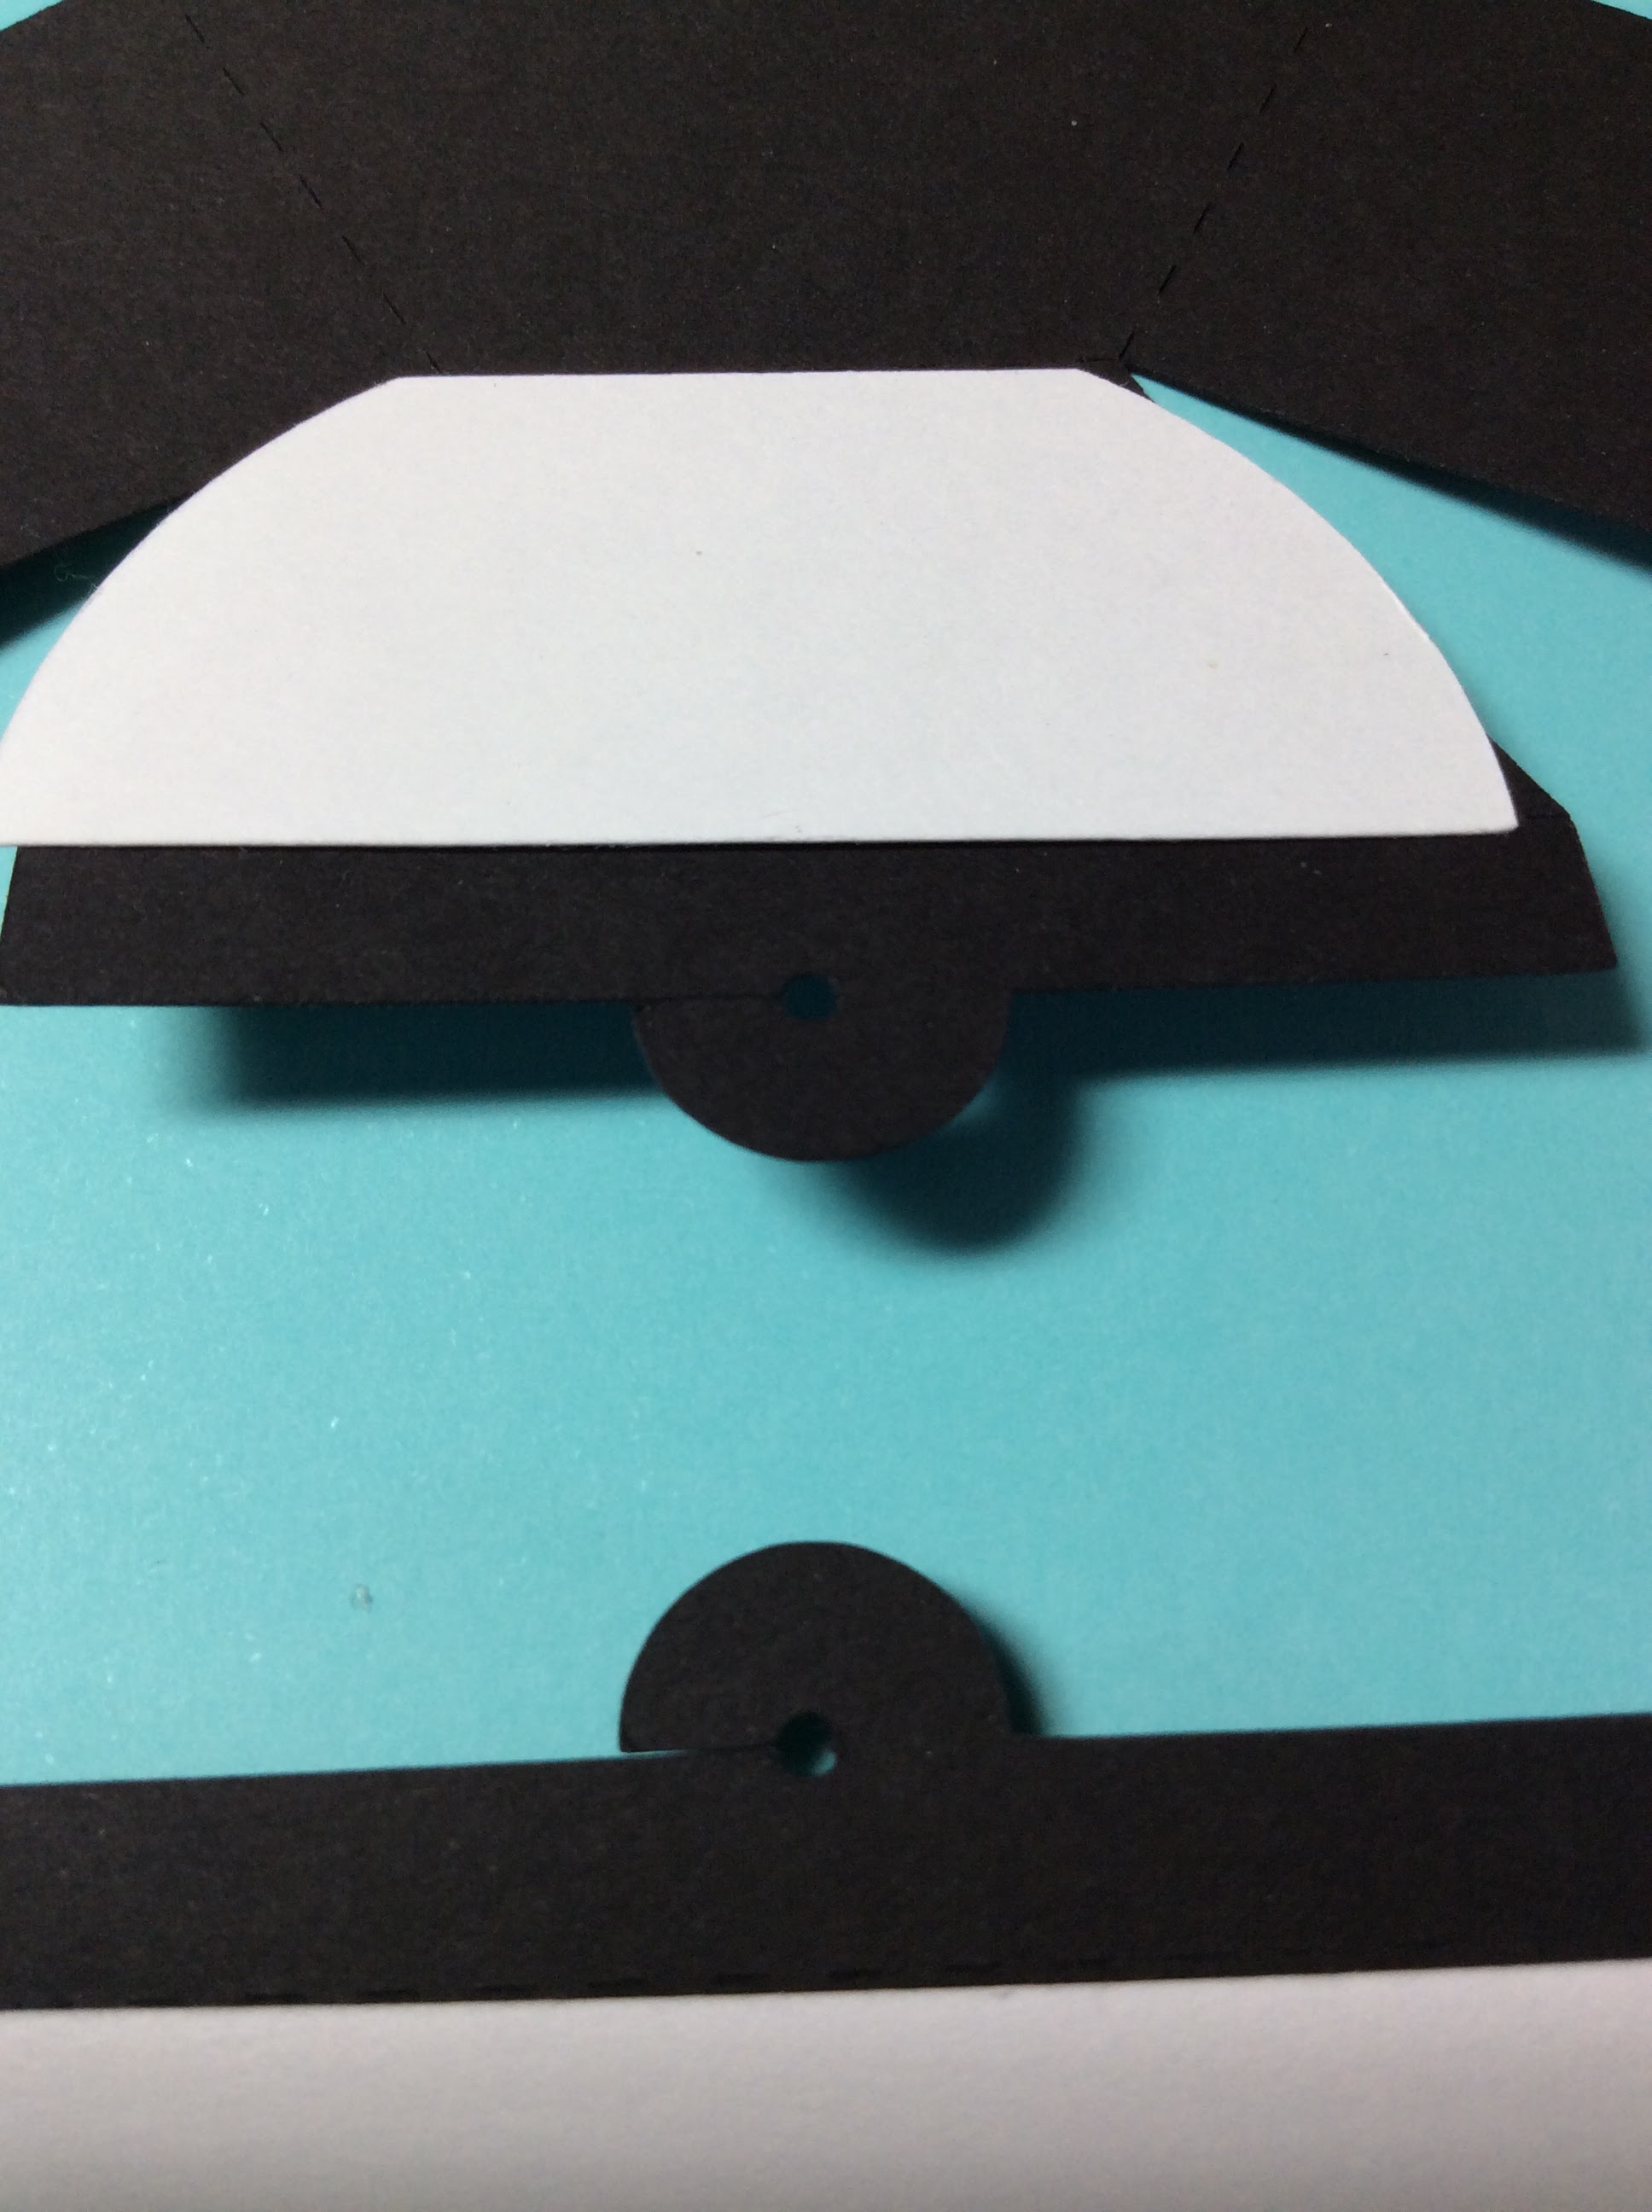
And the same direction for the body. Glue these two body tabs together. Set aside to allow the glue to dry.

Fold and apply glue to the inside of the beak.

Apply glue to the tab shown above.

Adhere the beak.  Notice the circle and slit for the rubber band are visible.  This is needed so that the rubber band can be slid into place here. Glue the two head tabs together. Set this aside for the glue to dry.

When the glue has dried for the body of the penguin, Slide the rubber band into place. Make sure to align the rubber band into the middle of the semicircle. Apply glue to the two tabs shown above.

Bring the two halves together and adhere the corresponding tabs. Apply glue and adhere the semicircle tab.  Wait for the glue to dry before trying to slide the rubber band into place. Make sure to align it in the middle of the semicircle.

Repeat the above procedure for the head of the penguin.

 Bring the two halves together and adhere the corresponding tabs. Apply glue and adhere the semicircle tab.  Wait for the glue to dry before trying to slide the rubber band into place. Make sure to align it in the middle of the semicircle.

Press the body half down to glue and adhere the last two tabs.

Glue on the Penguin's wings.

Glue on the Bow Tie

Press the head half down to glue and adhere the last two tabs.
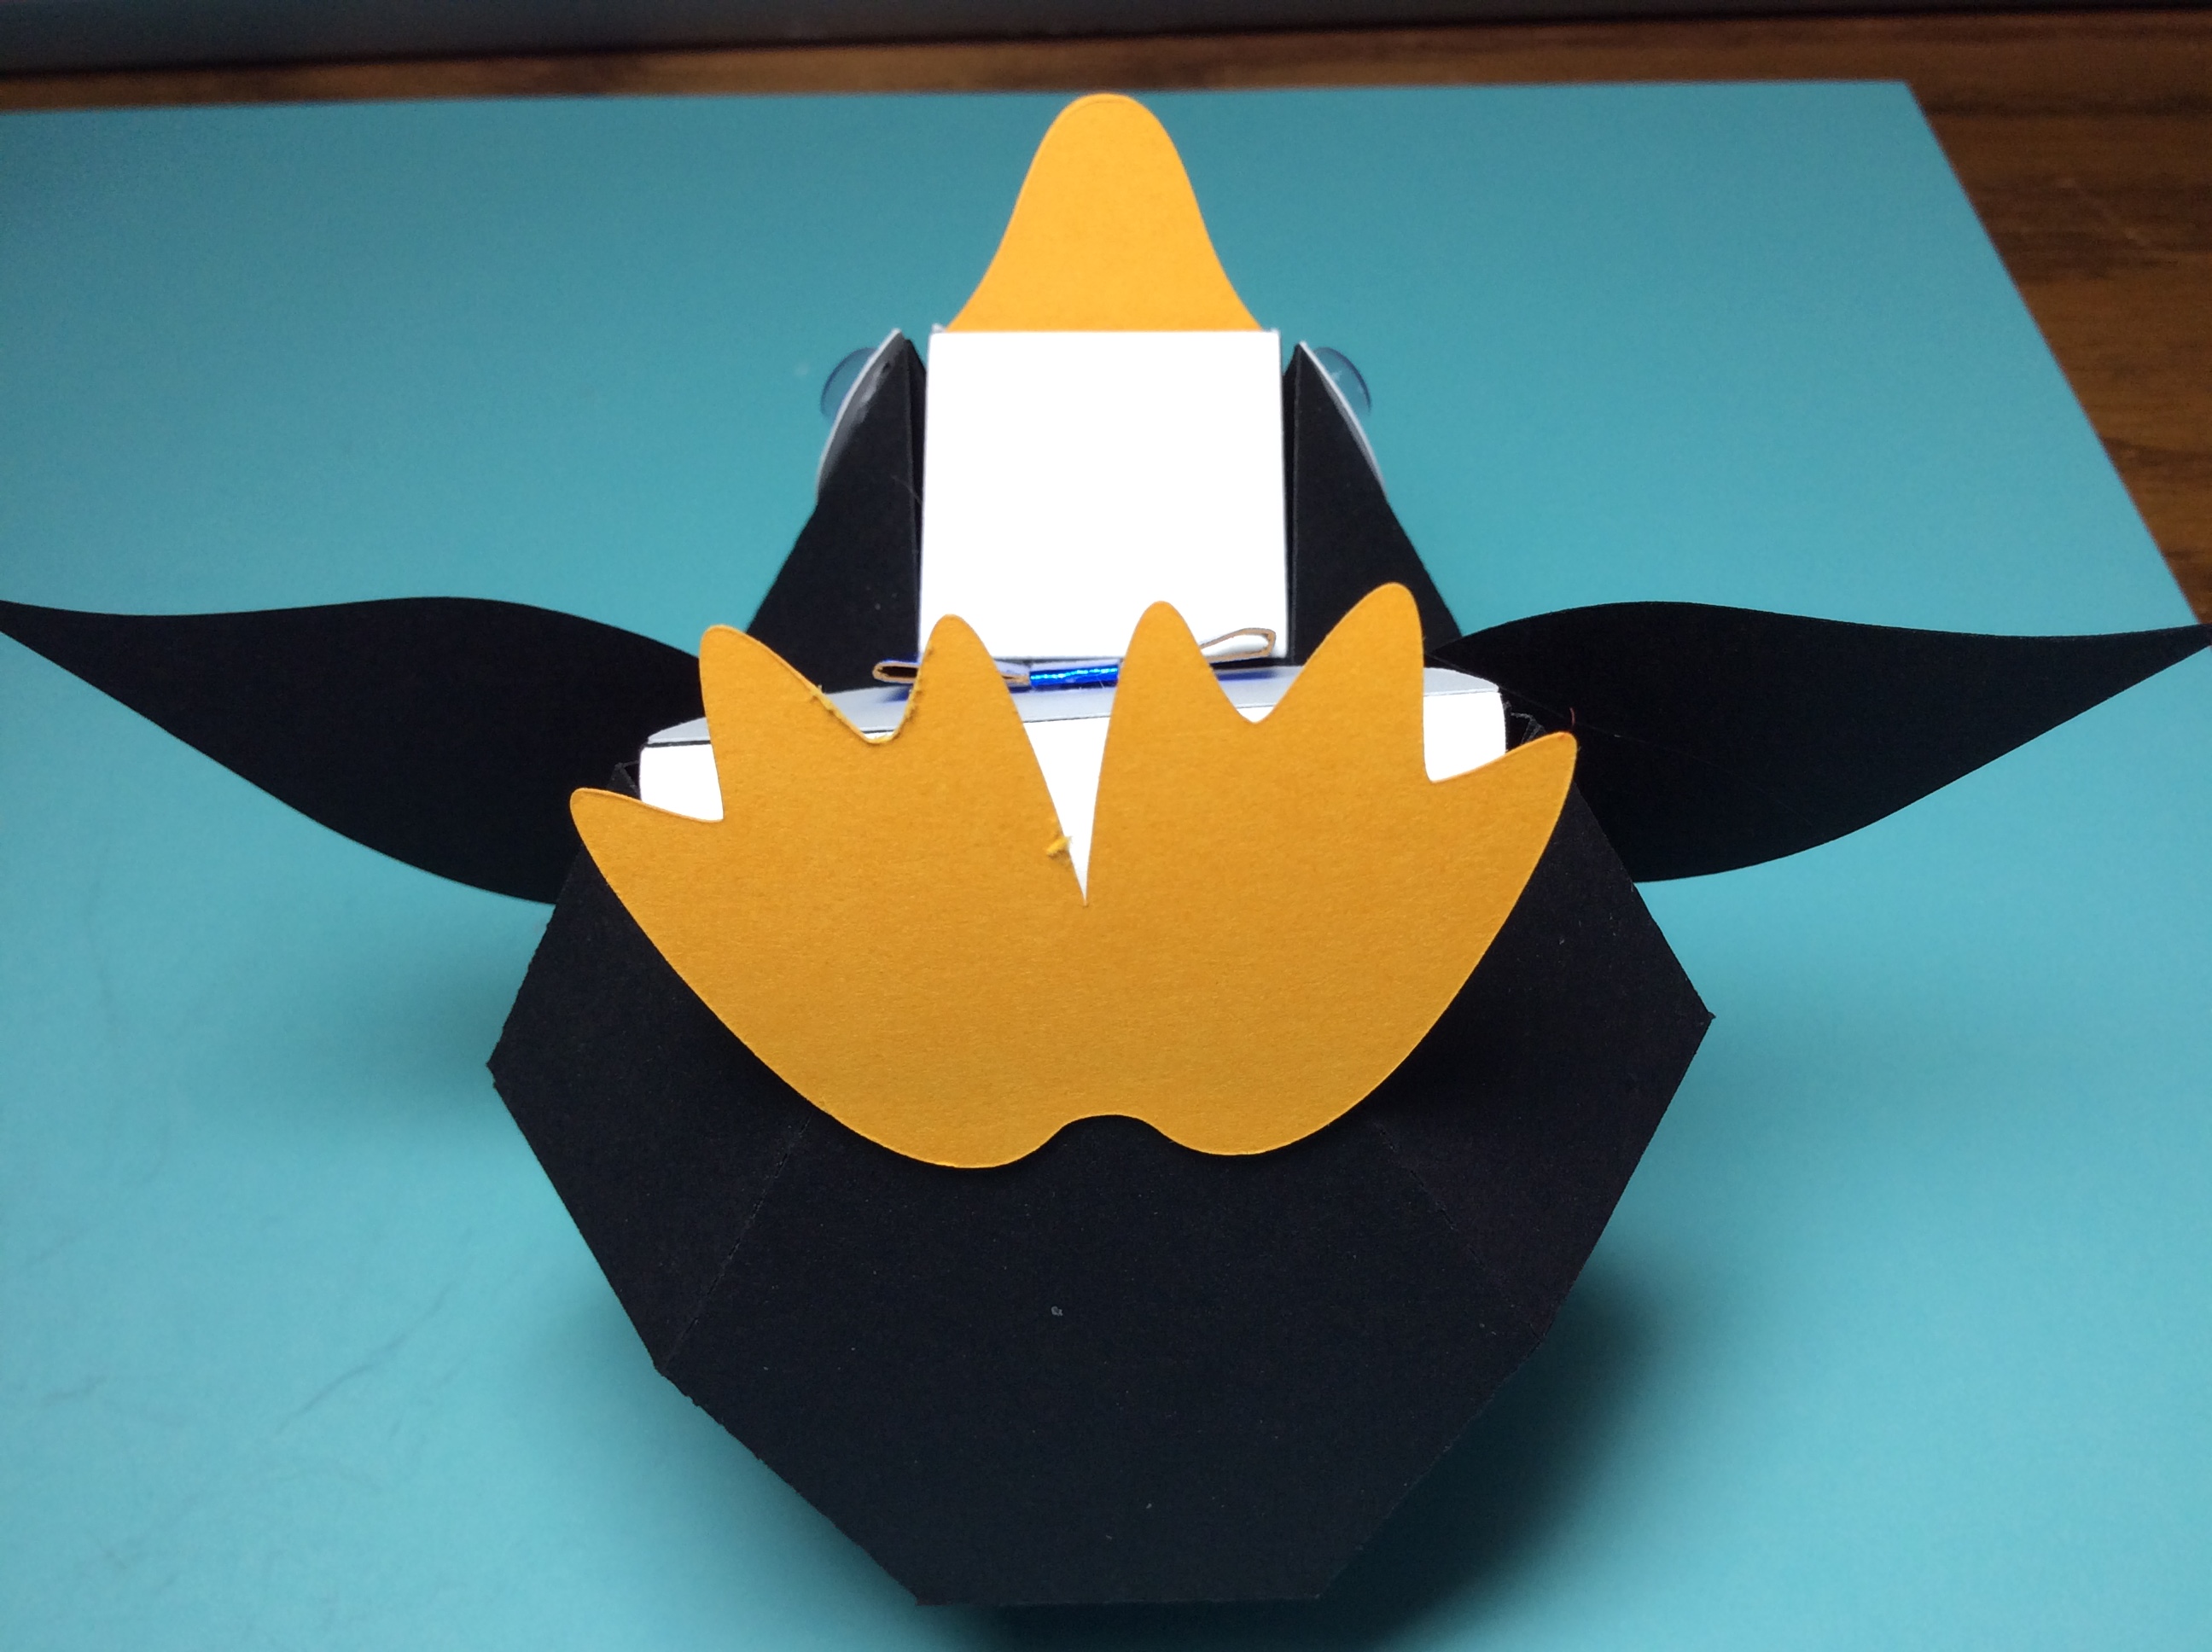
Glue the head and body halves together. Adhere the feet to the bottom of the penguin.  Glue on the wiggly eyes. 

Fold envelope part #1 as shown above.

Fold envelope part #2 as shown above. 

Glue and adhere the tab of part #2 to envelope part #1.

Side view of the envelope.

Apply glue to the two sides of part #1 and adhere to part #2.

Completed envelope with the two snowflake sides inserted into the slot in the top flap.

Friday, December 16, 2022

A Christmas Train Ornament

A Christmas Train Ornament

This Christmas Train Ornament is similar to the Christmas Train Tabletop Ornament from a previous blog posting. https://papercraftetc.blogspot.com/2022/12/a-christmas-train-tabletop-decoration.html  The directions to make this ornament are exactly the same as train #1 except for the addition of the hanger inserted and glued to the top of the engine roof and the name of the train is now placed on the side of the engine.  A piece of a cotton from a cotton ball was added to the smoke stack.

Here is the PDF file. I  used Echo Park Santa Claus Lane paper from a 6 x6 Mega Pad which was a double sided paper.

Here is the .Studio file.

Here is the SVG. 


Monday, December 12, 2022

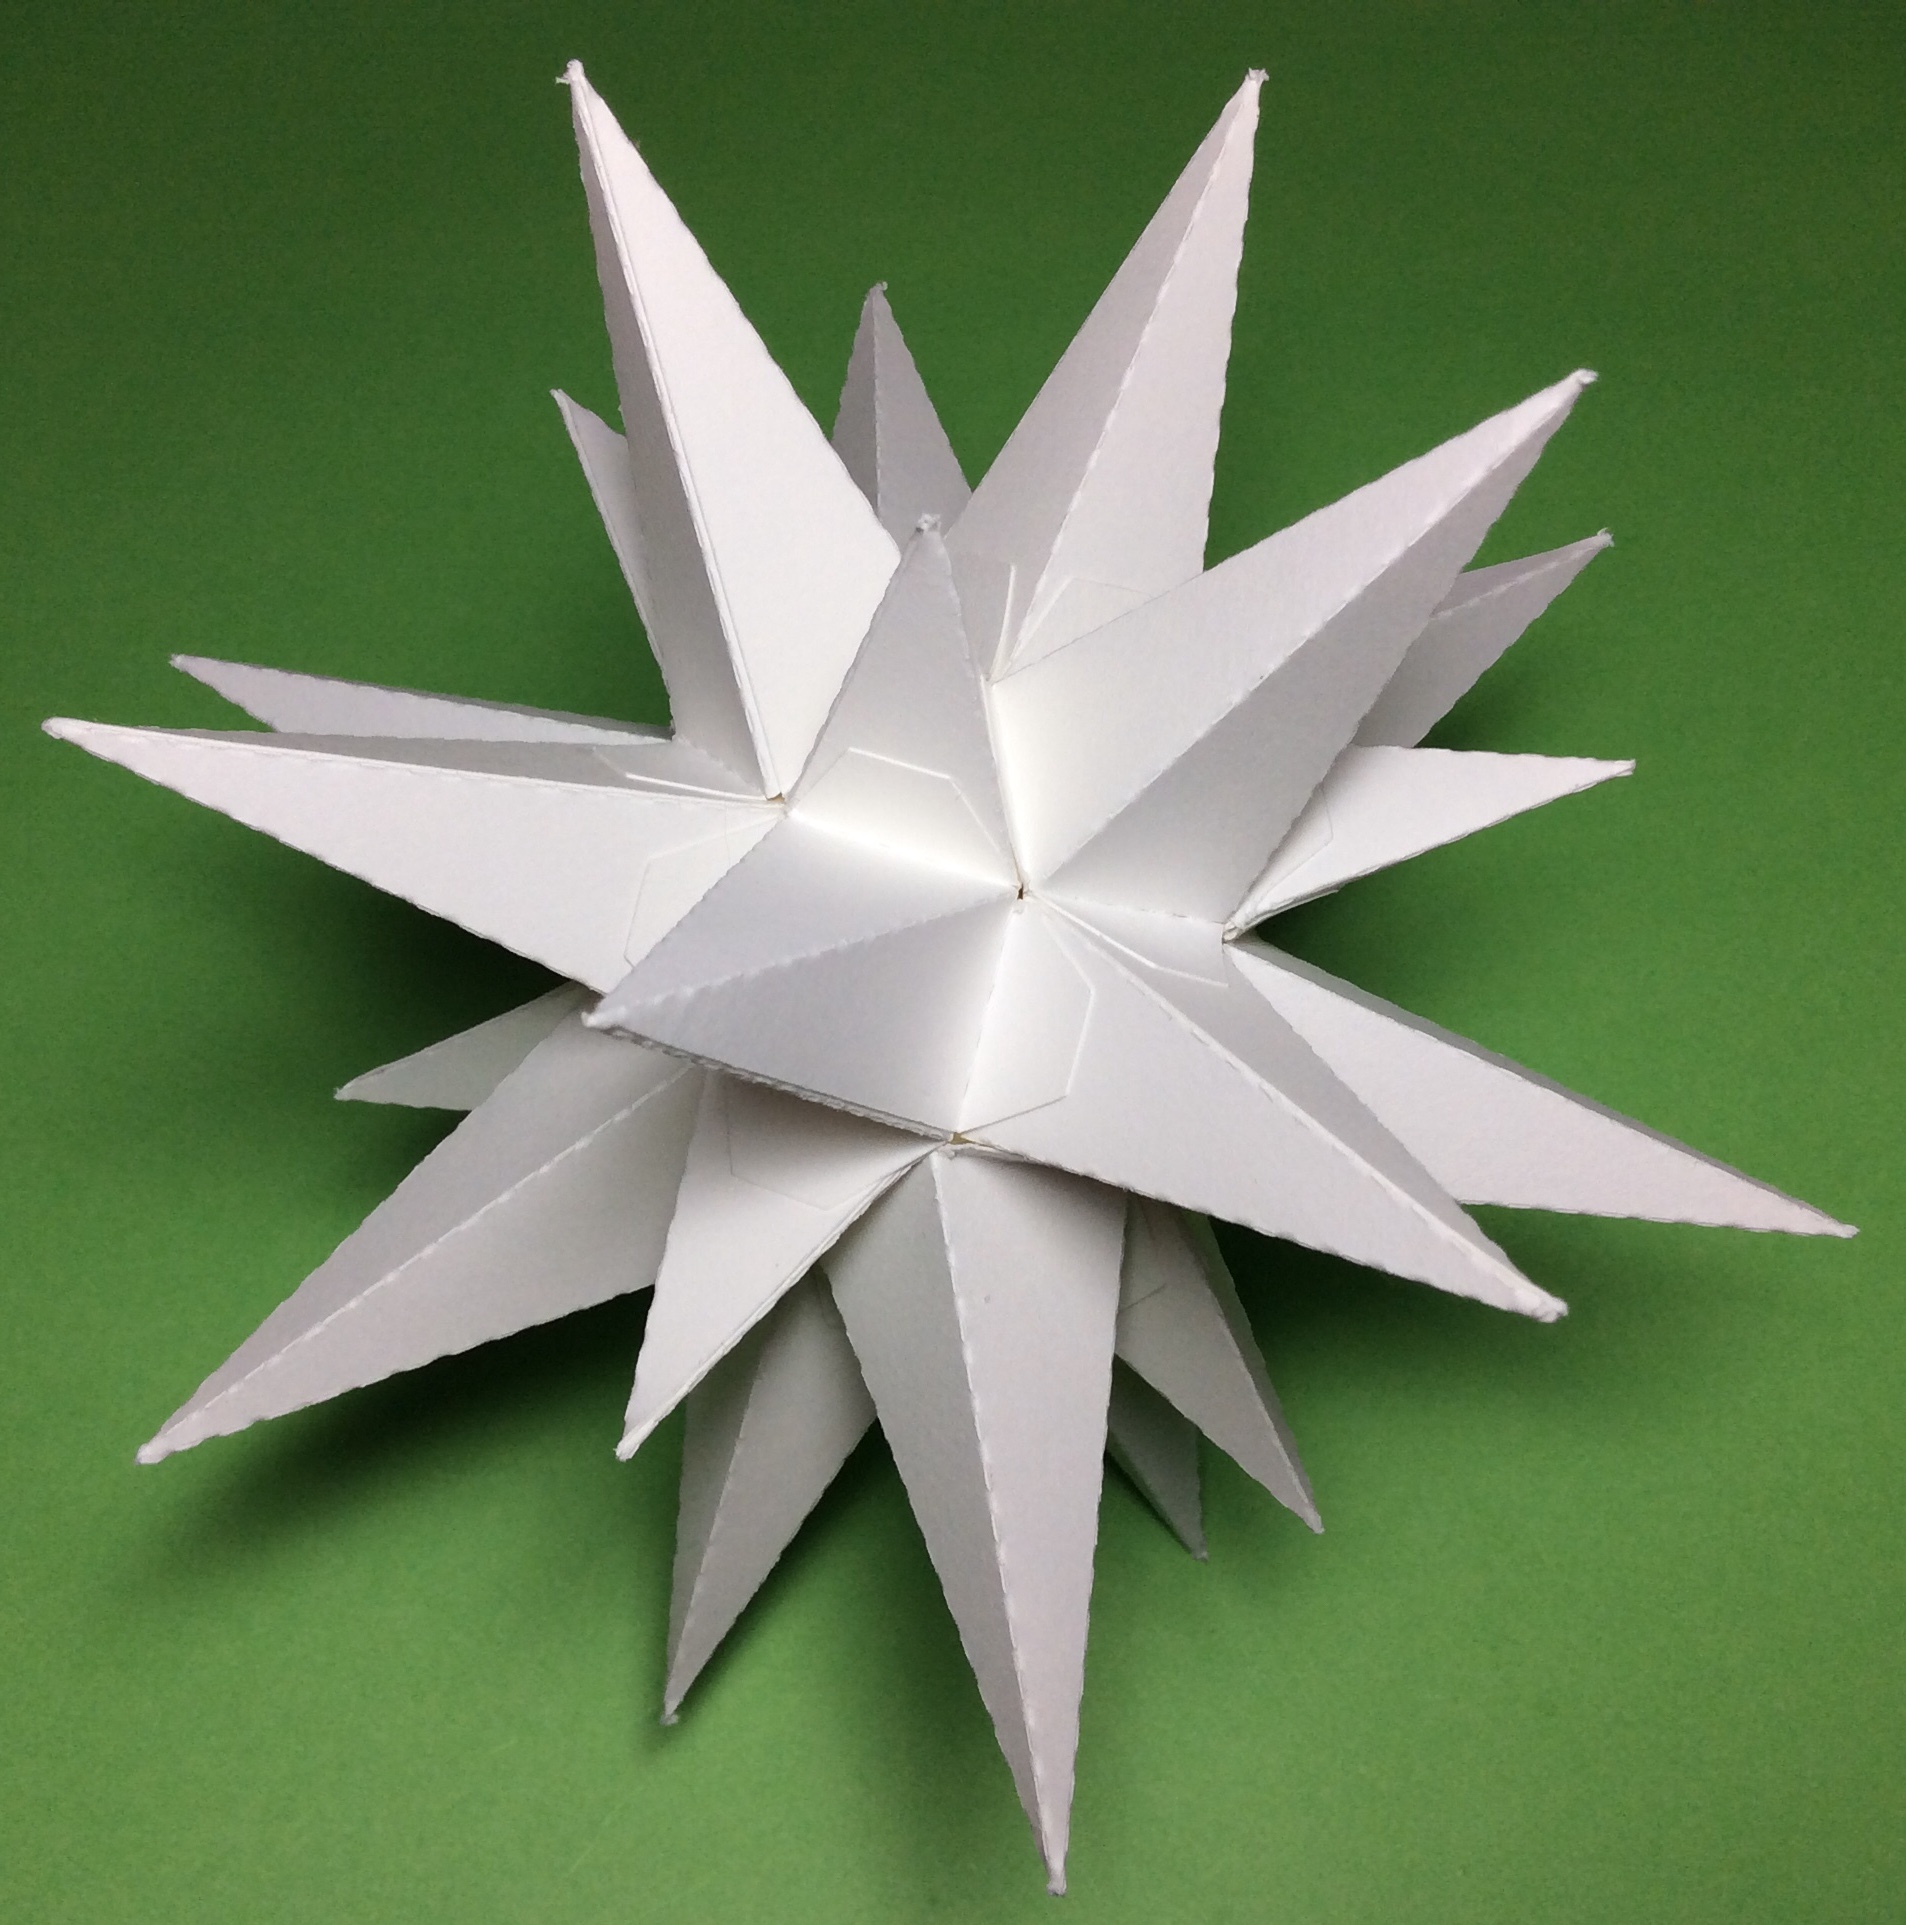
A STEM Project: Creating A Small Moravian Star Using TurtleStitch

A Small Moravian Star

Using TurtleStitch, a Snap! based program, I created generalized code to make a small Moravian star.  The beauty of this program is any size Moravian Star can be generated.  https://www.turtlestitch.org/run#cloud:Username=Elaine&ProjectName=Small%20Moravian%20Star
For my Silhouette paper cutting friends, no coding is necessary as I have provided the files for two types of small Moravian Stars in my files.  One star has equal sized points and the other star has two different sized points. The directions to assemble the stars are the same.

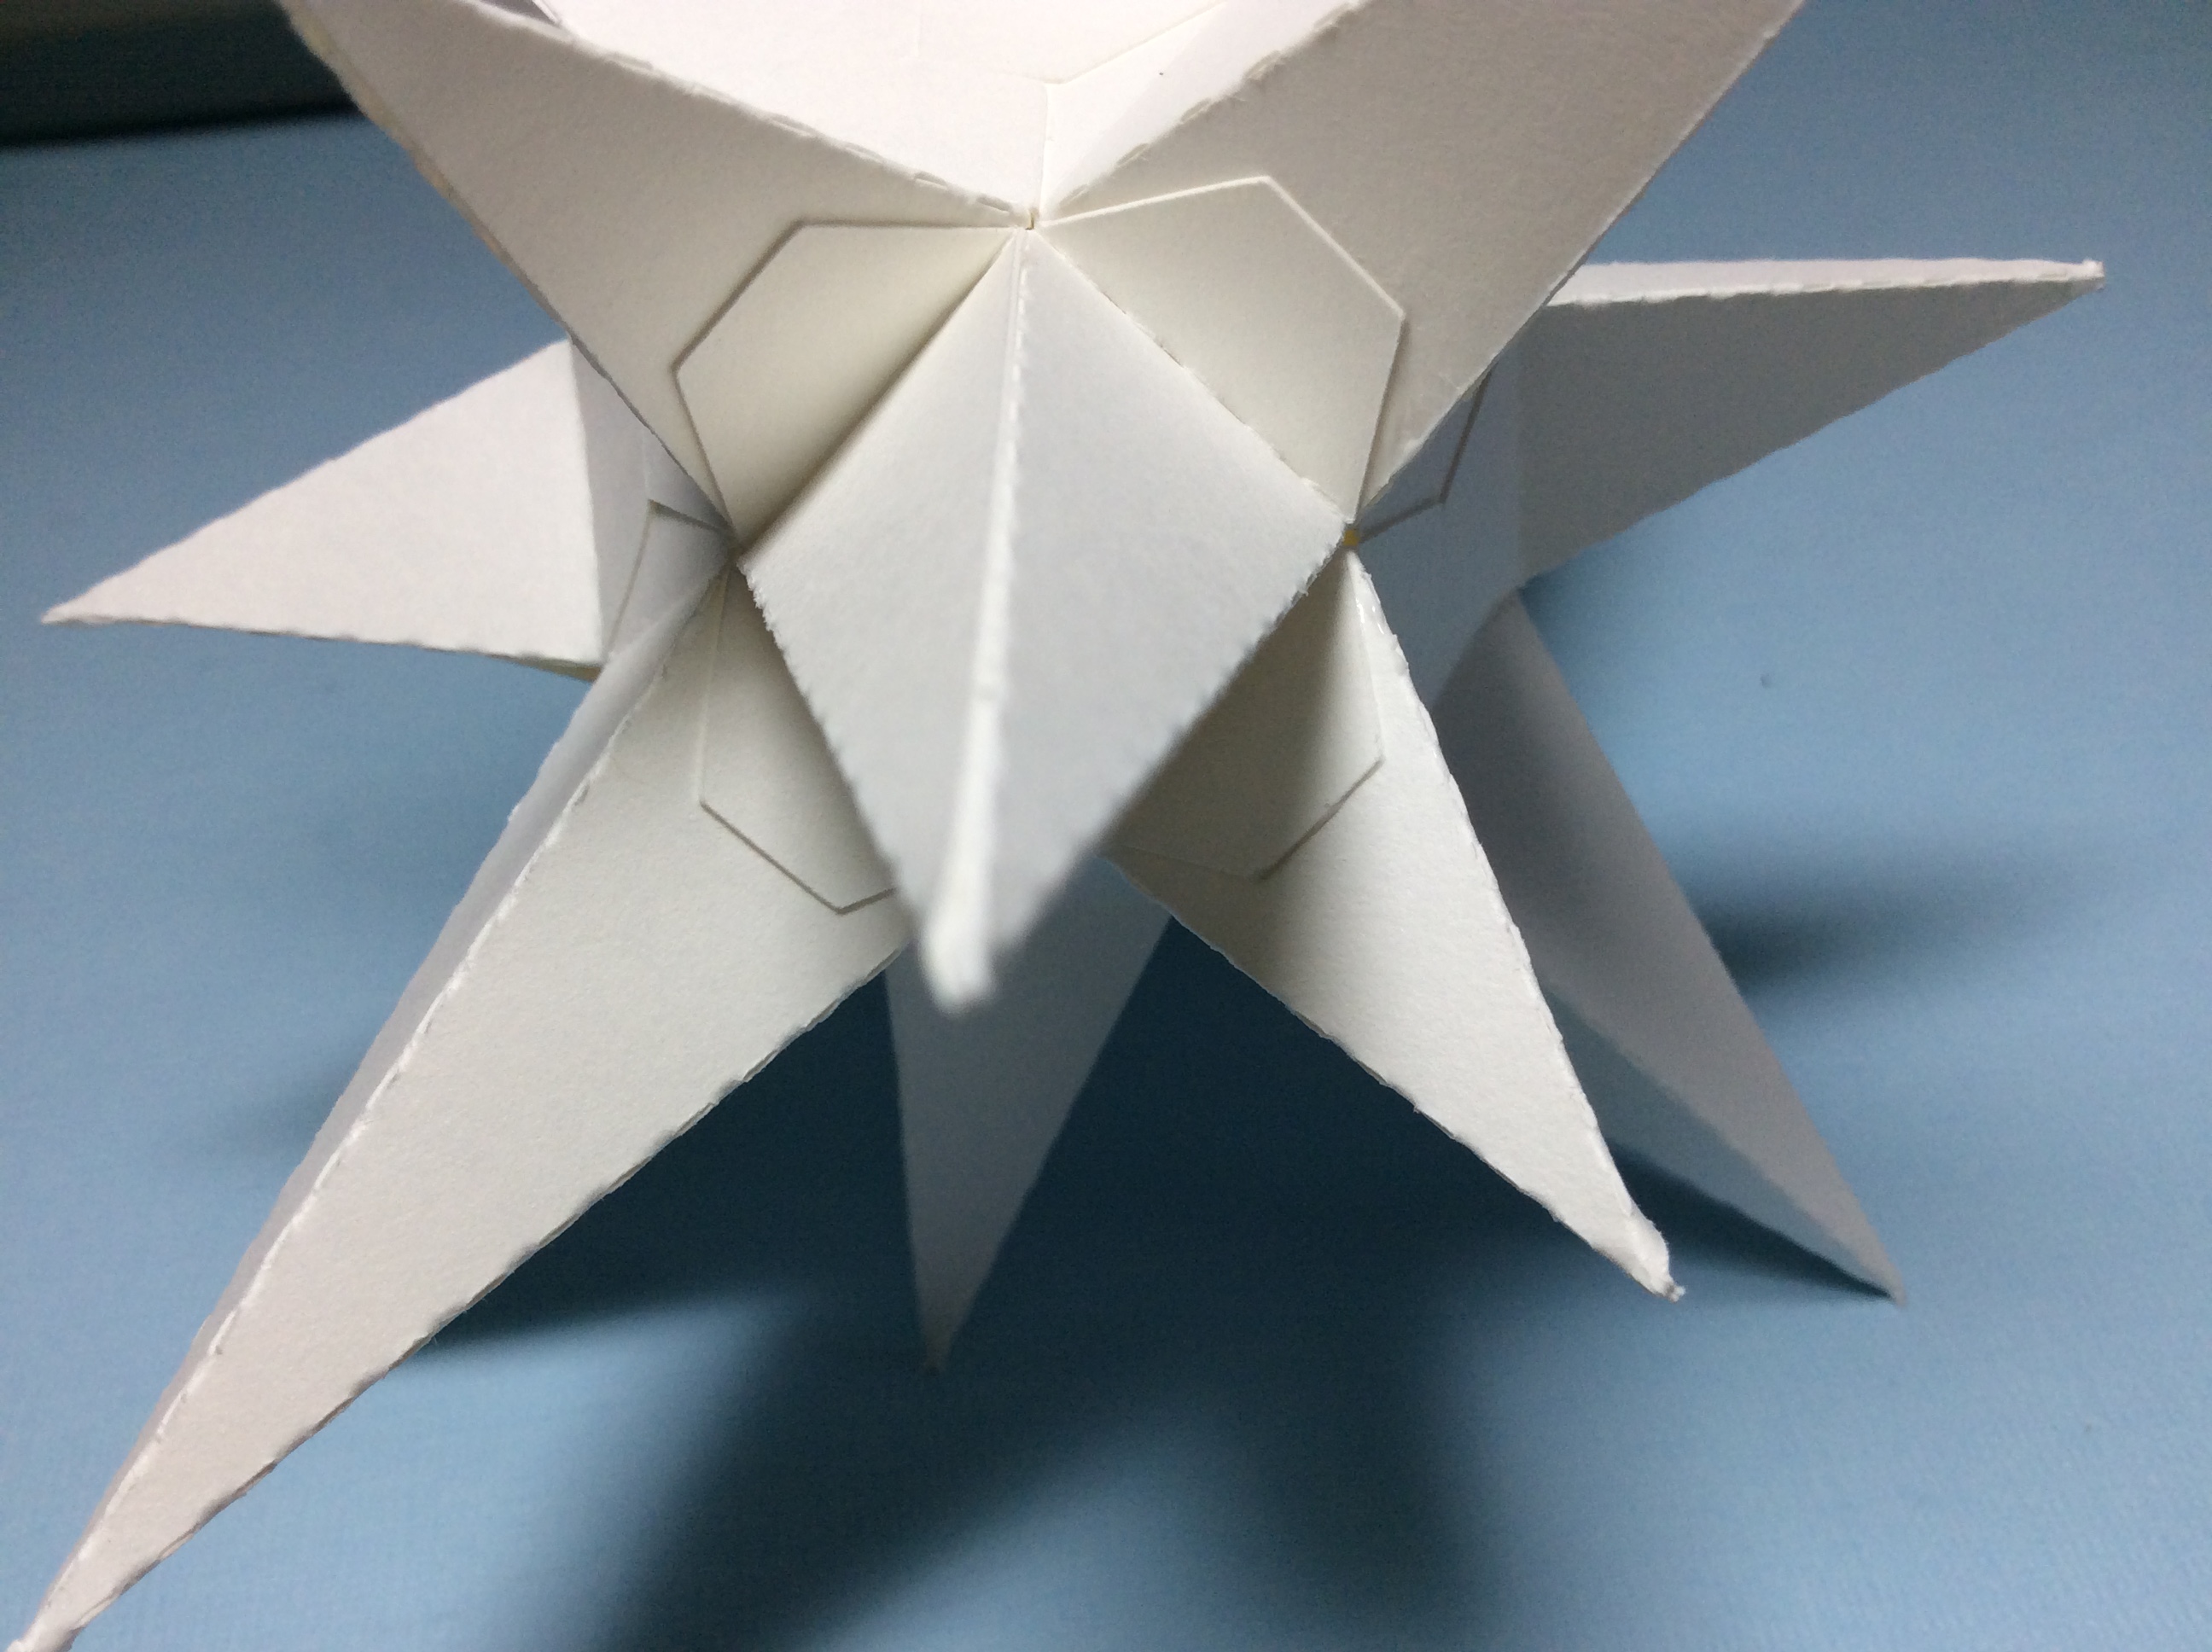
This small Moravian star is 6 inches wide and will make a beautiful ornament for your Christmas tree. A larger version of this Moravian star can be found in a previous blog posting https://papercraftetc.blogspot.com/2019/11/a-stem-project-moravian-star-model.html  The Moravian star is made up of 18 large points and 8 small points. 


To Create a Moravian Star In TurtleStitch

1). Here is my generalized code for the Moravian Star in TurtleStitch, https://www.turtlestitch.org/run#cloud:Username=Elaine&ProjectName=Small%20Moravian%20Star  Change the variable length for the side length of the largest point and variable angle for the angle degree of the points, if desired. Run the code in TurtleStitch. The second point will be 2/3 ads the size of the largest point.

2). Three designs will be created with a one inch block for reference. In the TurtleStitch drop down File menu,  Export as DXF for a paper cutting machine. Export this design to your cutting machine.

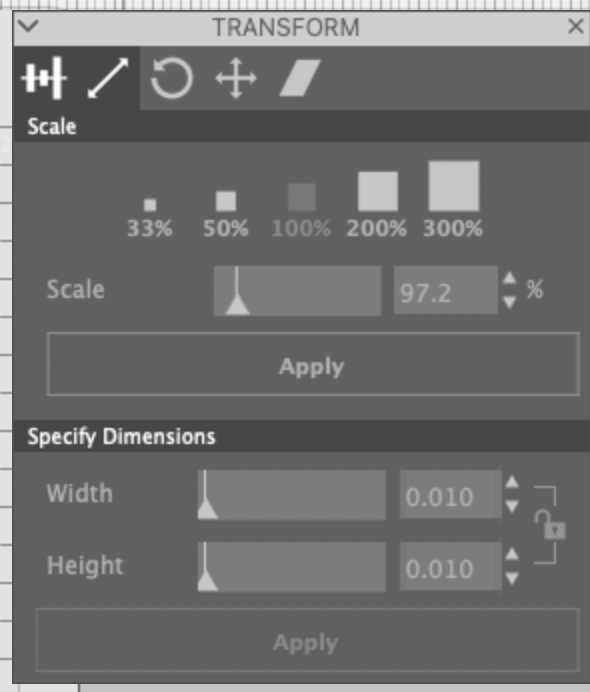
3). If a Silhouette cutting machine is being used,  I have observed that the dimensions are not preserved. It must be resized in the Silhouette software before cutting. I have included a one inch square for reference. Once in the Silhouette software, release the compound path and observe the size of the one inch square. Divide 1.00 inch by this observed value and then multiply by 100 to get the percentage that the figures needs to be changed.   In the Silhouette's Transform Panel, resize the entire image using the scale window.

The image selected will be transformed 97.2% when the Apply button is pressed.

4). Using your paper cutting machine, cut out 18 copies of the large point, 8 copies of the small point and three rectangle strips from 65 lb. card stock.  

Making The Moravian Star

Fold the three strips of paper

Glue them into an octagon.

Apply glue on the two opposite squares of one octagonal strip.  Slip the other octagonal strip over the glued area to form a structure as shown in the photo above. 

Apply glue on the four middle squares as shown above.

Slide the third octagonal strip over the glued areas. This structure is now called a small rhombicuboctahedron

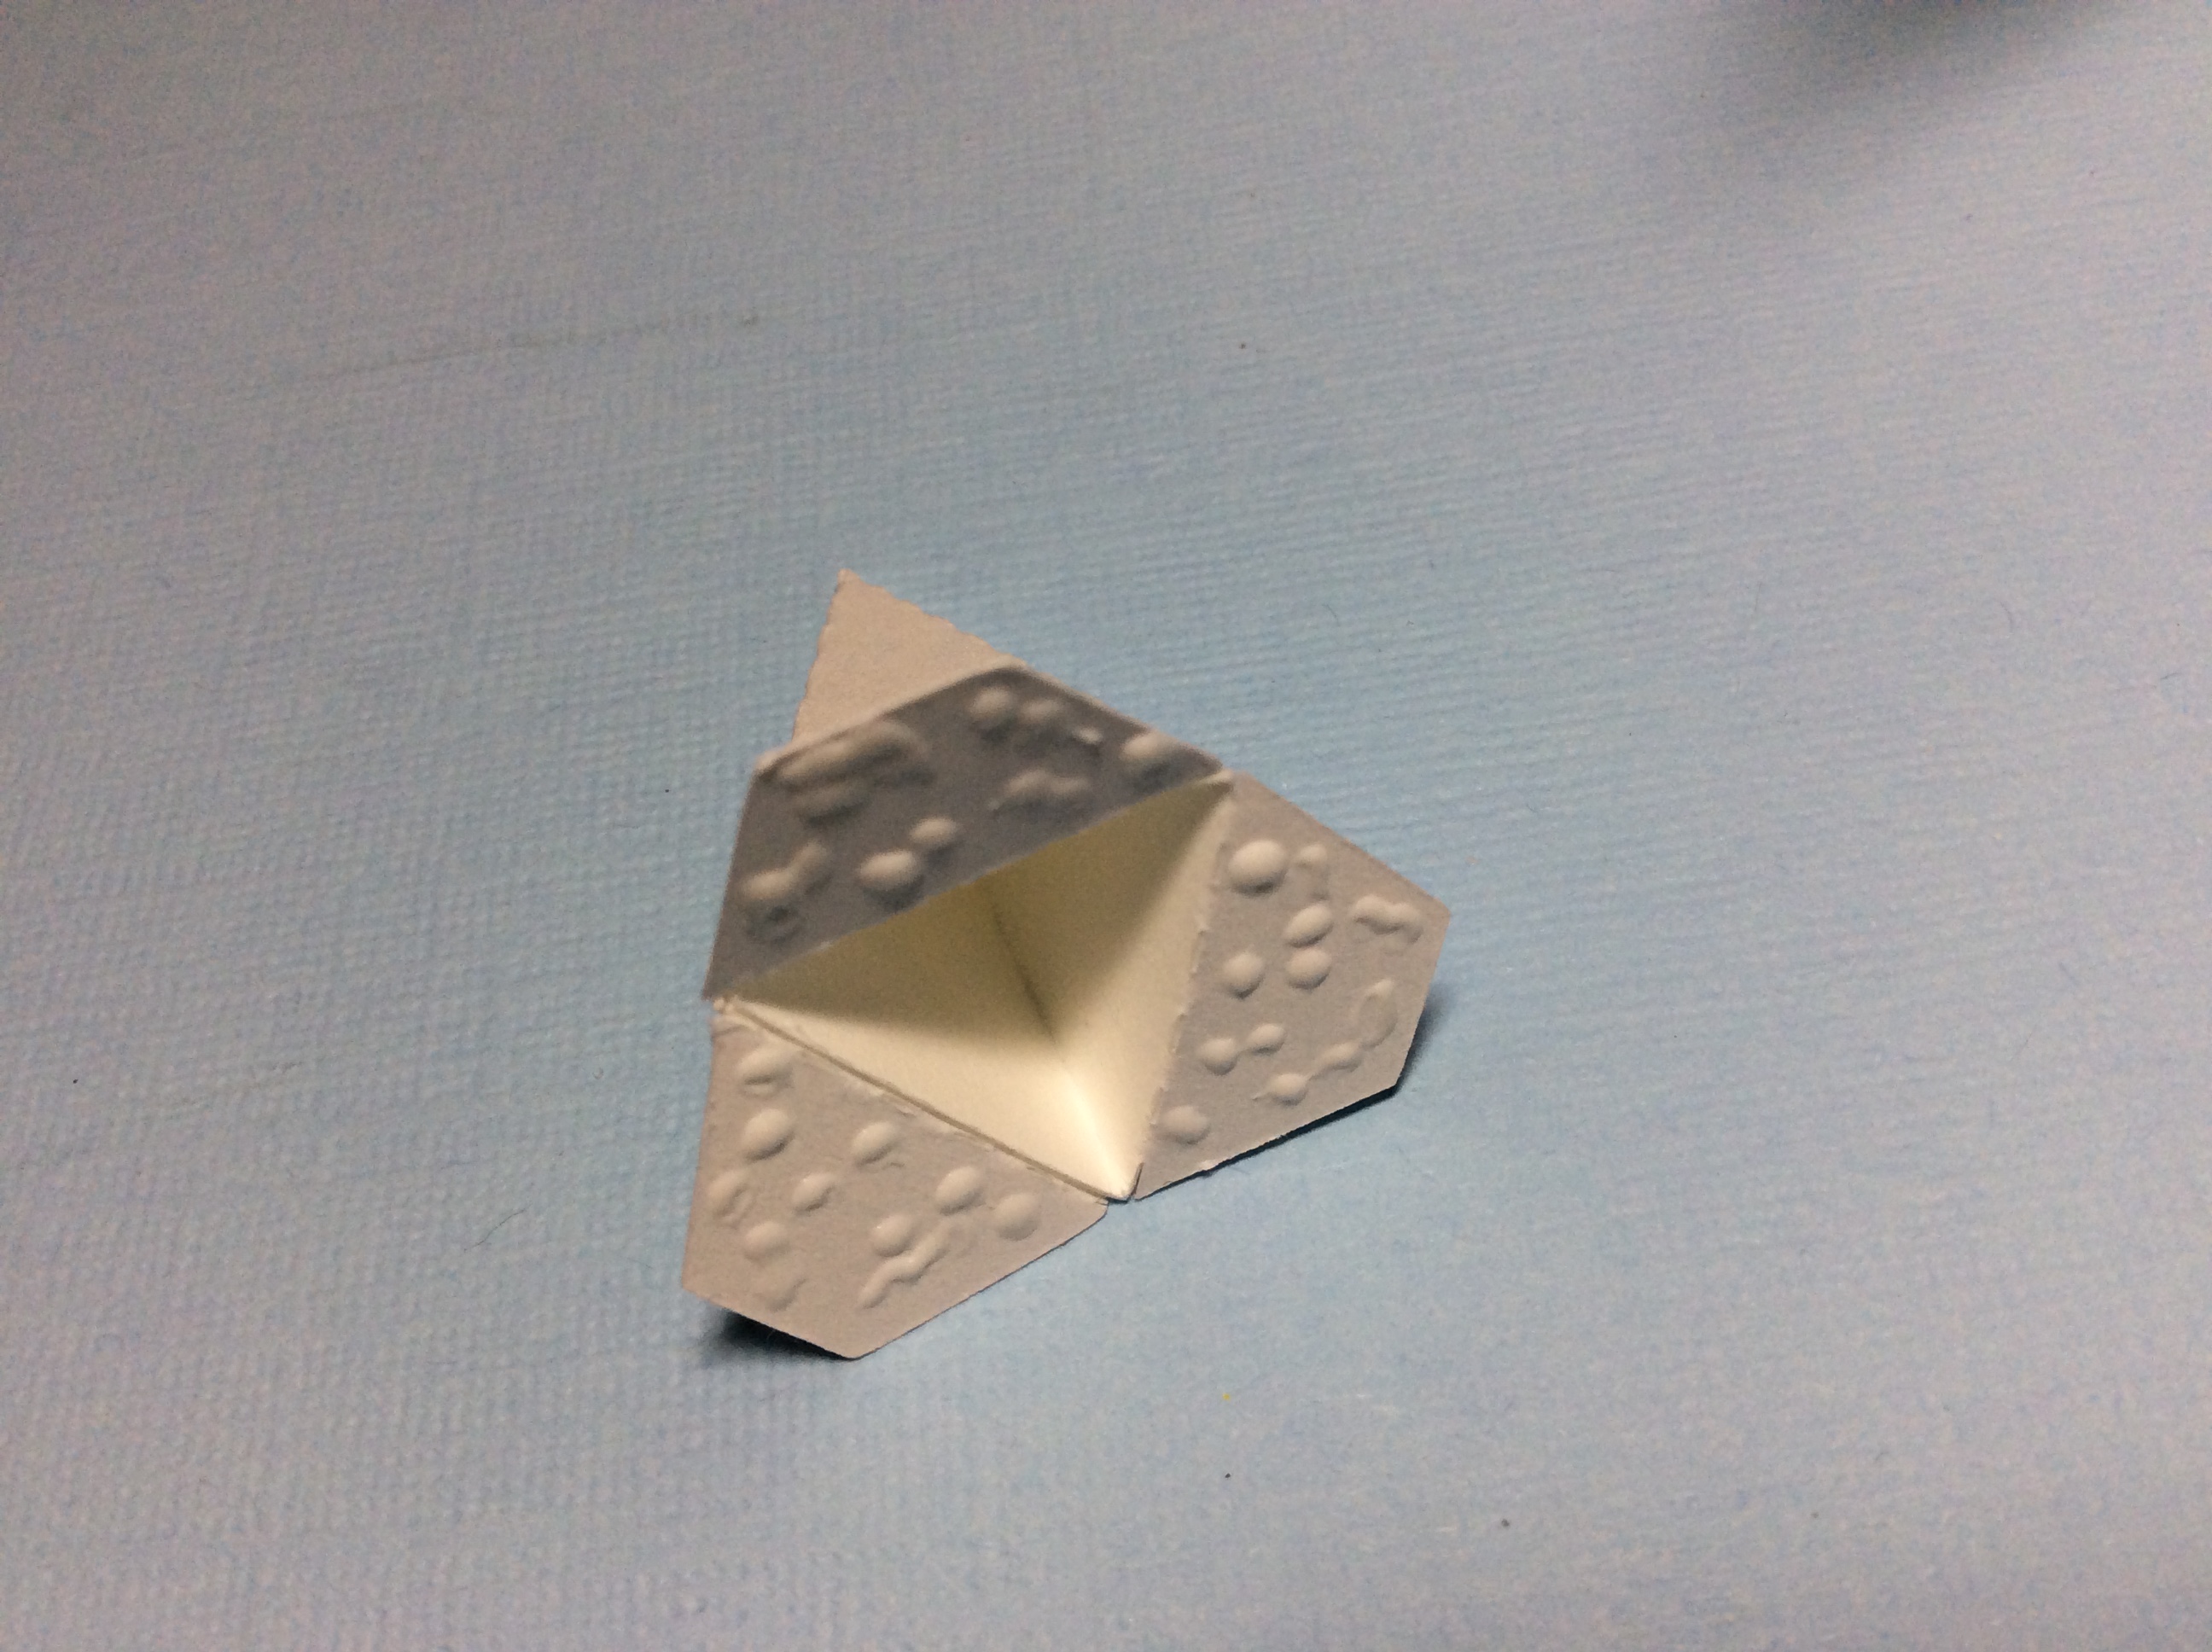
Fold the perforations of the small triangular pyramid. Apply glue on the left side which looks like a triangle. 

Completed small triangular pyramid.  Repeat for the remaining triangular pyramids.

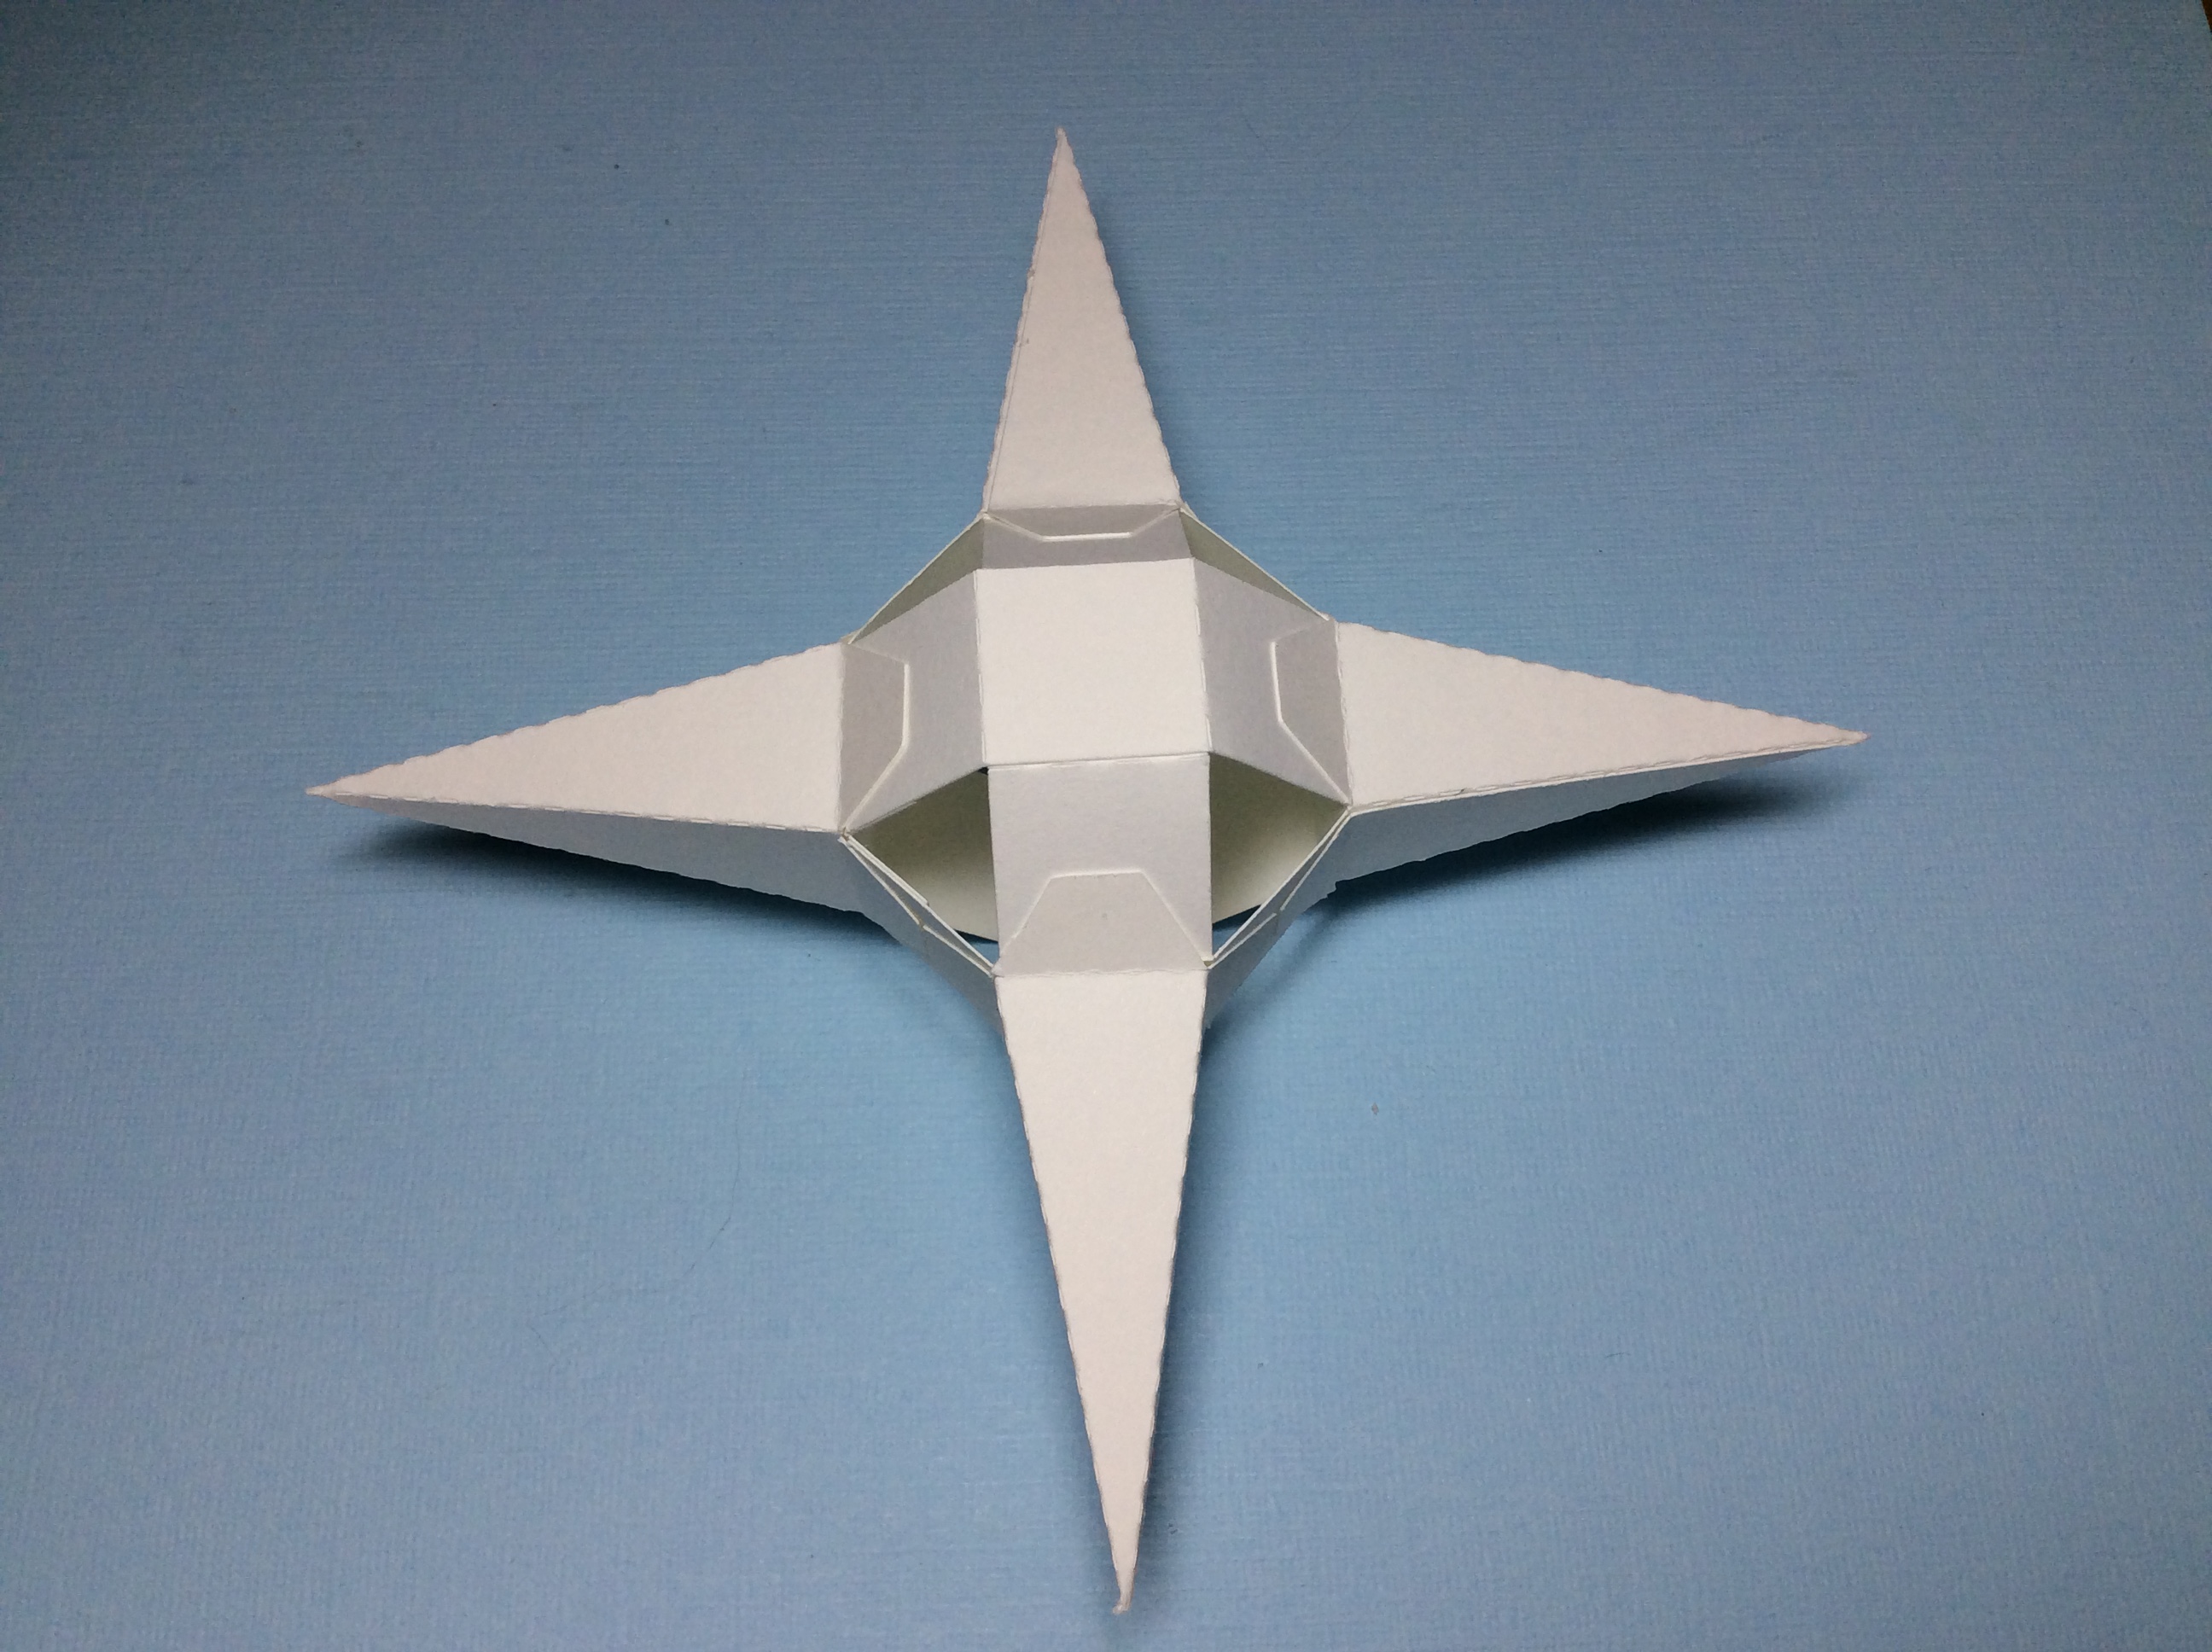
Bend the large square pyramid and apply glue as shown.

Large square pyramid. 

Glue all of the large square pyramids.  If you want to hang up your Moravian star, tape a string in the center of the large square pyramid.

Glue the large square pyramid closed and allow the string to protrude from the center apex of the pyramid.

Completed parts before final assembly. 

Apply glue to the four tabs of the large square pyramid. 

Adhere large square pyramid as shown above.

Glue and adhere two more pyramids opposite to one another as shown above.

Apply glue to the small triangular pyramid tabs. 

Adhere the tabs to the area where there is a triangle. Repeat for the remaining seven small triangular pyramids.

Glue and adhere the remaining large square pyramid to the open spaces with the tabs showing on the outside of the star.

Monday, December 5, 2022

A Christmas Train: A Tabletop Decoration

A Christmas Train: A Tabletop Decoration

This Christmas Train makes a beautiful tabletop decoration. The train consists of an engine, a coal car and a caboose. I put some cotton bellowing from the smoke stack in the engine to add some interest. It is 7 1/2 inches long when all of the cars are connected to one another. I added three presents to the coal car.  Each present is large enough to contain one Christmas Mint M&M.  My granddaughter was thrilled to open the tiny present and eat the treat when I gave her the train as a delightful addition to her home's holiday decorations.

Here is the PDF file. I  used Echo Park Santa Claus Lane paper from a 6 x6 Mega Pad which was a double sided paper.

Here is the .Studio file.

Here is the SVG. The design extends past the viewable area.  Zoom out to see the entire file.

Cut out all of the pieces for the engine. Crease and glue the engine together.

Make the smoke stack. Insert and glue into the engine. Crease, fold and glue the curved engine pieces together.  One curved piece on either side. Glue on the engine light.

Crease the base as shown above. Glue and align the wheels onto the base.  The holes in the wheel should align with the hole in the base.

Glue the base to the undercarriage of the train. Align and glue the four big wheels.

Crease the roof tabs outward. 

Align and glue the roof to the engine.

Make the caboose with the same methods as used above.

The undercarriage is aligned as shown above.

Make the coal car using the same methods as before.

Completed coal car.  Make some presents to put into the coal car.

The hitch is made with a strip of folded paper as shown above. Insert the folded paper into the hitch by inserting it on a diagonal and turning to align it.  The tabs will be glued on either side of the square.  Insert the hitch from the previous car. The hitch needs to be inserted on the diagonal and then turned.  This motion will lock the hitch into place to connect the cars without slipping out easily.

Add a piece of a cotton from a cotton ball to the smoke stack to complete the train tabletop decoration.