I made a paper box for the Makerport to contain the components necessary to operate this project. I made my box using a Silhouette Cameo, an electronic paper cutting machine. I have included three different files where you can make this box.
You can print and cut the box and clown with scissors or use the files for an electronic paper cutter. I used 65 lb. white cardstock and Glue Dots/adhesive dots for the design.
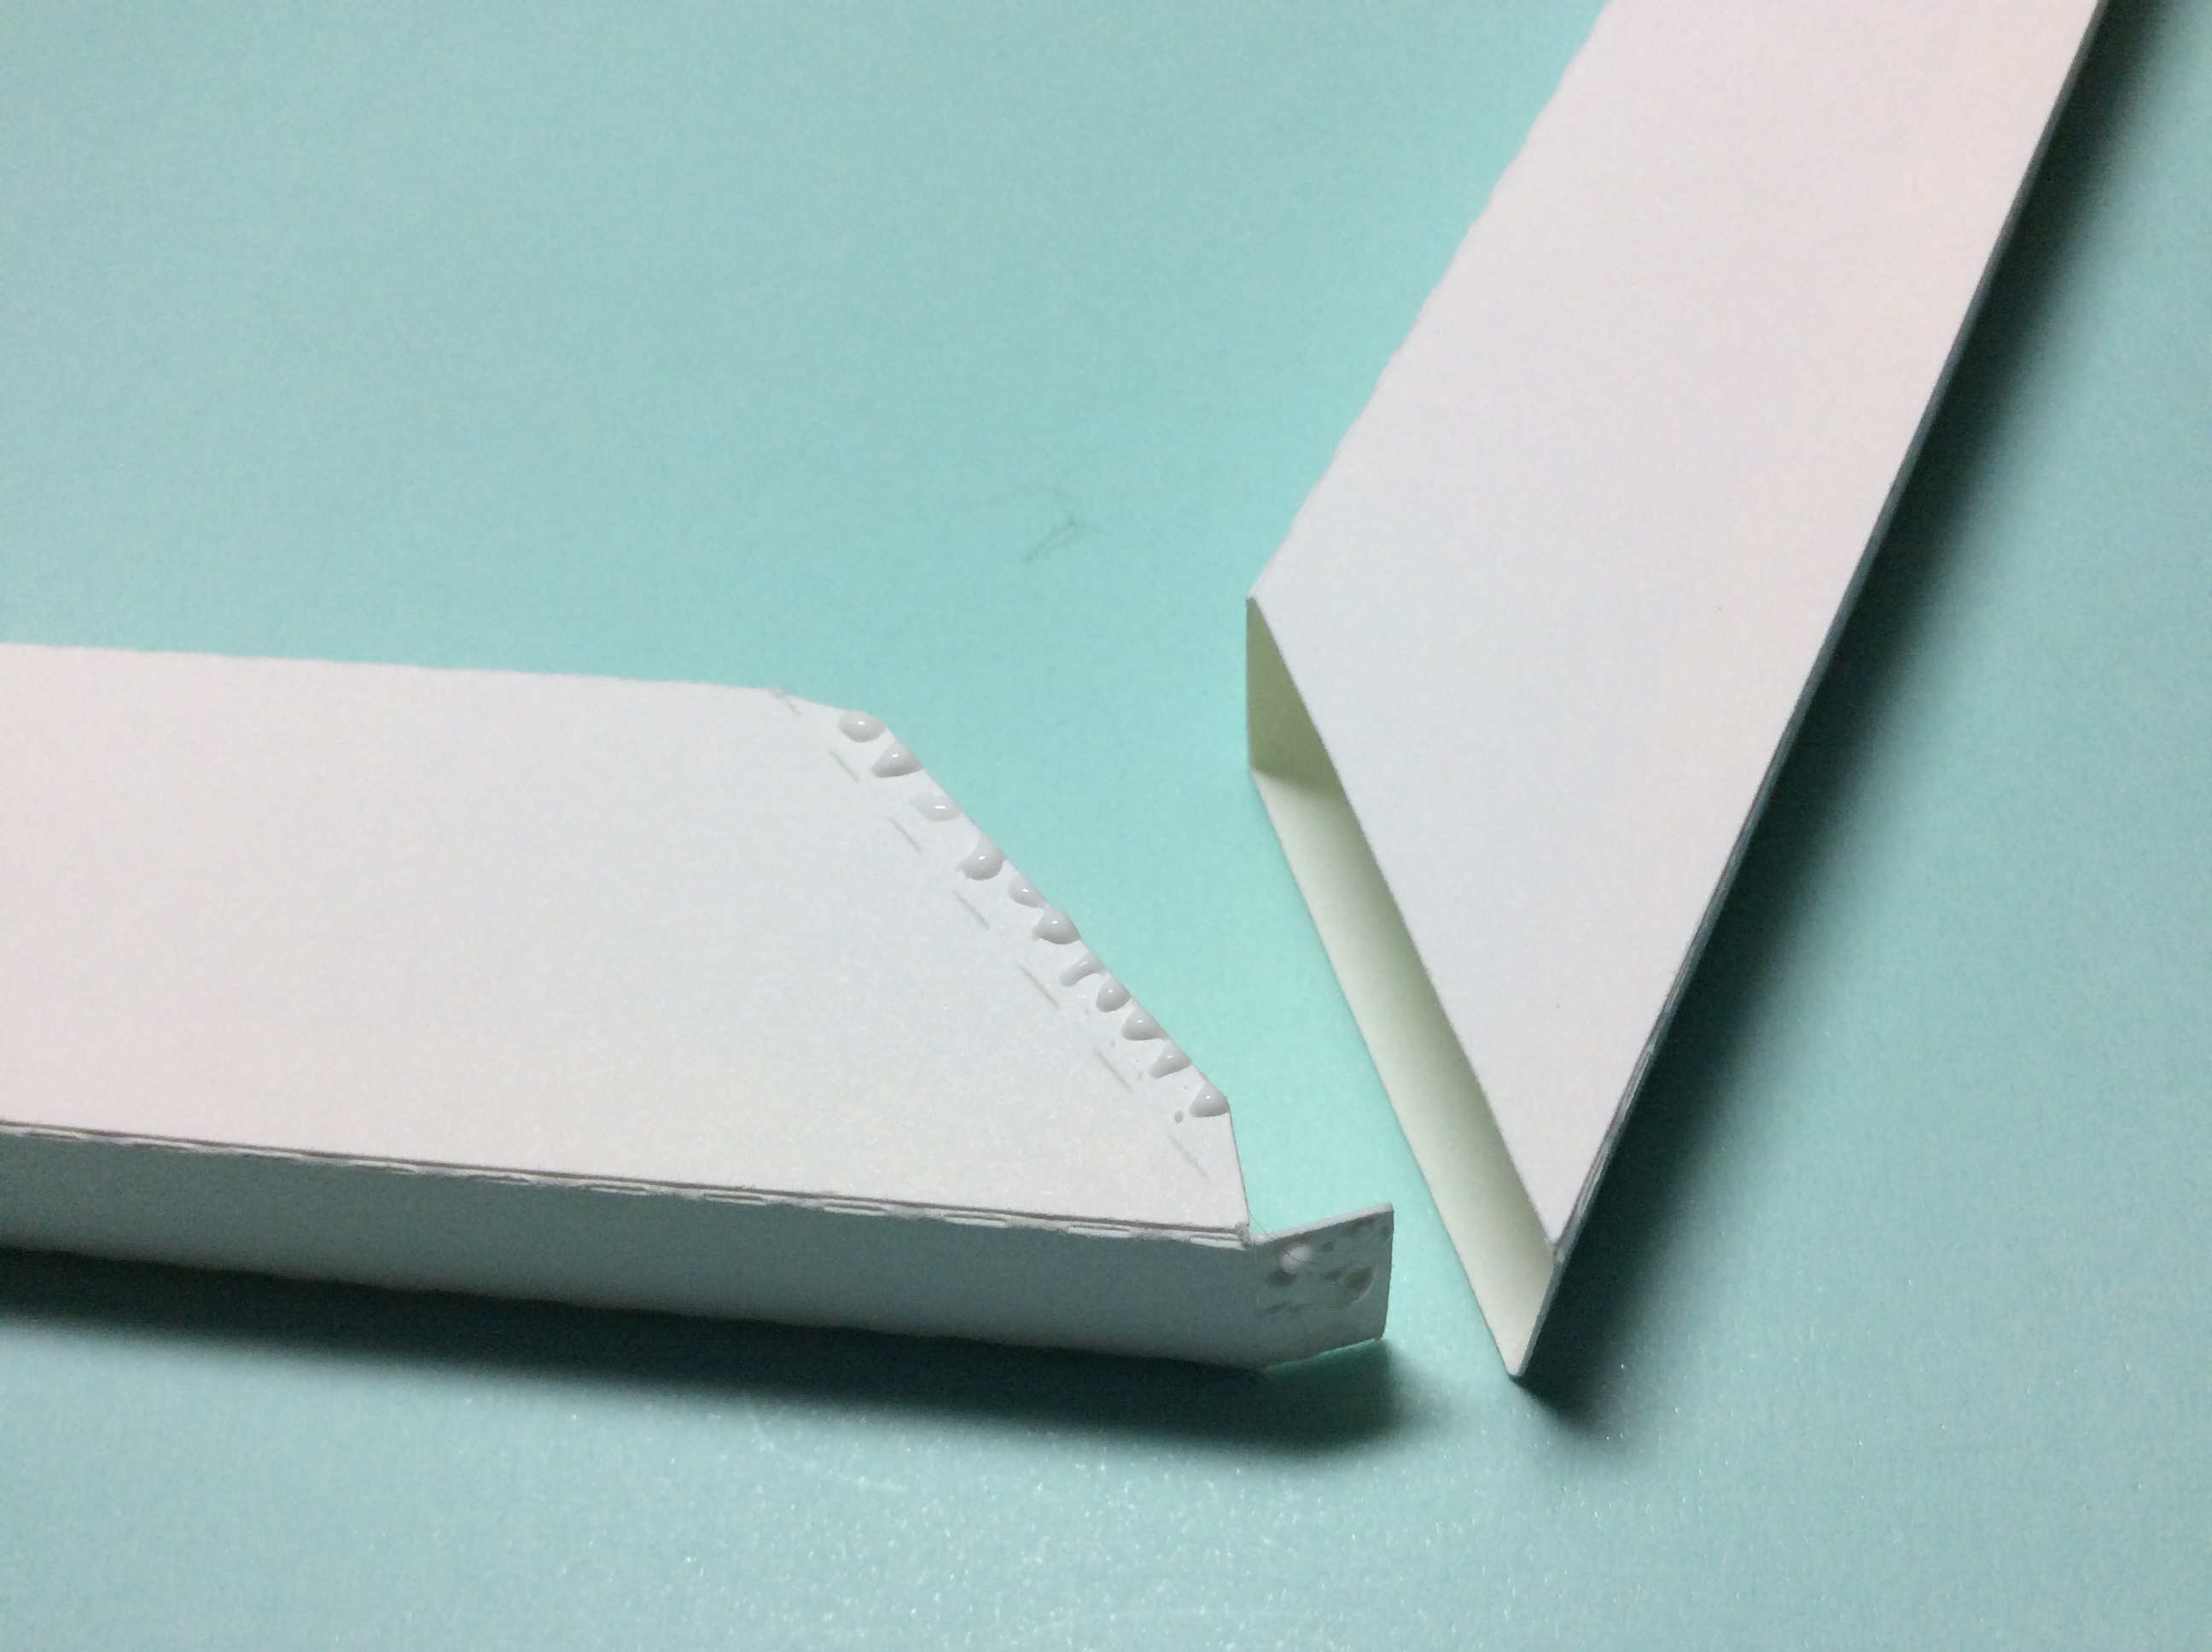
Crease the side piece without the wing tabs as shown above and apply glue to the tab.
Please note: the photos are from a previous project but the concept of putting the box together is the same.
Adhere the glue by pressing down on the side piece to flatten it. Once the glue is adhered, form the piece into a block. Repeat for the other side piece without the wing tabs.
Crease and apply glue to the tab as shown above for the side piece with the wing tabs. Flatten the piece as before to adhere the glue. Form the piece into a block. Repeat for the remaining piece.
Apply glue to the wing tabs. There are four of them, one on each side of the winged piece. Insert the tabs into the side without the winged tabs.
A mitered corner is then created. Make sure that each corner is at a 90 degree angle to one another. I used a book to make sure that I made a right angle.
Repeat gluing and inserting the winged tabs for the other sides. Above is the last side which is inserted. I applied glue on three sides of the winged tabs and then inserted both sides together.
I turned over the frame. I made sure the corners were aligned. I then glued the last two winged tabs of the mitered corner.
I glued on the two box bottoms (they are sandwiched together) to the frame to make a sturdy box.
The box bottom is to the left. The box top is made by gluing the side tabs together as shown on the left.
Glue one side of the box top to the interior of the box and the other side to the exterior. This will create a sturdy box top.
Make the LED Light Assembly
Using a red LED light, (please note, the longer wire is positive), I made a holder for this LED light by using the following instructions in this YouTube video. https://youtu.be/jmsu__UYTl8?si=dS8hfbSRW0h7QUfb
A blue alligator clip was used for the connecting the ground side of the light to pin GND of the MakerPort and the yellow alligator clip is connected to Pin 1.
I added two adhesive strips, shown on the left, to the front of the LED so that I could attach it to the box top.
The front of the box has three gold flowers with an earring back which is threaded through the hole to the back. Three wire connectors are used to connect these touch sensors to the MakerPort. The pins on the first row are all odd numbered pins. The pins on the second row are all even number pins. Since I am using only three pins and I placed it on the bottom left, the pins I used are pins 1, 3 and 5.
A servo is attached to the Makerport at Pin 14.
I added two adhesive strips to the front of the Servo so that I could attach it to the box top.
I added a MakerPort power supply.
The MakerPort and its power supply were placed into the box bottom.
I added a post to the bow tie.
The clown face and bow tie were added to the front of the box .
Program The MakerPort
Here is the MicroBlocks program that I used to operate my MakerPort.
The program does a few things. I say "Welcome to the Circus" when the center touch sensor is pressed. When the left button is pressed, the bow tie moves back and forth. When the right button is pressed, the circus song is played.
I recorded my voice by using the online program, https://online-voice-recorder.com/. It was easy to use. Click on the red button to start recording and record whatever you would like to say. Once completed, the sound bite can be appended by moving the blue vertical lines on either side of the sound bite. Save the sound bite to your computer. Change the name of the sound bite to a three digit number, like 001greeting.mp3. Copy this file from your computer to the MakerPort file. The Maker Port file is opened by moving the slider on the side of the MakerPort from "Code" to "File". You can find the Makerport files in the Finder menu. The name of the files is MPFILES. Once in the files, paste the sound bite to a folder, I made a new folder and I named it 003. I then pasted the sound bite to this folder. With each subsequent sound bite, I change the value of the voice recording to the next number and placed all of my sound bites here...for example, 002song...003poem, etc.
The circus music is a ringtone that I got from the website, Zedge. https://www.zedge.net/ringtones/73d26539-c713-46a7-8590-dd51ccd3e003 I followed the same procedure, as I explained above, to add the ringtone to my MakerPort files. With each subsequent sound bite, I change the value of the recording to the next number and placed all of my sound bites in the folder.
Once the files has been added to the MakerPort, the slider on the MakerPort needs to be moved from "File" to "Code". The MakerPort needs to be in "Code" mode in order for it to connect to the MicroBlocks software. MicroBlocks, https://microblocks.fun is a block programming language which is dynamic. When your MakerPort is connected to MicroBlocks, the code is automatically updated in the MakerPort. This is a great time saver because it eliminates the step of copying and transferring the code manually from your computer to the MakerPort.


No comments:
Post a Comment