A Paper Microscope with One and Two Lenses
Components of a Paper Microscope
A One Lens Eyepiece and a Two Lens Eyepiece with a Spacer Tube for the Objective Lens, A Magnetic Base for the Microscope and a Specimen Slide which Attaches with a Magnet
In a previous blog posting https://papercraftetc.blogspot.com/2024/05/a-stem-project-making-simple-paper.html, I coded an entire paper microscope using a glass marble as the lens in TurtleStitch and I explained the steps that were required to program the design. In this blog posting, I will replace the glass marble with one lens on the eyepiece tube and then construct another eyepiece tube for two converging lenses. The eyepiece tube will be held upright with two supporting structures. I also modified the base of the microscope to include magnets so that the specimen slide and the microscope base will be automatically aligned when the corresponding magnets are placed together. I got the idea of using magnets for the specimen slide from Foldscope, https://foldscope.com I thought it was ingenious that they used a magnet to align the lens and the specimen slide together.
My focus of building this paper microscope is to give the building blocks necessary to create a microscope for different lenses of various focal lengths. While I am giving you values for my particular lens, I am supplying the TurtleStitch code to modify the lengths of the components, so that you can create your own microscope to your particular needs.
A one lens microscope is called a simple microscope. It is similar to a magnifying glass. A two lens microscope uses two lenses to compound or multiply the level of magnification. The first microscopes were made by putting two or three magnifying glasses together.
TurtleStitch Code
Here is the TurtleStitch code for the components of a microscope with one lens. https://www.turtlestitch.org/run#cloud:Username=Elaine&ProjectName=Components%20For%20a%20Microscope%20With%20One%20Lens
Here is the TurtleStitch code for the components of a microscope with two lenses. https://www.turtlestitch.org/run#cloud:Username=Elaine&ProjectName=Components%20For%20a%20Microscope%20With%20Two%20Lens
Here is the TurtleStitch code for the microscope base and support beams. https://www.turtlestitch.org/run#cloud:Username=Elaine&ProjectName=Microscope%20Support%20Beams%20and%20Base
Here is the TurtleStitch code for the microscope box.
Here is the TurtleStitch code for the specimen slide.
Types of Lens Used
The three lens that I used are from Thor Labs, https://www.thorlabs.com I used a 12.7 mm lens with a focal point of 50 mm (Thor Labs - AC127-050-A) for the eyepiece of the single lens microscope.
For the double lens microscope, I used a 12.7 mm convex lens with a focal point of 50 mm for the eyepiece (Thor Labs - LB1844) and a 12.7 mm convex lens with a focal point of 25 mm for the objective (Thor Labs - LB1844) which is the lens that you place next to the specimen. The focal length of the eyepiece lens is about 160 millimeters or 6.29 inches. The focal length of the objective lens is about 25 millimeters or about .984 inches.
Microscope Cutting Files
Here are the files to make the paper microscope. I have three versions of the files. The first is a PDF where you can cut out the pieces with scissors. The second file is for the Silhouette and the third file is all other electronic paper cutting machines.
Materials needed. - Glue Dots, three lenses as explained previously, magnet paper and a tea light
Here is the PDF. It is recommended to use 65 lb black cardstock because a dark background allows for more contrast which will allow you to see your specimens better. (I used white cardstock for design purposes only.)
Here is the .Studio file for the Silhouette.
Here is the SVG. The file goes beyond the viewable area. Zoom out to see the entire file.
Make the Box - Only one box is necessary to make the microscope with one lens or two lenses because the telescoping eyepiece tube design is the only thing that is replaced with the new lens and a lens spacer.
Crease the box top as shown above and apply glue to the two tabs on the sides. Repeat for the other side of the box. Insert the tea light into the bottom of the box and affix it with a Glue Dot (not shown). I recommend offsetting the tea light a little from center because you do not want direct light when viewing a specimen. Close the box with the tea light inside.
Make the Specimen Holder
Crease the specimen slide and apply Glue Dots to the two tabs of the specimen slide to adhere them together.
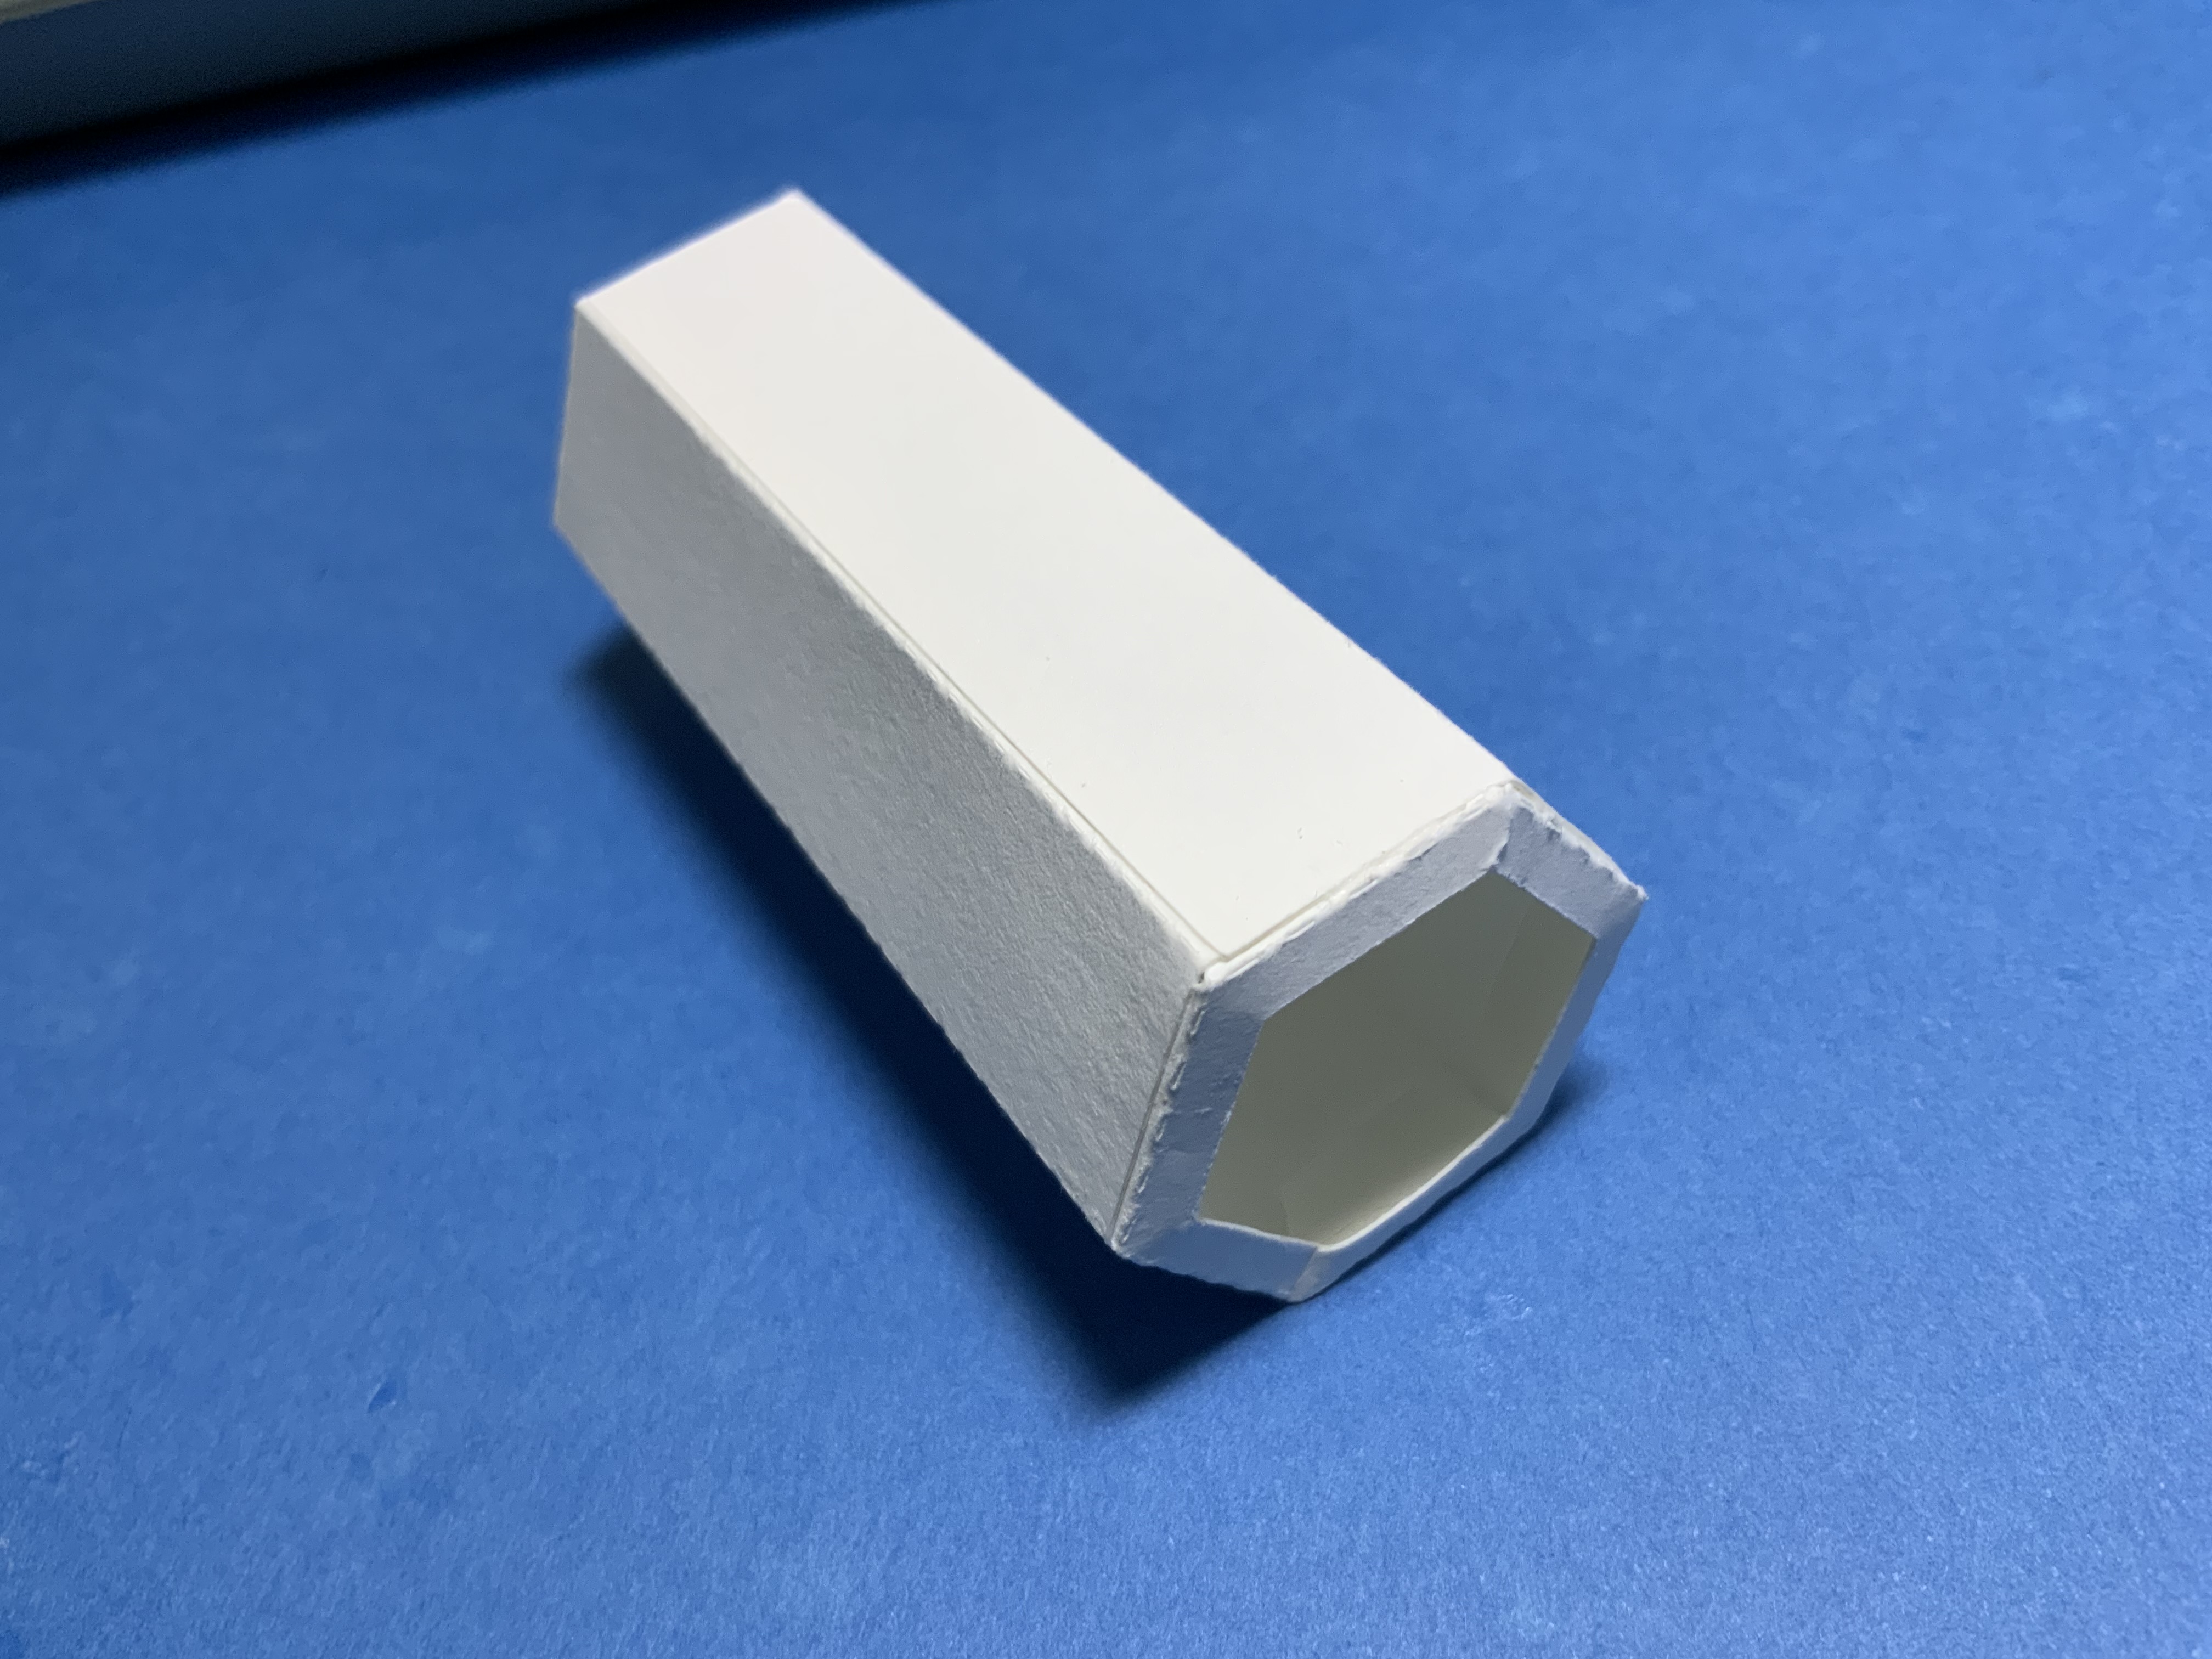
Make the Eyepiece Tubes - Three tubes will be made, two eyepieces tubes and an eyepiece support tube.
Crease the hexagonal eyepiece tubes. Apply glue to the eyepiece tube and the eyepiece support tube at the tabs. Precision gluing is required so that the tubes will telescope.
The eyepiece tube can be folded flat so that the glue will adhere properly. (Shown in the photo above on the left.) Do not leave it in this position for too long as glue might have entered the center of the tube and adhere it together. Once each tab has adhered, make the tubes into a hexagonal tube.
Place each eyepiece tube into the eyepiece support tube. Slide the shorter tube back and forth at least twenty times to make sure that the tubes will telescope properly. Test for the second eyepiece tube.
Apply glue to two lens holders on the six tabs and insert it into each side of the eyepiece tube. Repeat for the second eyepiece tube.
The ends of the eyepiece tubes will look as shown above.
Make the Lens Holders For All Three Lenses - One for the 'One Lens Microscope' and two for the eyepiece and objective lens of the 'Two Lens Microscope'
Crease the two lens holder strips into a circle that are two different sizes - one longer than the other.
Apply glue to the two tabs and adhere at the dotted line on the strip.
Glue the lens holder strip onto the lens circle. Try to center the lens holder strip on the circle. Repeat for the other side.
Insert the lens into the smaller side. Apply glue to the inner edge of the smaller side.
Adhere the two sides together. Write the lens value on the lens circle so that the lens do not get mixed up. Repeat for the other two lens.
Assemble the Eyepiece Tube for the 'One Lens Microscope'
For the one lens microscope, apply glue to the top of the lens circle.
Adhere it to the lens holder of the eyepiece tube.
Assemble the Eyepiece Tube for the 'Two Lens Microscope'
For the two lens microscope, apply glue to the top of the eyepiece lens circle.
Adhere the eyepiece lens to the top of the eyepiece tube.
Make the spacer for the objective lens by creasing the spacer into a circle, applying glue to the tab and adhering the tab.
Glue the lens circle to the bottom of the spacer.
Apply glue to the top of the spacer as shown.
Adhere the objective lens to the spacer.
Glue the spacer to the eyepiece assembly which has the corresponding eyepiece lens as shown above.
Please notice the placement of the two lenses as this is a fixed length.
Make the Support Beams for the Base of the Microscope
Crease the support beams and apply glue as shown above.
Fold the beams into two triangles. Apply glue to one side of the triangle as shown above and adhere it together. A square beam is then formed. Repeat for the second beam.
Insert the tabs of the beams into the base.
Glue the tabs to the base as shown above.
Apply glue to the side of the beams facing one another.
Adhere the eyepiece support tube to the sides of the beams.
Add Magnets to the Base of the Microscope and the Specimen Slide
Apply glue to the four corners of the microscope base. Adhere magnet pairs (eight magnets are used) to each of the four corners. A magnet pair is two magnets which are attracted to one another and are attached. I recommend orienting all of the magnet pairs in the same direction of magnetism before gluing.
Apply glue to these four magnet pairs and adhere them to the box base. Allow the glue to dry. When the glue is dry, four magnets will be attached to the microscope base and four magnets will be attached to the box base.
Align the specimen template to the specimen holder. Two magnet pairs (four magnets) need to be glued
to the left and right squares in the template. Apply glue to the two magnet pairs. Adhere this specimen slide with the magnets to the bottom of the microscope base by centering the square and round holes. Once the glue is dry, remove the template and throw it away. It is no longer needed.
The placement of the twelve magnets should look as above.
Turn on the tea light and add a specimen to the specimen holder.
Attach the specimen slide to the microscope base aligning the magnets.
Align the magnets on the four corners of the microscope base to the box base.
Using the 'One Lens Microscope'
Slide the eyepiece tube into the eyepiece support tube with the lens oriented to the bottom of the tube.
The specimen is now ready to be observed by sliding the eyepiece tube up and down until the specimen is clearly in view.
Calculations for the 'One Lens Microscope' for a achromat lens with a 50 mm focal length
-Image Distance to Lens
Magnification
A Graph of Magnification Sensitivity
The graphics shows that at a distance from the specimen to the lens of 50.8 mm (approximately two inches), the specimen is in focus.
Using the 'Two Lens Microscope'
Slide the eyepiece tube into the eyepiece support tube with the eyepiece lens oriented on the top and the objective lens with a spacer at the bottom.
The specimen is now ready to be observed by sliding the eyepiece tube to the bottom of the eyepiece support tube. The length of the focal point is fixed when using the two lens. I found that it was difficult to get the specimen aligned in the microscope for viewing. I flipped over the specimen slide so that the magnets did not attract. I was then able to focus the specimen.
Calculations for the 'Two Lens Microscope' with Two Converging Convex Lens
- Eyepiece Focal Length is 50mm - Objective Lens is 25 mm
-Image Distance from the objective lens to the specimen is 40 mm
Total Magnification
Conclusion
I liked the one lens microscope better because the specimen was easier to view and to focus. The specimen on a two lens microscope was hard to see because the lengths of the lens are set on the eyepiece due to the calculations of the lens formula. Since everyone's eyesight is different, it is hard to fine tune the image when the distances are fixed.


No comments:
Post a Comment