
A Rubber Band Pop-Up Valentine Card

This cute Valentine card pops up out of its A5 envelope to surprise its recipient. A rubber band is built into the base and the stored energy in the rubber band opens the Valentine card.

I have included four different styles for the center slice. The first one is simply the heart design(not shown above), the second one is the word "Love" and the next two are flower bouquets. I have also included a bonus of these same designs. I added a hole to the center of the heart design and they can be used as Valentine window decorations.
Here is the PDF. I used 65 lb cardstock from Michaels in various colors.
Here is the .Studio file.
Here is the SVG. The file goes beyond the viewable area. Zoom out to see the entire file once the file is opened in your design space.
Make the Rubber Band Pop-Up Base
I am using the directions from a previous blog posting, https://papercraftetc.blogspot.com/2022/04/a-stem-project-making-pop-up-base-for.html to make the rubber band pop-up base. (The slice form base does not have the added heart design but the concept is exactly the same.)

There are two sides to the rubber band base. Each side is folded over to create a two-ply base. Crease the paper as shown above.

Glue the folded sides together.

Glue the tabs together. Make sure that the slits are going in the same direction.

Slide the one inch rubber band into the slit and align the rubber band with the round hole in the base of the slit.

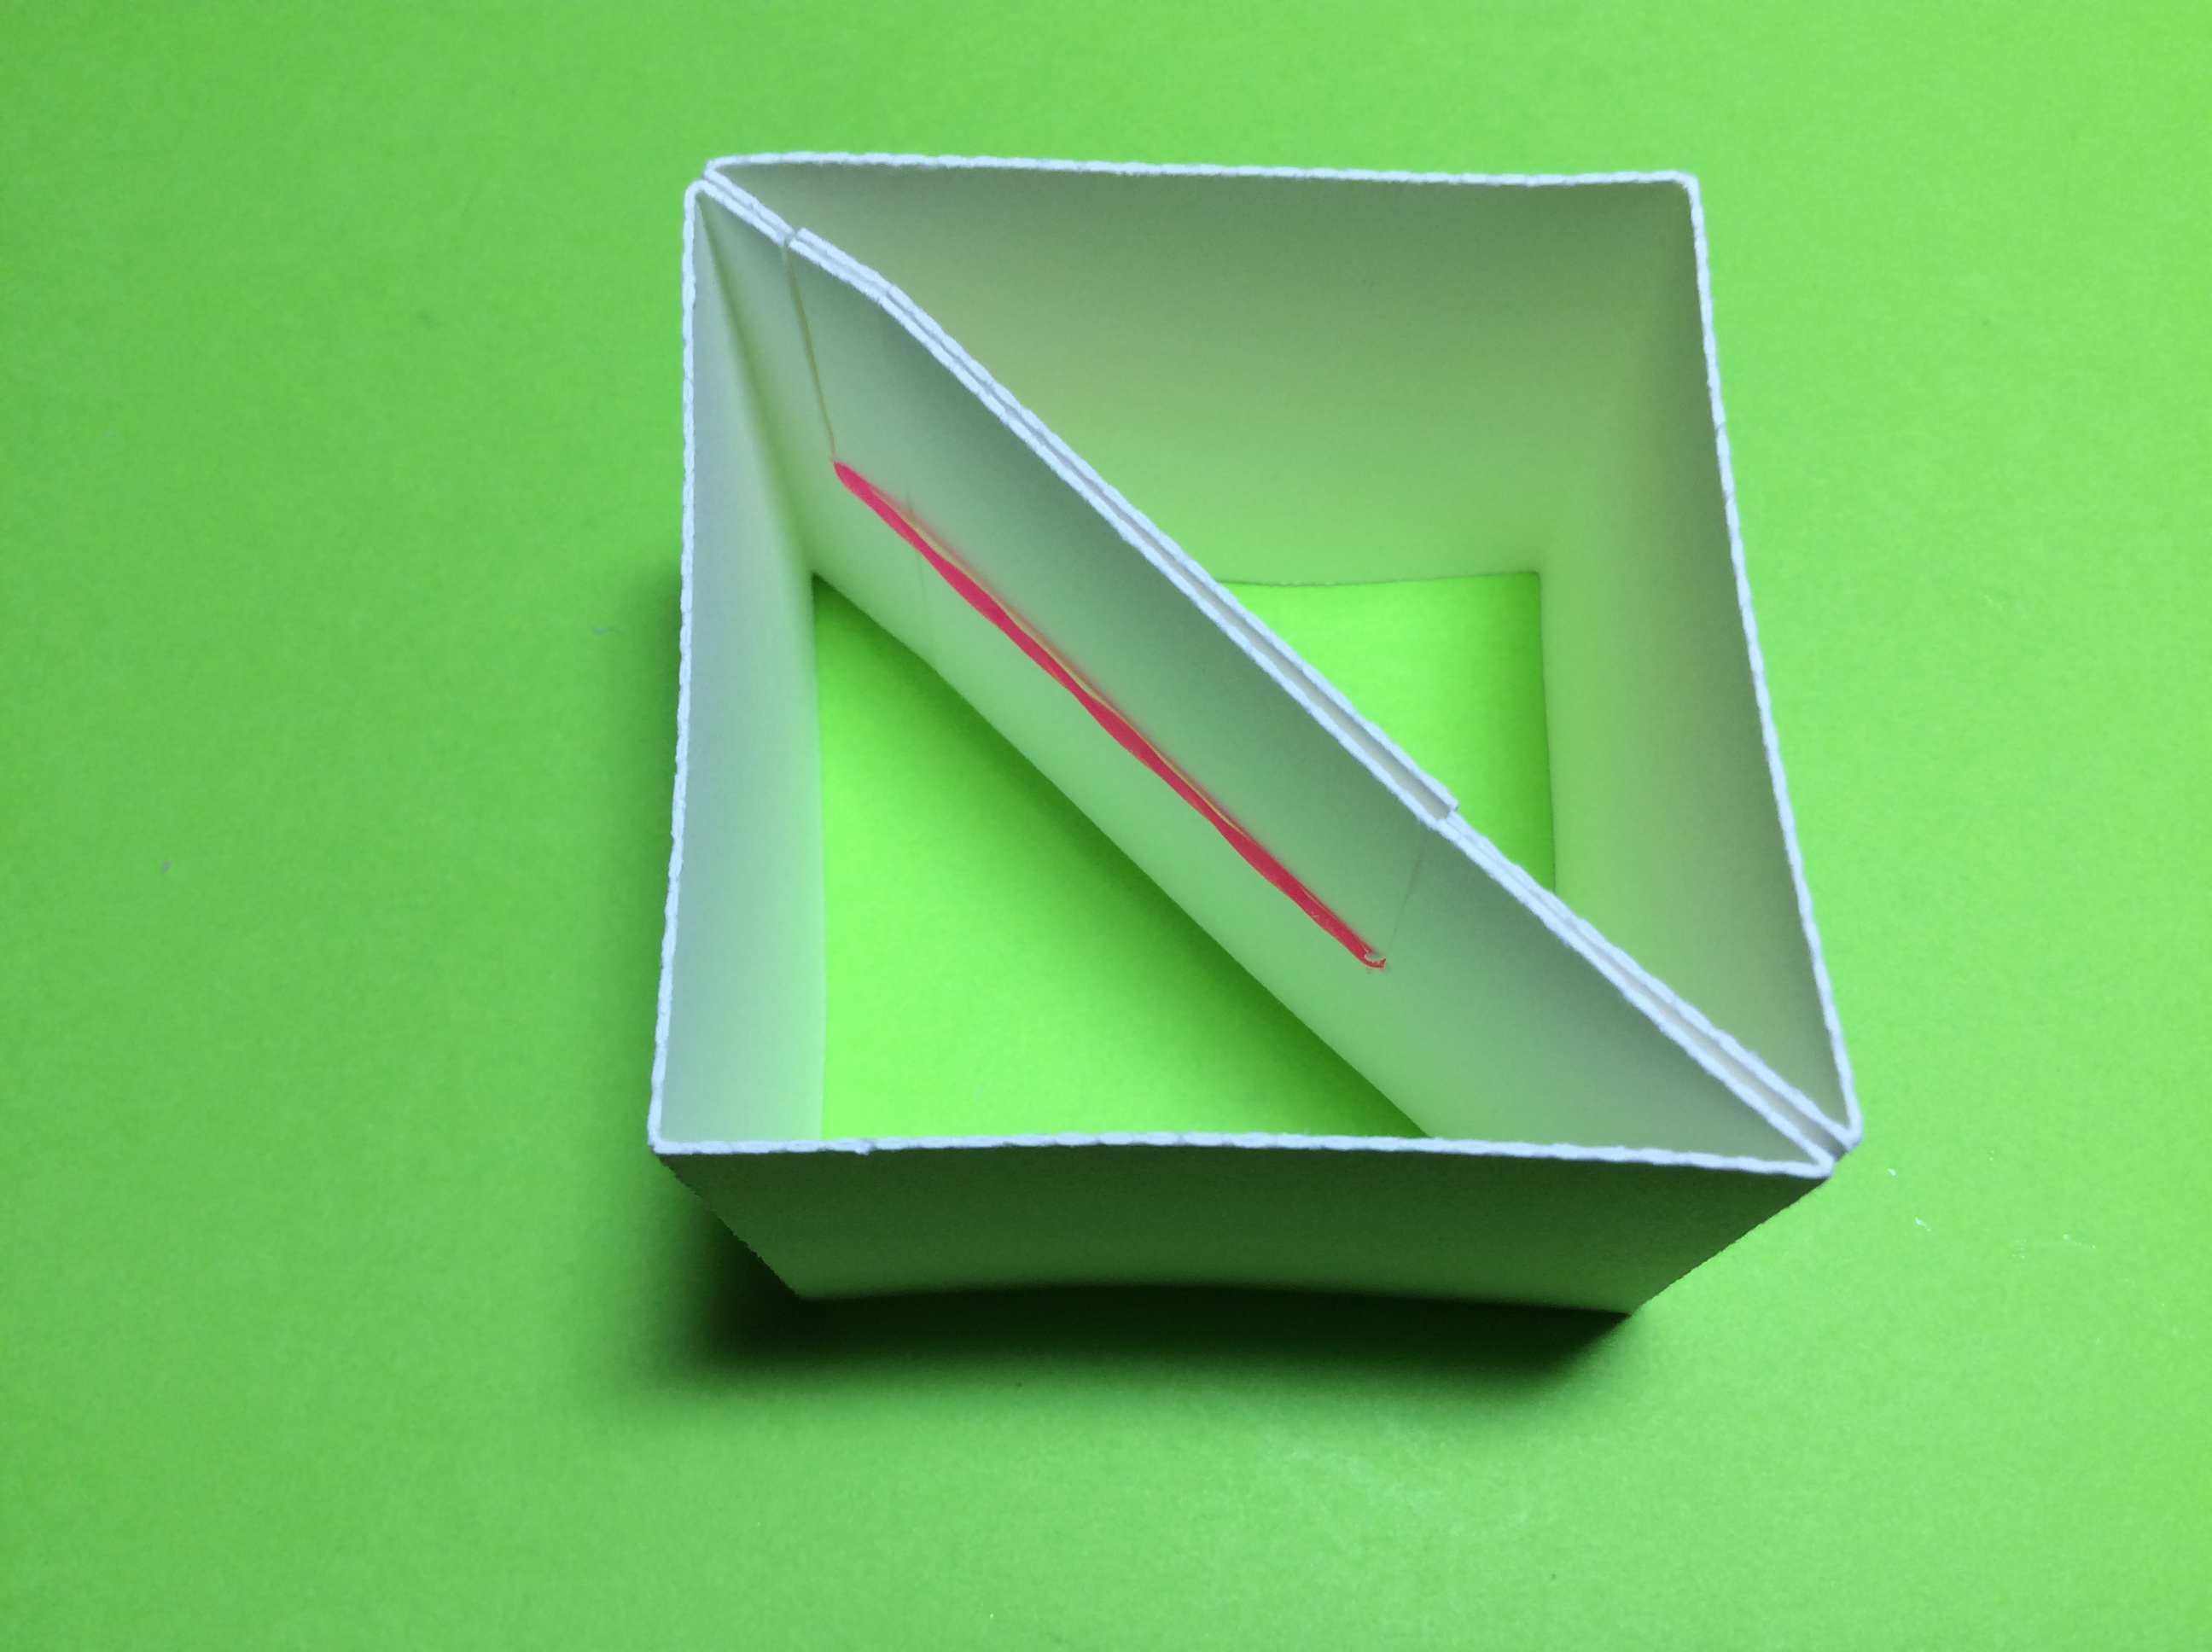
Apply glue to the diagonal as shown above.

Adhere the other side of the diagonal. Make sure that the slits on the long side of the diagonal align.
Slide the rubber band onto the slit on the long side of the diagonal.

This rubber band base can now fold flat when the corner opposite the diagonal is pushed down.

Make the pop-up columns by creasing the paper into a square and gluing the tab together. Repeat for the other column.


Apply glue to the side of the column that has a tab. Attach this side to the right angle that is opposite the diagonal. Repeat for the other column.
Make the Slice Form Base

Arrange all of the slices by size. Take the largest slice and slide them together as shown above.

Continue sliding the pieces with the upward facing slits onto this assembly.

Slice the downward facing slits onto the assembly to finish making the slice form base.
Assemble the Two Parts of the Pop-Up

Apply glue to the column tabs as shown above.

Slide the slice form base onto the pop-up base. The tabs of the columns will be glued inside the slice form base. Flatten the base so that the glue adheres correctly.

The slice form base is now attached at two spots. In the photo above, it is attached on the left side. The right side is not attached as this allows the slice form to fold flat.

Top View
Make the Valentine Heart Slice Form

Choose the center slice form and apply embellishment if so desired.

Slide the center slice together. There are two types of slices, inward slits and outward slits.

Insert all of the outward facing slits onto the heart as shown above.

Insert all of the inward facing slits onto the heart. Open and close the heart slice form to align all of the slits. Apply glue to the center tab as shown above.
Assemble the Rubber Band Pop-Up Valentine

Slide the center tabs into the base.

Adhere the tabs by closing the slice form.
The pop-up will fold flat.

Completed Rubber Band Pop-Up Valentine
This is a great design. Question: how tall is the heart with the tab? This imported into Cricut DS as extremely small
ReplyDeleteThe heart slice with the tab is 4.397 inches tall.
DeleteGreat design
ReplyDelete