
Dress Patterns For An American Girl Bitty Baby Doll And A Little Bitty Baby Doll
Please note, these dresses can be hand sewn if you do not have a sewing machine using an 1/8 inch stitch length.
Here is the PDF for the dress pattern. Print out the pattern with your printer. There is a one inch square for reference if the pattern does not get printed correctly.
Here is the .Studio file for Silhouette Cameo users. Cut the pattern piece with your Silhouette.
Here is the file as an SVG. Cut the pattern piece with your Cricut or other paper cutting machine. The file goes beyond the viewable area. Zoom out to see the entire file
The directions to make both dresses are similar. The only difference is the back seam is sewn partially for the Bitty Baby. The Little Bitty Baby's skirt lies flat when open.
1. Cut the dress pattern as described on the pattern pieces. I traced the pattern onto the fabric and then cut the fabric.
2. Sew the bodice together at the top seams. There are two bodices.

3. Place the two bodices together and sew the neck seam. Sew the two arm hole seams.

4.Turn the piece right side out. This is difficult and should be done very slowly as to not tear the seams.
Once the one side is done. Turn the other side right side out.

Iron the bodice.

5. Sew the side seam together. Side seam has been sewn and finger pressed open. Repeat for the other side.

Bodice top is complete

6. Iron the bottom seam of the skirt with a 1/4 inch seam twice and sew the bottom edge.
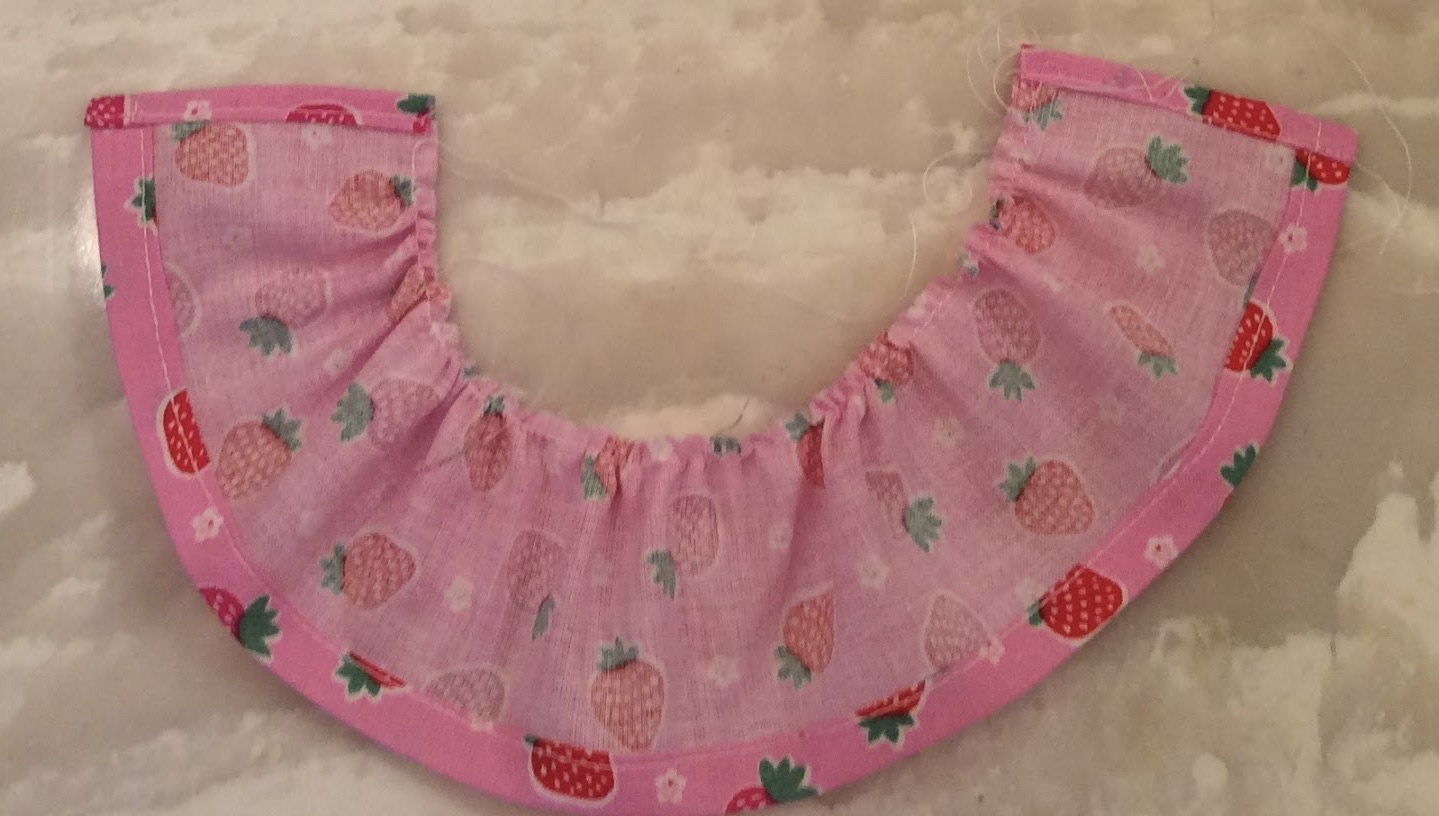
7. Ironing a 1/4 seam twice on each side of the skirt and then sew theses seams. Sew a running stitch along the top edge of the skirt. Gather the top edge of the skirt by pulling on the running stitch.

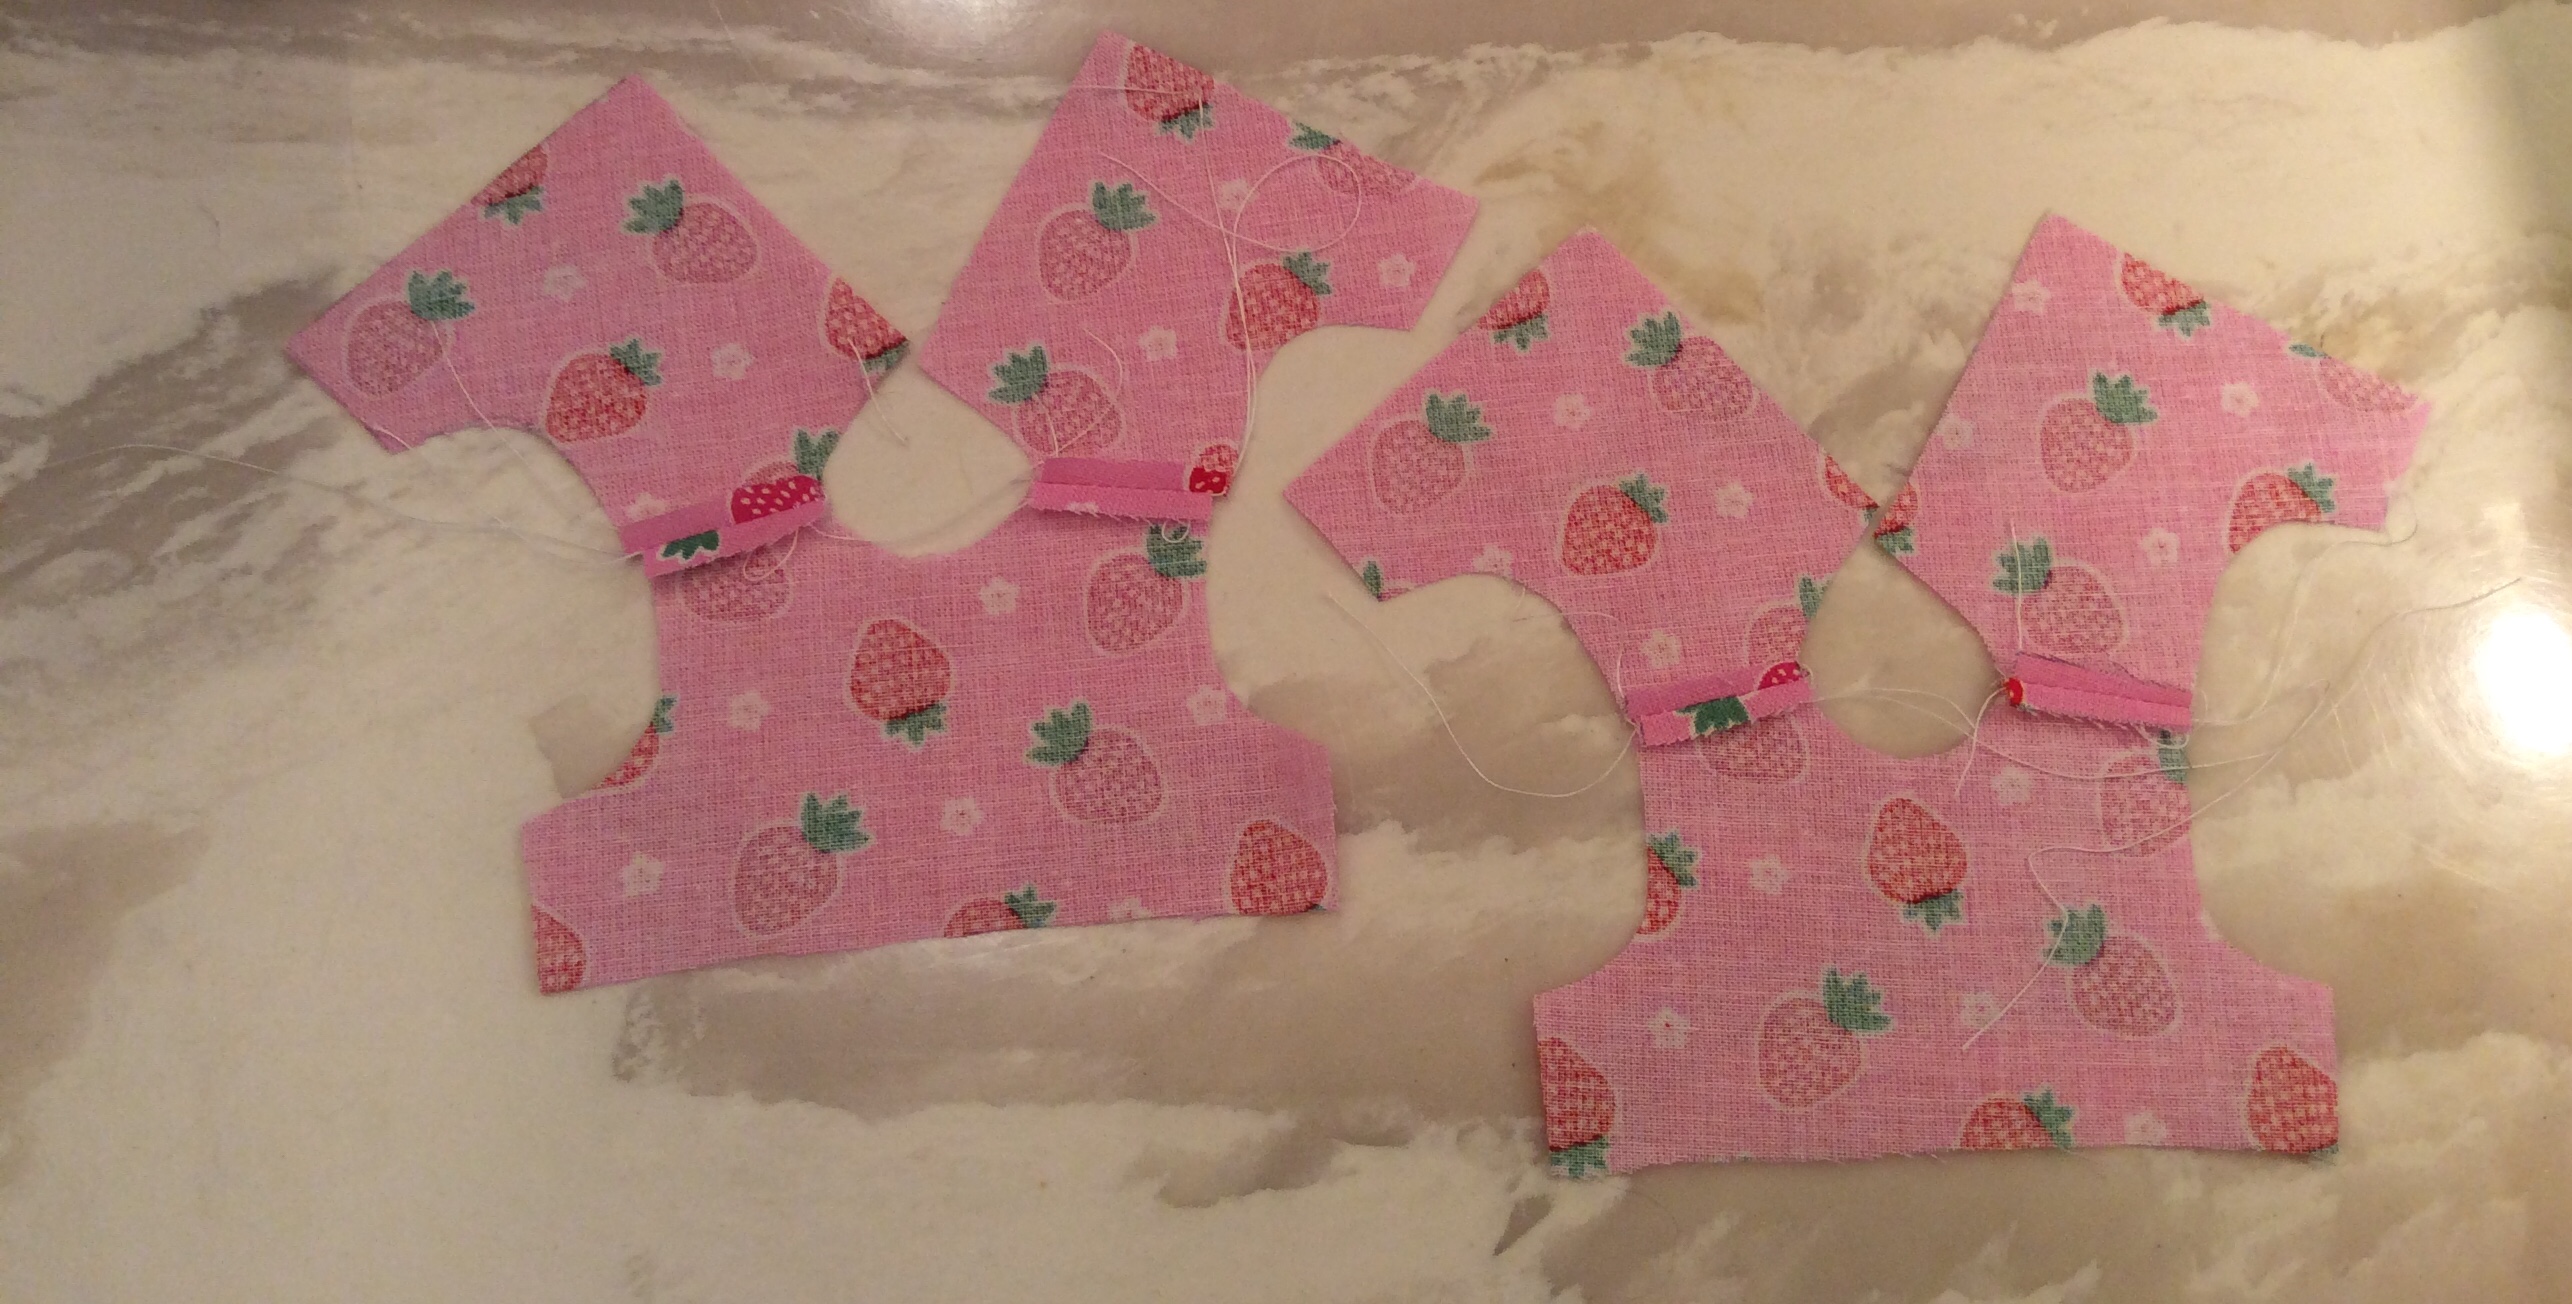
8.This photo shows both the Little Bitty Baby and Bitty Baby pieces bodices and skirt pieces.

9. The Bitty Baby gathered skirt is sewn to the front of the bodice.

10. The back bodice is folded under an 1/8 inch.

11. Topstitch the bodice seam with the sewing machine.
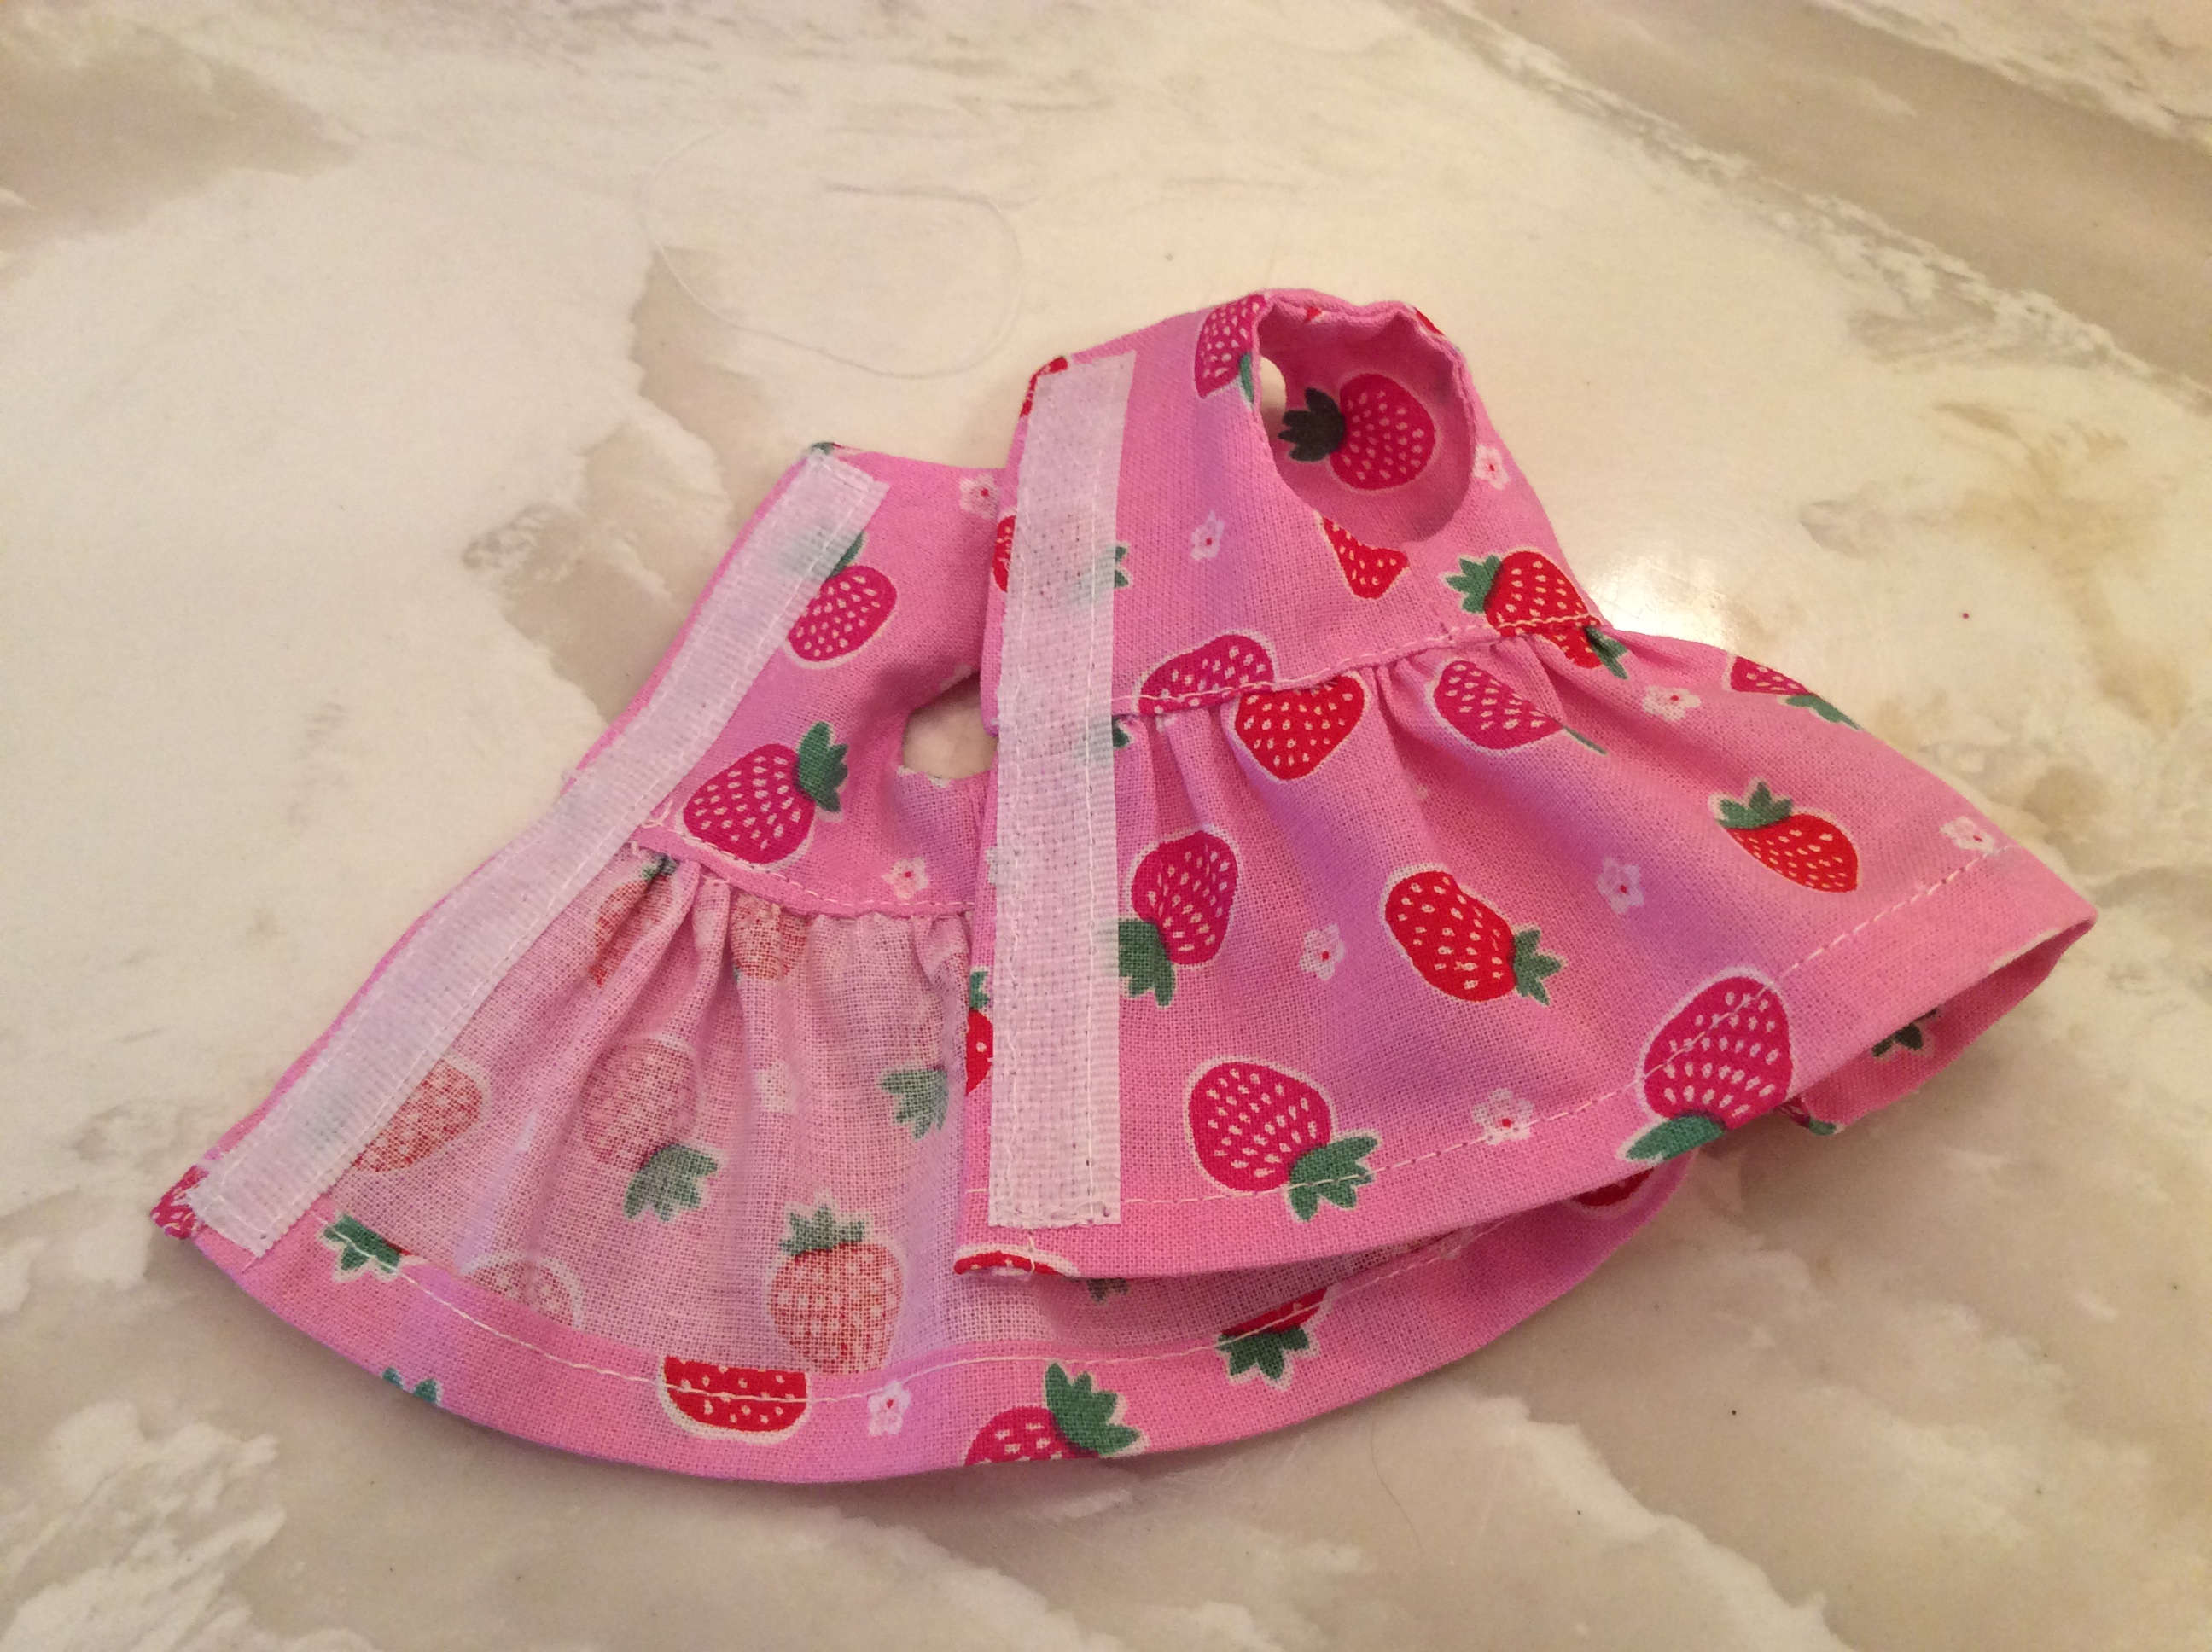
12. For the Little Bitty Baby, sew 1/2 inch x 3 1/2 inches velcro to the side seams. The fuzzy velcro is on the left side, on the inside of the left bodice. The hook velcro is on the right side on the outside of the right bodice.
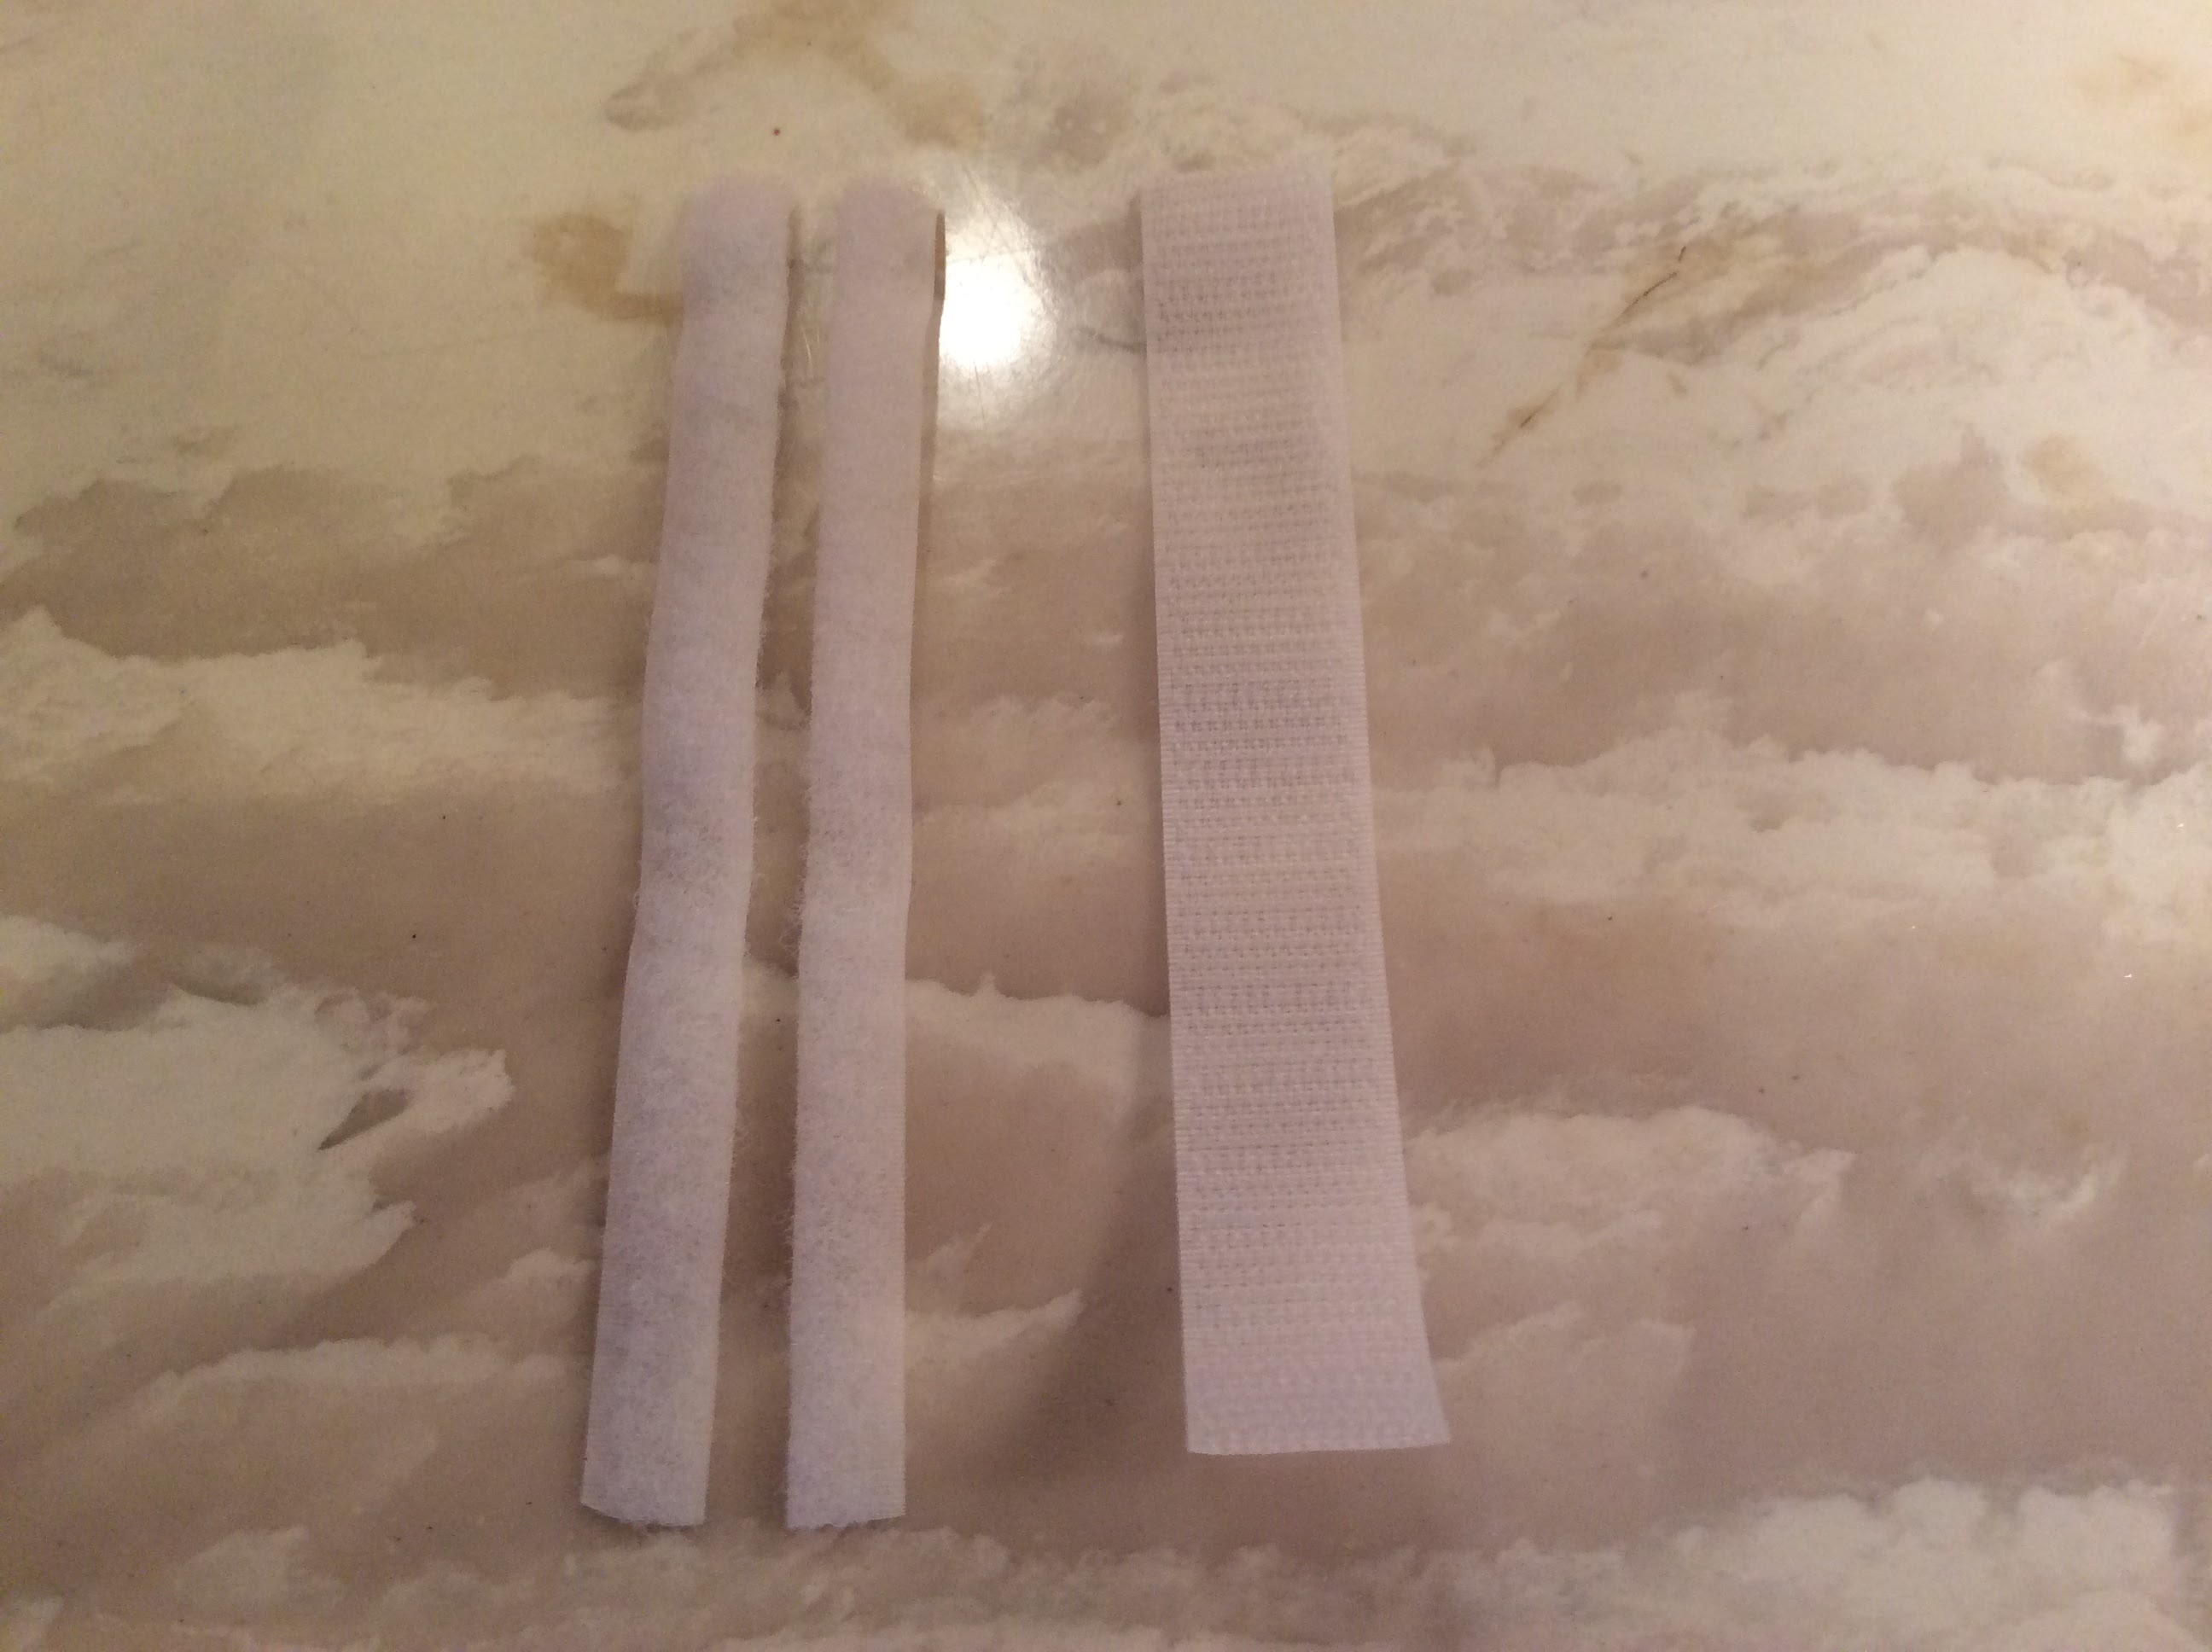
12. For the Bitty Baby, cut the fuzzy side of a 3/4 inch x 5 inches velcro in half.

Sew this velcro to the inside of the left bodice.

Sew the 3/4 inch wide piece of velcro to the inside of the right bodice with half of the velcro hooks exposed.

The overlapping velcro attaches to the other side of the velcro and the back seam is flat.

Little Bitty Baby

Back View
Bitty Baby

Thank you for the patterns. They were easy to follow and completed quickly. My granddaughter is going to be excited when she sees what I have made for her doll. Thank you, thank you.
ReplyDeleteJoyce Harrington.
I am so happy that you were able to use my pattern. My granddaughters love when I make them dresses for their dolls.
DeleteGreat work.
ReplyDeleteLooks nice.
ReplyDeleteGreat job.
ReplyDelete