Please note: For my Silhouette friends, I have included all the files necessary to make the St. Patrick's Day Heart boxes at the end of this posting. I am sure my Silhouette friends would like to see how the boxes were created as I think it is fascinating and powerful to be able to make many different types of boxes with just a few lines of computer code.
St. Patrick's Day Heart Boxes
In a previous blog posting I explained how to make a variable size heart box using a square and two semicircles. https://papercraftetc.blogspot.com/2023/02/a-stem-project-making-variable-sized.html

In this blog posting, I will show how a variable size heart box was made using a kite shape and two semicircles.
In the photo above, TurtleStitch generated images of two different size kite hearts are shown. A kite shape and the two semicircles make up the variable size heart. Each heart is surrounded by scallops to embellish the heart box.
Here is my code in TurtleStitch, https://www.turtlestitch.org/run#cloud:Username=Elaine&ProjectName=Heart%20Box%20Made%20With%20a%20Variable%20Kite%20Shape
In the program, there are two important values which regulate the size of the kite. The first one is cross ratio. It is the difference in size between the top half and the bottom half of a kite. The second value is alpha which is the angle measure at the bottom point of the heart.
By changing the two values, different types of hearts can be created. Here are some interesting heart kites values with cross ratio first and alpha's value is second - .35, 110, .7,75, .8,60 and .5,90 which is a square kite because the value at the bottom angle is 90 degrees and the cross ratio is 50%. Please note, not all values of cross ratio and alpha create a viable heart figure.
Once the program is run, the parts of the box can be exported as a DXF and opened in the Silhouette software.
I should note that I have also included a scalloped heart in my design. The reason for this scalloped heart is, there is a gap at the point where the heart meets at the top when it is glued. It doesn't happen all of the time, but most of the time and it is frustrating to see the pinhole gap. To remediate this problem, I use the scalloped heart to hide the gap.
Run the Heart Box Program in TurtleStitch
In my TurtleStitch program, change the "cross ratio" and "alpha" value to your desired parameters, run the program and export as a DXF file.
Directions to Cut the Heart Box in Silhouette Using the TurtleStich DXF file
The DXF file that was created in TurtleStitch is opened in the Silhouette software. The size of the one inch cube is observed. The size of the entire file needs to be resized as the size is not preserved from one application to the other. Divide 1 by the size of the observed one inch square and then multiply by 100. Transform the entire file with the calculated percentage amount. Check the one inch square to see if it is now one inch. (The one inch square is no longer needed, and can be deleted.)
Cut two of each heart and side pieces. Cut two of each scalloped heart.
Please note: The larger heart and the shorter side strip is used to make the top of the box. The smaller heart and taller side strip is used to make the bottom of the box.
Directions to Assemble the Heart Box
Bend and apply glue to the tabs
Glue the opposite side together to form a loop. The tab is glued inward.
Bend the tabs and apply glue to each of the tabs.
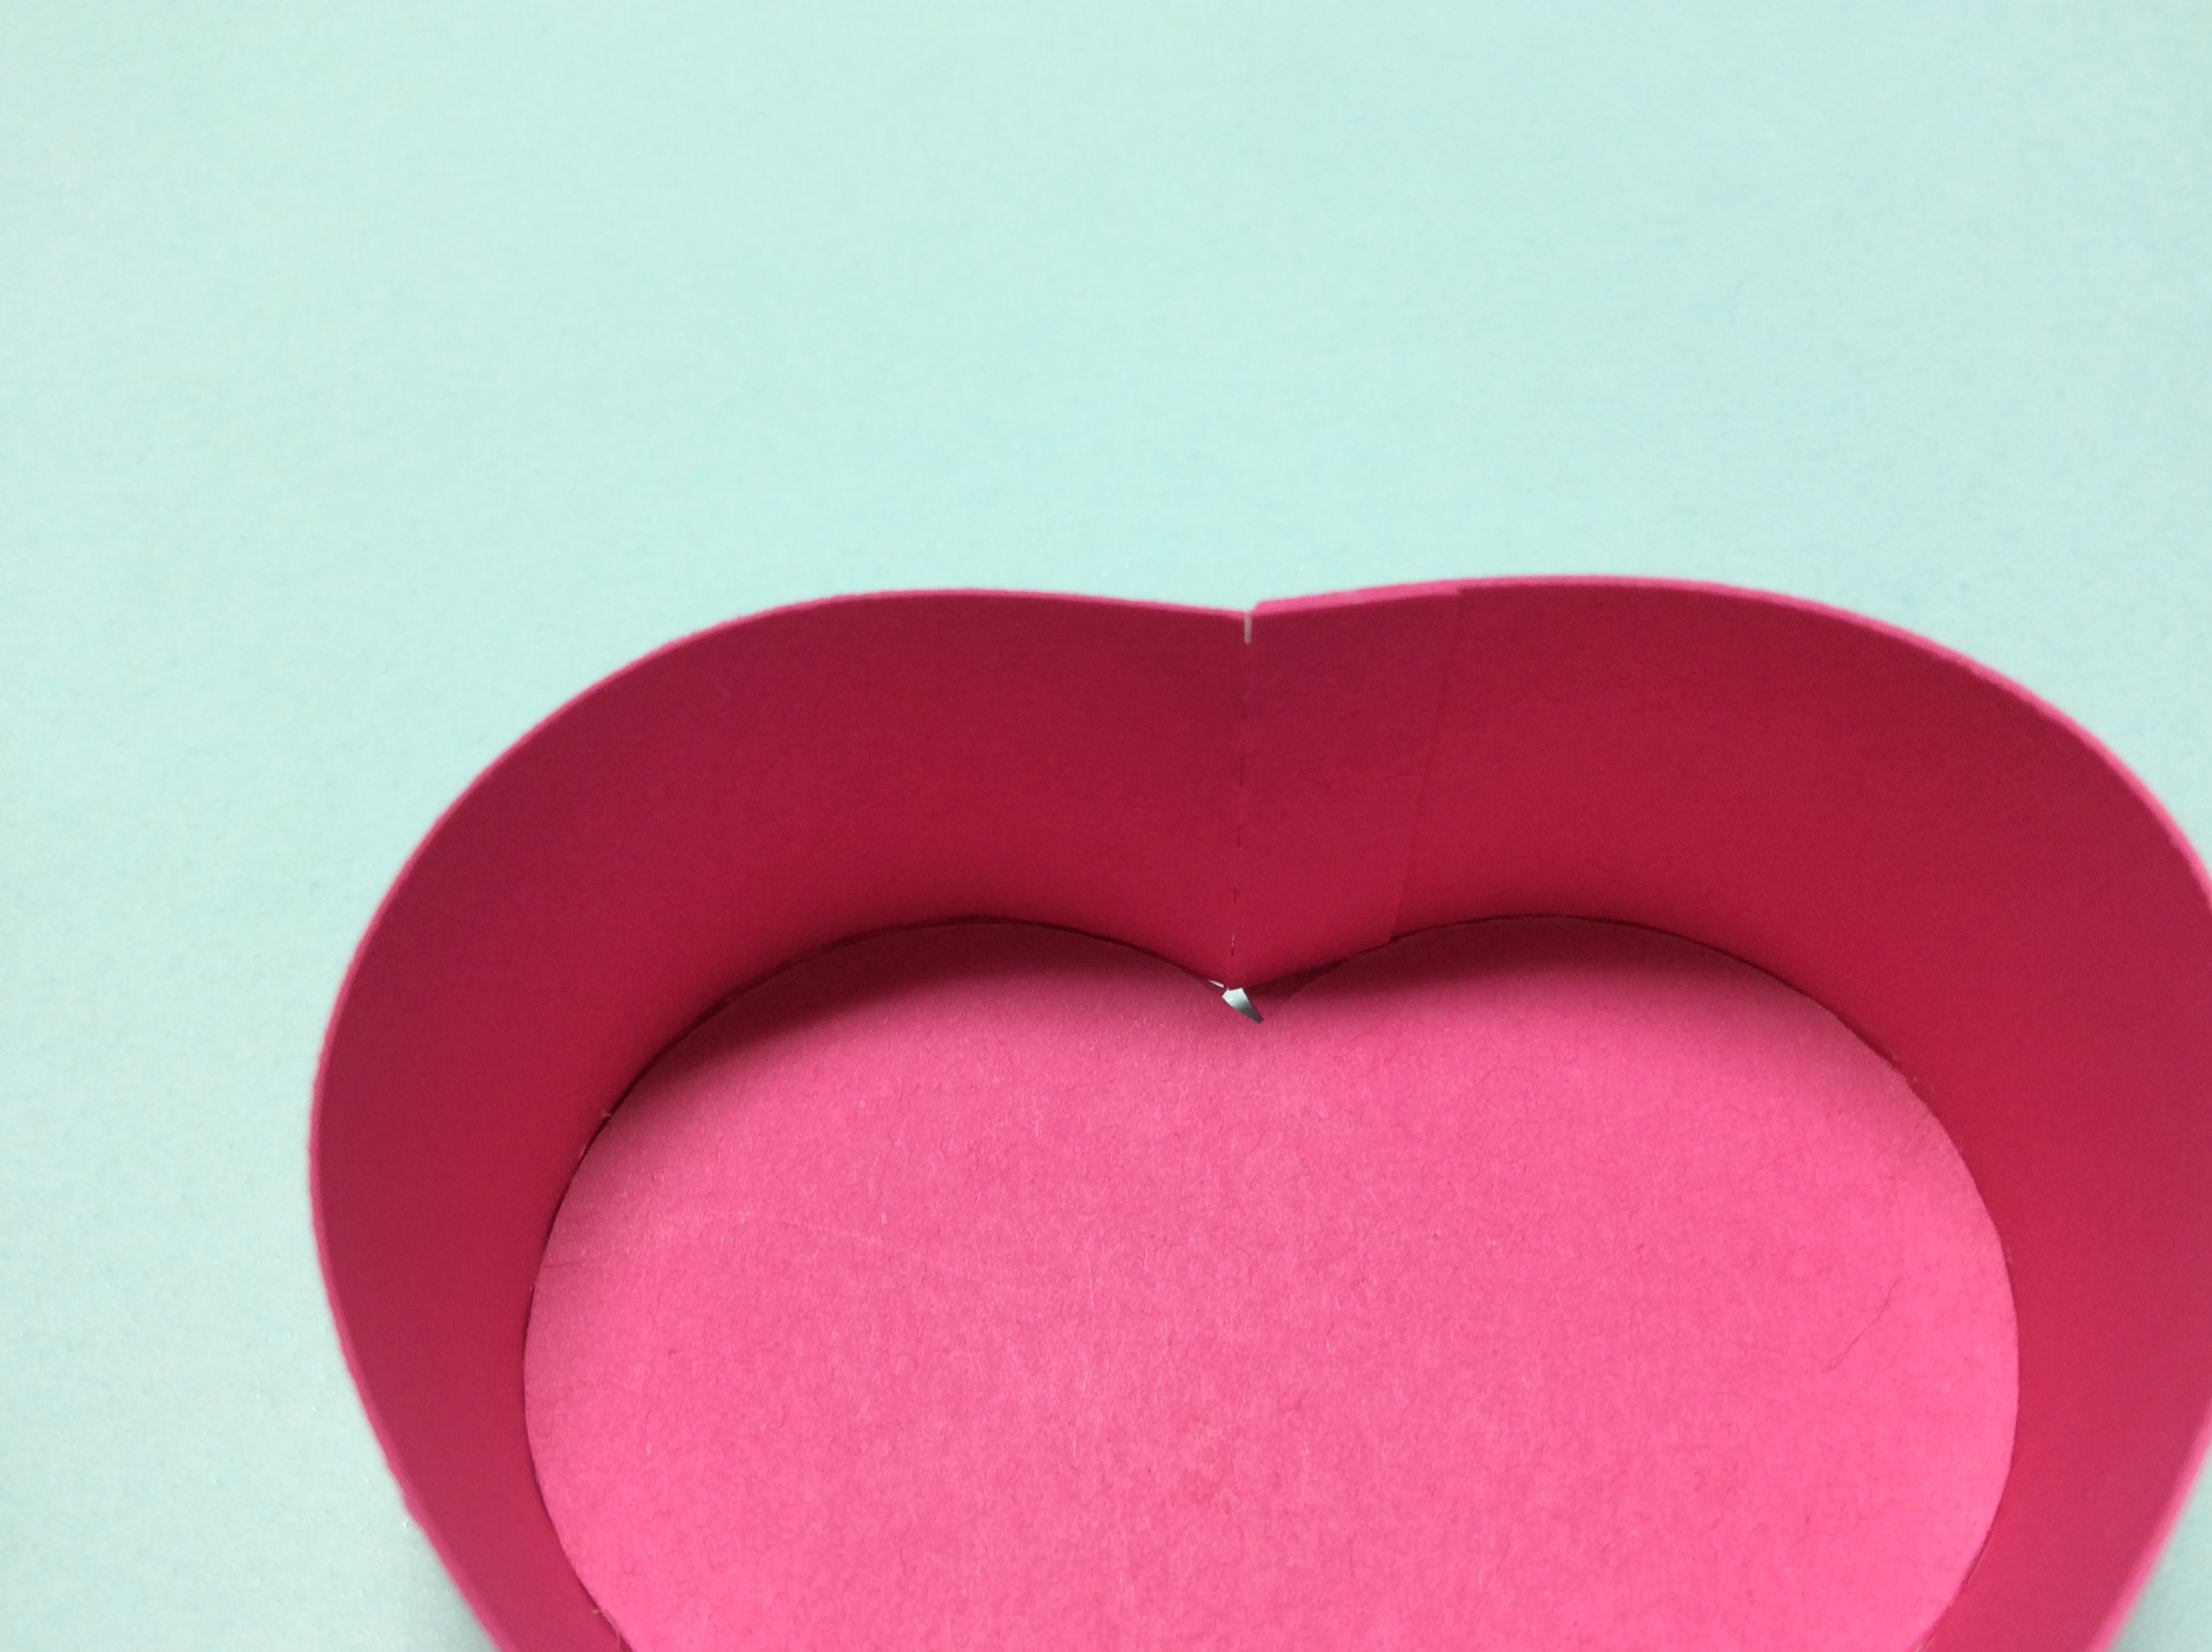
Insert the bottom point of the appropriate heart first (see note above for correct heart/side strip placements) and then adhere the sides the heart.
Align the side seam to the point in the top of the heart.
Turn the piece over and make sure all of the tabs are adhered correctly.
Repeat the above instructions for the other side of the box.
Glue and adhere all of the remaining parts together.
Embellish the boxes as desired.
I also made a Minnie Mouse box with Cricut Minnie paper.
I centered the hearts on the Minnie designs on the sheet of cardstock by measuring the spot on the cardstock and placing the heart in the correct location on the Silhouette screen. I did make a mistake, which I corrected by cutting another side piece, because I did not orient the box sides so that the design would be facing upward. If you are cutting paper that needs to be in a certain direction, please take note.
Here is the PDF. I used a 6 x 6 Recollections paper pad from Michaels which included an assortment of 65 lb. cardstock and glitter paper.
Here is the .Studio file.
Here is the SVG. The file extends beyond the scope of the viewing field. Zoom out to see the entire file.


No comments:
Post a Comment