Creating an Embroidered Design on Cardstock and Making a Paper Picture Frame in TurtleStitch
This is a multistep project which uses a lot of technology - a computer to run the TurtleStitch program
http://turtlestitch.org, an embroidery machine to stitch the design and an electronic cutting machine, like the Silhouette or Cricut to cut the pieces necessary to make the paper picture frame.
Tracing An Image
Tracing an image in TurtleStitch is a simple operation. An image is added to the stage area by the Import command as a background and then traced point by point along the edge of the image. The image can be created using the Silhouette software and saved as a PNG or SVG file.
The imported image is added to the stage area. I recommend enlarging the stage area for easier tracing.
then import the file be traced with the Import command. Before importing your design, you can retrieve my design (or your design later) by scrolling down the program and finding the hat block...'when S key is pressed'. Click on that hat block and my design is retrieved. (pressing the "0" key will clear the design from memory so that you can start creating your own design).
Press the "0" (zero) key to clear the "graphic" table. Move the cursor to where you want to start. Press the "u" key to make a jump stitch to this location (I say the word "up" in my head as I do this to remember that the turtle(pen) should be in the "up" position as to not record the movement). Press the space bar. Make sure that there is a red line from the center of the design to where you are starting. The red line is a jump stitch.
Press the letter "u" to move the mouse without drawing. To move multiple times without drawing. Press the letter "u" multiple times. The letter "u" must be pressed twice for a jump stitch to be created. Once at the place where the stitch ends and the next "u" at the place where the next stitch begins. Press the space bar to continue creating stitches. I placed the stitch points about an 1/8 inch apart. Continue pressing the space bar to trace the design. If you do not like the last point that was traced, it can be removed with the "r" key.
The "e" key MUST be pressed when the design is completed. Make sure you do this before exporting the design to be embroidered for your machine. I did not do this and my Brother PE 800 machine would not load the exported design.
Export your design for the file type that is needed for your embroidery machine.
Embroider Your Design
My design was stitched on cardstock backed with Pellon fusible interfacing.
In my example, I used 65 lb. white Astrobright cardstock for my embroidered design. I ironed the 8 1/2 in. square piece of cardstock onto Pellon TP971F fusible interfacing as a backing to the cardstock. I used a 5 x 7 magnetic hoop and a regular needle to embroider it on my Brother PE800 machine. I also modified the speed of the machine to it slowest speed.
Colorize Your Design
I colorized my design to add interest with Copic Markers.
Cut the embroidered cardstock to fit your frame size.
Make the Picture Frame In TurtleStitch and cut it out using an electronic cutting machine
In this example, I use the Silhouette machine to cut my picture frame.
There are four pieces to make a frame for an embroidered piece. The frame pieces are two sides (length and width of the frame), a backing piece and an optional, mat.
Set the length of 'side #1 and side #2' to the frame size in inches. Run the program.
Export as a DXF file.
Open the file in Silhouette. Resize the entire file using the one inch square as reference. The size of the entire file needs to be resized as the size is not preserved from one application to the other. Divide 1 by the size of the observed one inch square and then multiply by 100. Transform the entire file with the calculated percentage amount. Check the one inch square to see if it is now one inch. Cut two of each frame piece, the backing piece and the optional mat.
Crease the side piece without the wing tabs as shown above and apply glue to the tab.
Adhere the glue by pressing down on the side piece to flatten it. Once the glue is adhered, form the piece into a block. Repeat for the other side piece without the wing tabs.
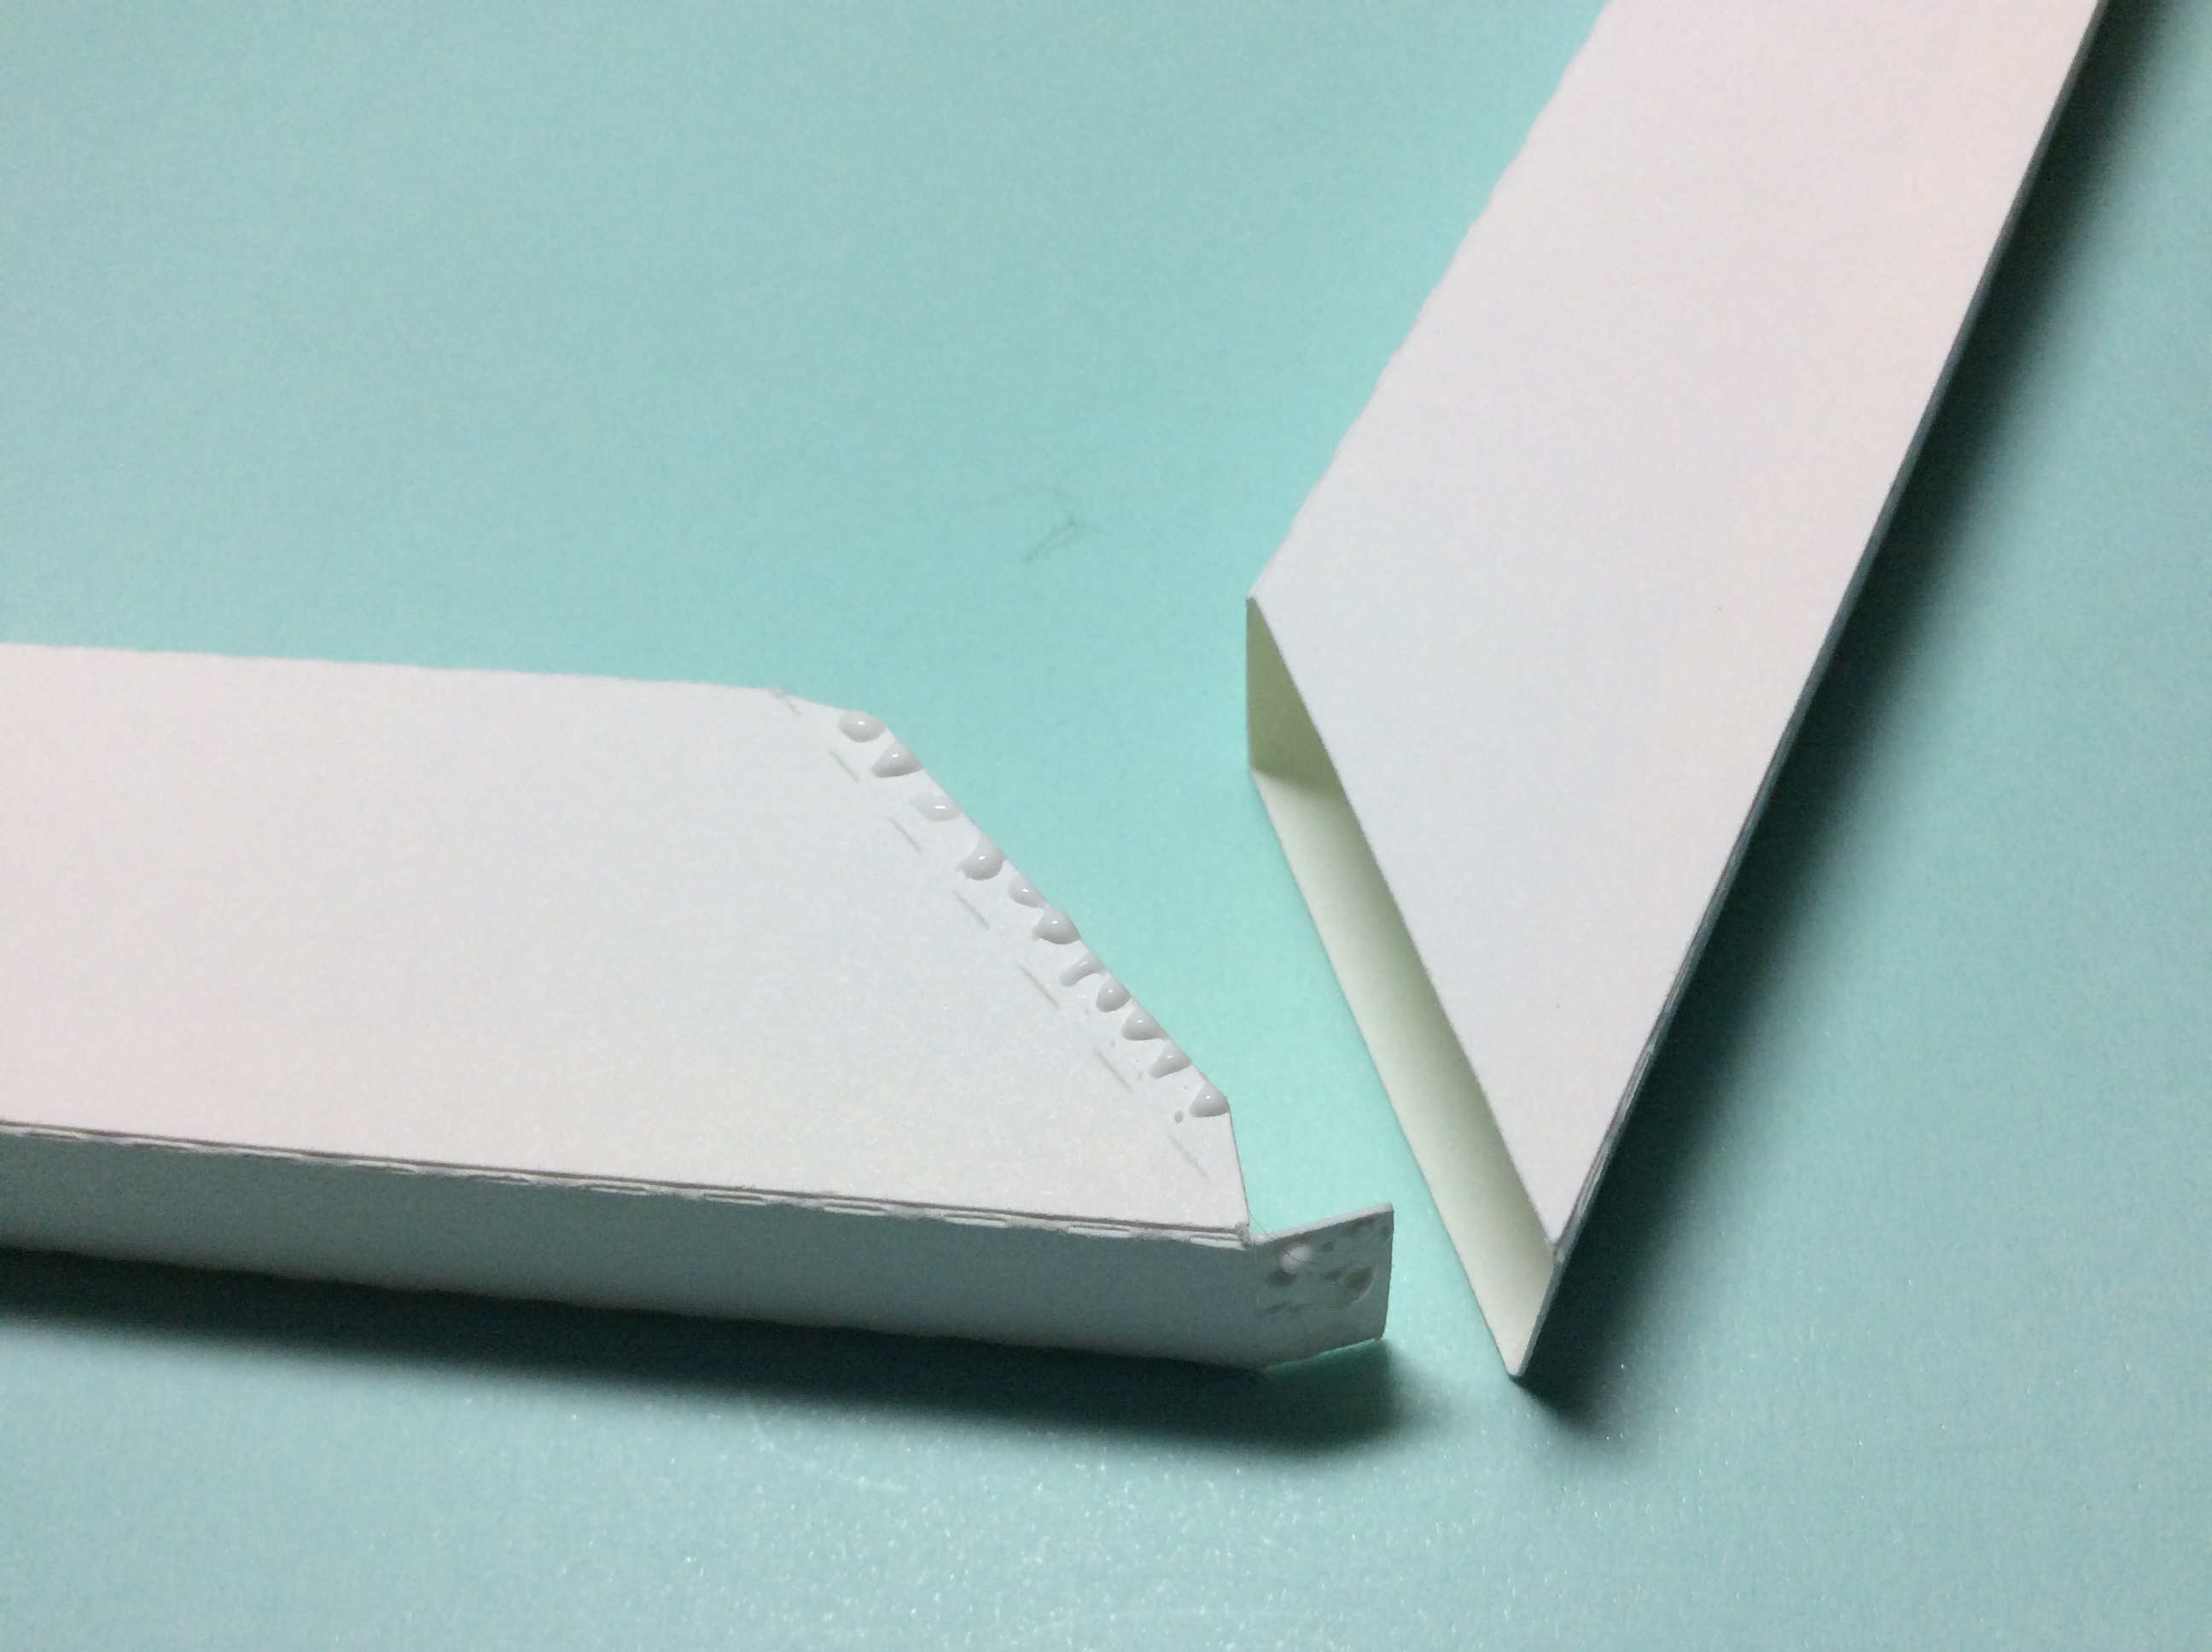
Crease and apply glue to the tab as shown above for the side piece with the wing tabs. Flatten the piece as before to adhere the glue. Form the piece into a block. Repeat for the remaining piece.
Apply glue to the wing tabs. There are four of them, one on each side of the winged piece. Insert the tabs into the side without the winged tabs.
A mitered corner is then created. Make sure that each corner is at a 90 degree angle to one another. I used a book to make sure that I made a right angle.
Repeat gluing and inserting the winged tabs for the other sides. Above is the last side which is inserted. I applied glue on three sides of the winged tabs and then inserted both sides together.
I turned over the frame and glued the last two winged tabs of the mitered corner.
I centered the design by using my frame as reference on the backing.
I made pencil marks on the backing to indicate where the embroidered design will be placed.
I applied permanent tape runner glue to the inside of the penciled four corner area.
Adhere the design to the center of the backing.
Apply permanent tape runner glue to the outer area of the backing.
Adhere the picture frame. Optional, cut and glue the mat to the embroidered piece.
The masterpiece is now ready to be hung up and displayed.
I used a couple of Glue Dots to hang up my picture frame.


Appreciated!
ReplyDeleteInspiring Article
ReplyDeletegreat work
ReplyDelete