
Rubber Band Polyhedron Pop-ups - Prisms
Rubber Band Pop-Up Prisms in Action
Rubber band pop-up polyhedrons are intriguing. They are the intersection of mathematics and physics. The process of compressing the figure stores energy in the rubber band inside the figure. When the collapsed two dimensional shape is allowed to be transformed back into a polyhedron, the stored energy makes the figure pop-up. These pop-ups are a fun way to explore mathematics and physics together.
This is the second blog post for rubber band pop-ups. The first post had nine models of bifrustums and bicupolas. https://papercraftetc.blogspot.com/2020/02/a-stem-project-rubber-band-polyhedron.html This blog post contains eight models of prisms.
- 65 lb. card stock which can be found at your local craft store in a variety of colors.
Materials needed to make the pop-ups:
- 65 lb. card stock which can be found at your local craft store in a variety of colors.
- Aleene's Tacky Glue. I recommend this glue as it is a quick drying glue which does not warp the paper when used sparingly. I fill a quilling bottle with this glue to get an extra fine point. This is not necessary for this model but I thought I should mention it. If you look at my photos, you will see the extra fine dots of glue.
- Glue Dots. I used 3/8 in. Glue Dots rolled into a ball and attached to the tail of the rubber band so that the rubber band does not slip out of the hole with repeated opening and closing of the model.
- Scotch Tape to anchor the rubber band with the Glue Dot down to the tab.
- 1/16 inch rubber bands. Please note that different rubber bands may have different tensions. The length that I am giving for each model is just a guide. When making knots in the rubber band, don't pull the knots too tight because the knot acts like a stopper in the hole.
- Scissors or an electronic paper cutter like a Silhouette or Cricut.
If you are cutting the models with scissors, here is the PDF:
https://drive.google.com/file/d/1HD8DRaDJZWj_AlIcIKvReP-UJTtMWh--/view?usp=sharing
https://drive.google.com/file/d/1HD8DRaDJZWj_AlIcIKvReP-UJTtMWh--/view?usp=sharing
If you are cutting the models with a Silhouette, here is the .Studio file:
https://drive.google.com/file/d/1qbUIgCh_aNlIA-DlU9EZiiXWbNrKNZe7/view?usp=sharing
https://drive.google.com/file/d/1qbUIgCh_aNlIA-DlU9EZiiXWbNrKNZe7/view?usp=sharing
If you are cutting the models with a Cricut, here is the SVG:
https://drive.google.com/file/d/1A2lUpS_UeQBmPxgEBgpbWOkSrQNw_4WE/view?usp=sharing
https://drive.google.com/file/d/1A2lUpS_UeQBmPxgEBgpbWOkSrQNw_4WE/view?usp=sharing
1. Triangular Prism
|
|
Faces
|
3 rectangles, 2 triangles
|
Edges
|
9
|
Vertices
|
6
|

Triangular Prism


 Completed Triangular Prism

Cut out the triangular prism model and bend the tabs as shown in the photo above.

Glue the circle tab together.

Cut and knot a 1.375 inch rubber band. Slide this rubber band onto the circle tab. Add a Glue Dot to the tail of the rubber band. Cover the Glue Dot and tail with Scotch tape. Apply glue to the remaining two tabs.

Adhere the tabs together. Slide the rubber band onto the other circle tab. Add a Glue Dot and Scotch tape to the tail of this rubber band.

Apply glue to the tabs of the rectangle.

Adhere the rectangle to the interior by folding the rectangle inward and applying pressure to the bottom edge.

| 2. Cube | |
| Faces | 6 squares |
| Edges | 12 |
| Vertices | 8 |
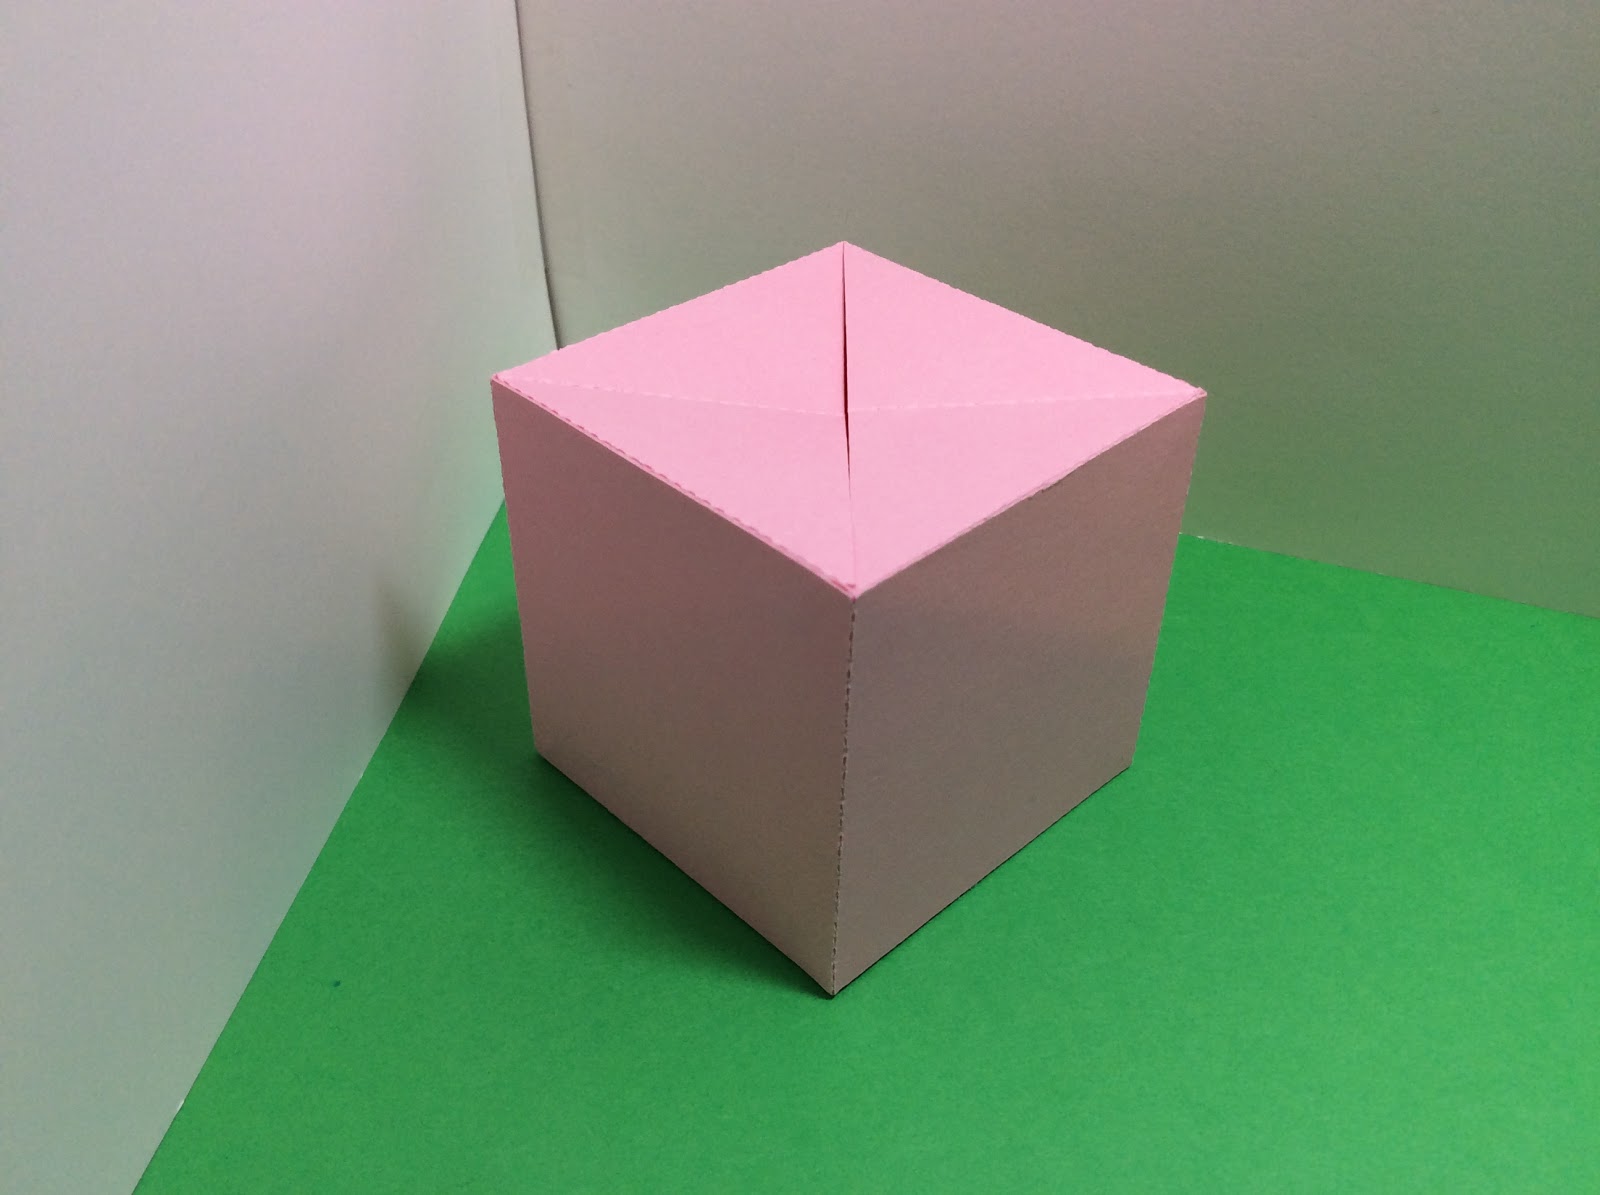
Cube

Cut out the cube model and bend the tabs as shown in the photo above.

Glue the tab with the circle together. Cut and knot a 1.25 inch rubber band. Slide this rubber band onto the circle tab. Add a Glue Dot to the tail of the rubber band. Cover the Glue Dot and tail with Scotch tape.

Glue the tab with the circle together to make the figure as shown above.

Slide the rubber band onto the circle tab. Add a Glue Dot to the tail of the rubber band. Cover the Glue Dot and tail with Scotch tape.

Apply glue to the two triangle tabs on one side.

Compress the side down to make the glue adhere correctly to the edge of the cube.

Repeat gluing the other two triangle tabs.

Compress the sides down to make the glue adhere.

Completed Cube
| 3. Square Prism | |
| Faces | 2 squares, 4 rectangles |
| Edges | 12 |
| Vertices | 8 |

Square Prism

Cut out the square prism model and bend the tabs as shown in the photo above. Glue the circle tab together.

Cut and knot two 0.75 inch rubber bands. Slide the rubber band onto the circle tab. Add a Glue Dot to the tail of the rubber band. Cover the Glue Dot and tail with Scotch tape. Repeat for the other rubber band. Apply glue to the other circle tab.

Adhere the tab so that the interior looks like the above photo.

Slide the rubber band onto the circle tab. Add a Glue Dot to the tail of the rubber band. Cover the Glue Dot and tail with Scotch tape. Repeat for the other rubber band. Apply glue to the other circle tab.

Apply glue to the tabs and compress the model to make sure that the glue adheres correctly, Apply glue to the two remaining tabs.

Compress the model so that the glue adheres correctly.

Completed Square Prism
| 4. Rectangular Prism | |
| Faces | 6 rectangles |
| Edges | 12 |
| Vertices | 8 |

Rectangular Prism
The instructions to make the rectangular prism are similar to the the square prism instructions. Use a 2.16 inch rubber band.
The instructions to make the rectangular prism are similar to the the square prism instructions. Use a 2.16 inch rubber band.
| 5. Pentagonal Prism | |
| Faces | 2 pentagons, 5 rectangles |
| Edges | 15 |
| Vertices | 10 |

Pentagonal Prism

Cut out the pentagonal model and bend the tabs as shown in the photo above.

Glue the tab with the circle together.

Cut and knot a 1.2 inch rubber band. Slide this rubber band onto the circle tab. Add a Glue Dot to the tail of the rubber band. Cover the Glue Dot and tail with Scotch tape.

Glue the second circle tab. Slide the rubber band onto the circle tab. Add a Glue Dot to the tail of the rubber band. Cover the Glue Dot and tail with Scotch tape.

Apply glue to the tab and adhere together.

Apply glue to the other tab and adhere together. Fold the bottom rectangle inward as shown above.

Completed Pentagonal Prism
| 6. Irregular Pentagonal Prism | |
| Faces | 2 irregular pentagons, 5 rectangles |
| Edges | 15 |
| Vertices | 10 |

Irregular Pentagonal Prism
The instructions to make the irregular pentagonal prism are similar to the the pentagonal prism instructions. Use a 1.85 inch rubber band.
| 7. Square Hexagonal Prism | |
| Faces | 2 hexagons, 6 squares |
| Edges | 18 |
| Vertices | 12 |

Square Hexagonal Prism

Cut out the hexagonal model and bend the tabs as shown in the photo above.

Glue the tab with the circle together. Cut and knot a 1.25 inch rubber band. Slide this rubber band onto the circle tab. Add a Glue Dot to the tail of the rubber band. Cover the Glue Dot and tail with Scotch tape.

Glue the second circle tab. Slide the rubber band onto the circle tab. Add a Glue Dot to the tail of the rubber band. Cover the Glue Dot and tail with Scotch tape.

Apply glue to the one of the tabs and adhere together.

This model does not align correctly with just one rubber band. I added a second rubber band perpendicular to the other rubber band.

Thread a rubber band through each of the center holes in the hexagons.

Knot the rubber band on both sides of the hexagon so that it is a snug fit.

Apply glue to the remaining tab and adhere it down. When opening and closing this model, tug on the rubber band knots to allow a smooth movement.

Completed Square Hexagonal Prism
| 8. Hexagonal Prism | |
| Faces | 2 hexagons, 6 rectangles |
| Edges | 18 |
| Vertices | 12 |

Hexagonal Prism

Cut out the hexagonal model and bend the tabs as shown in the photo above.

Glue the tab with the circle together. Cut and knot a 1.25 inch rubber band. Slide this rubber band onto the circle tab. Add a Glue Dot to the tail of the rubber band. Cover the Glue Dot and tail with Scotch tape.

Glue the second circle tab. Slide the rubber band onto the circle tab. Add a Glue Dot to the tail of the rubber band. Cover the Glue Dot and tail with Scotch tape.

Apply glue to the remaining tabs and adhere them down.

Completed Hexagonal Prism
Hi Elaine,
ReplyDeletethank you very much, they are great! I love them. Bye Fred
Elaine, these are so fantastic, thank you! I've been able to create and remix projects based on these! Thank you again and I hope you're well!
ReplyDelete