Tuesday, March 14, 2017

Slice Form Bride and Groom Cake Topper or Table Decoration


Plain paper cake toppers are boring. I have taken the paper cake topper to the next level with my slice forms.  I think it is amazing to see the angles that are formed with the slices and this is the reason why I love paper so much.

I used Neenah Metallic 8 1/2 x 11 paper for this project.  I think you can get it at Walmart or Office Depot.

https://drive.google.com/file/d/0B7oGIyVDbRGYMHIwS3JkQlk4QUU/view?usp=sharing&resourcekey=0-eJ0nmgD9YTgX_QJGMiSvcA


Cut out all of the slices once for half of a skirt or twice for a full skirt.  Please note, I recommend cutting the front slices first and putting it together before proceeding to cut out the back of the skirt.  The slices are graduated to form the train. There are two special slices which form the starting and ending points of the slice form.

 Slices are sorted according to their slits and graduated from largest to smallest as show above to create two piles.


 Two special slices are at the bottom of this picture.


Take one of the smallest slices with the two slits on the bottom and write the word "back" on its side as shown.  The positioning of the words dictate if the slices will be the front or the back of the skirt.
Write "front" on the small special slice with one slit on the side as shown in the photo above.

If you want to make the front of the skirt, make sure the word "front" is in front after sliding the two pieces together.

If you want to make the back of the skirt, make sure the word "back" is in front after sliding the two pieces together. 

Notice that you made an 'X' when you slide the pieces together.  You will be making an 'X' each time you slide a piece together.  The first 'X' was a top 'X' and the next slice created a bottom 'X'.

You will be alternating slices from each pile to create this top and bottom 'X'. 

You can lay the piece flat on a work surface if you are having problems.

Make sure the bottom 'X' is the same size slice when doing the train portion. If the pieces get out of order, the skirt train will be uneven. (This has happened to me so don't make my mistake.)

 Once completed with the slices, cut a piece of tape the height of the skirt.  Apply the tape to the side edge of the skirt to bind the slices together like a book. 


Repeat for the back side of the skirt. Notice the glossy edge...that is where the tape is.

Glue the front skirt to the figure.

Glue the back of the skirt to the figure.


I added a name to the edge of the figure.  You have the option to add a name if want in Silhouette. Using the figure with no wording.  Type the name in Silhouette Studio and move the words to the figure by dragging the circle by the words to the figure. Highlight the words and the figure together.  Go to Weld and weld the letters to the figure.


I hope you enjoy making this decoration as much as I did.


Sunday, January 8, 2017

Will you be my Flower Girl?


My daughter is getting married and I created a little paper basket for her flower girls.

Two Little Paper Baskets 
I filled the basket with a tiny doll and some chocolates.

Here is the PDF.
https://drive.google.com/file/d/0B7oGIyVDbRGYSHZfc1ZXZjU1ODA/view?usp=sharing&resourcekey=0-4e4-BlNZGRCsiBL8L0zSJw


Here is the .Studio file.
https://drive.google.com/file/d/0B7oGIyVDbRGYcks5Y3otUmVvSVE/view?usp=sharing&resourcekey=0-pCFzV5E3oJDdVsvJJltNDQ

The font is Arial. The font and text may be changed by double clicking the words while working in Silhouette Studio.


The girls loved the baskets...especially the candy!


Tuesday, May 17, 2016

A Pop-up Welcome Card for My New Neighbor - A Slider Card

 Welcome Card open.


Welcome card closed.

I have a new neighbor across the street and I wanted to welcome them into the neighborhood.  I made some brownies and this card with my contact information...my phone numbers and email address.  This information was written on a 3 x 3 sticky note which can be removed from the card. I used cardstock for the card. This card will fit in a 5 x 7 envelope or an A7 envelope.

Here is the PDF.
https://drive.google.com/file/d/0B7oGIyVDbRGYM0FnMFZzQ2RBRHc/view?usp=sharing&resourcekey=0-C6RjjsQGPoK24wEy1Mt1kw

Here is the .Studio file
https://drive.google.com/file/d/0B7oGIyVDbRGYMWVONkFBQ3R6WEE/view?usp=sharing&resourcekey=0-LBmdhPmM2L6uCvNWGfMeUg

 
 Glue the slider card tab down.
 Insert a ribbon in the whole.
 Fold the main card as shown.
 Glue the edge as shown.
 Completed main card.
 I used a Zyron sticker maker to add adhesive to the Welcome letters and attached it to the card.
 I am embossed the card with a Cuttlebug using the Simple Flower folder.
 Embossed Card.
 Insert the slider card with the bottom tab folded into the center of the main card.
 Catch the bottom edge of the main folder with the slider card.
 Glue the bottom edge of the slider to the main card.
 Add the greetings to the top half of the card.  I used Silhouette Sketch Pens to print out the greeting.
 Sticky note fits perfectly in the bottom half for your personal information.

 I added the butterfly embellishments and pearls to the butterfly.
  
Completed card open.

Here's to new friendships...Welcome Friends!


Wednesday, March 30, 2016

A Rocking Horse Favor Box That Really Rocks


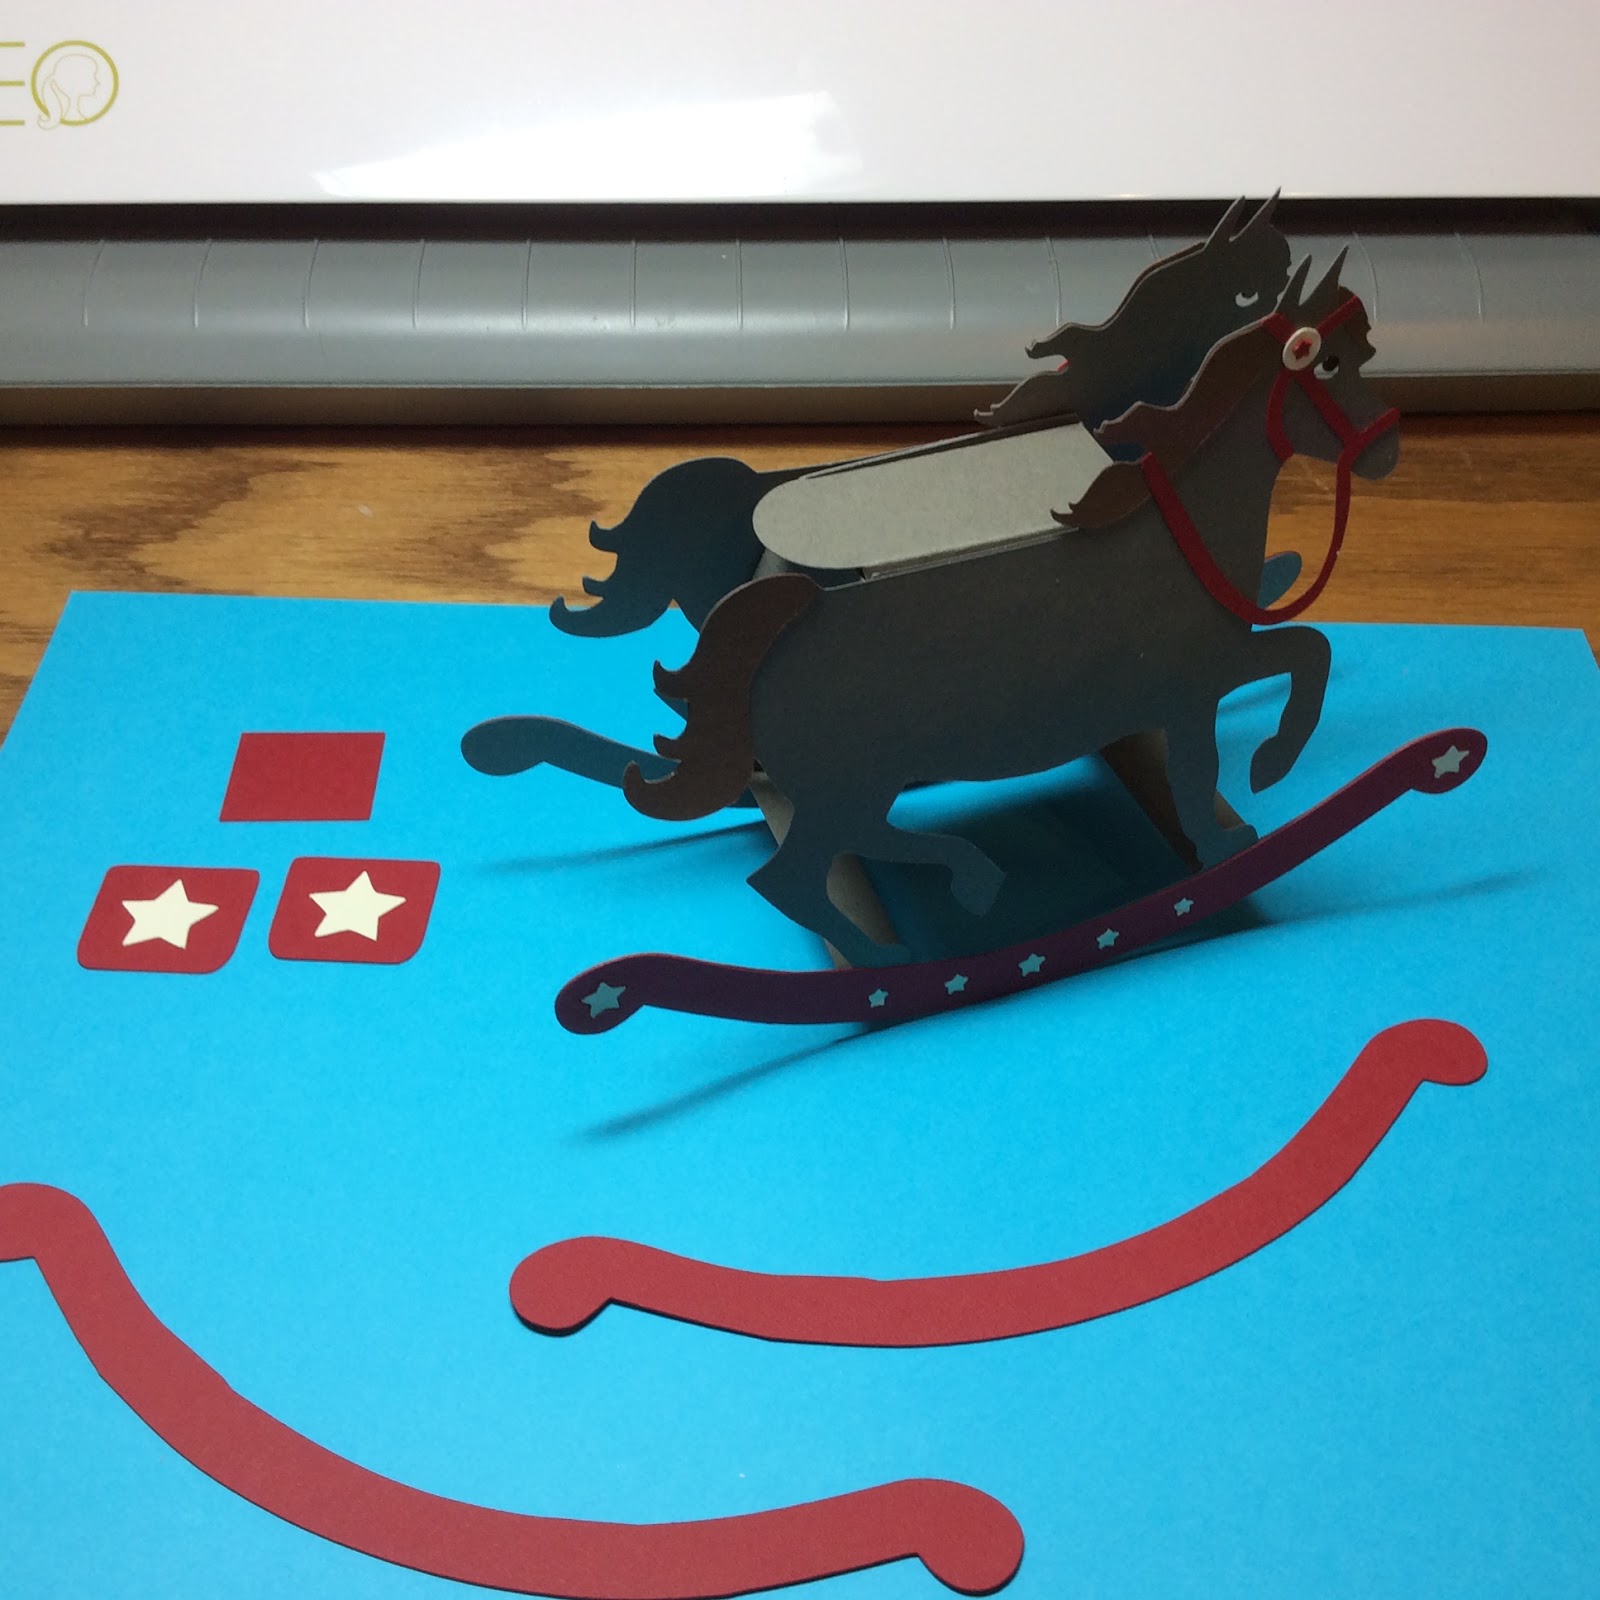
I love rocking horses. My Auntie Arax bought a red and black horse for my brother when he was little.  As a child, I enjoyed playing on the horse with its rocking motion. I recreated this sensation with this paper rocking horse.  It moves back and forth with very little effort.

Here is the PDF.  I used cardstock for the entire horse except for the eyes which is glossy black vinyl because I like the look of shiny eyes.
https://drive.google.com/file/d/0B7oGIyVDbRGYOGhwamljNWo5alE/view?usp=sharing&resourcekey=0-bnW32oFo96PiHcsFy3RFUw

Here is the .Studio file.
https://drive.google.com/file/d/0B7oGIyVDbRGYR2NEQzJ4c1BDWmM/view?usp=sharing&resourcekey=0-oiWVYs0YvfWbivMK1hkMcw


Glue on the black eyes on each side of the horse.
 Glue on the tail, mane and hair by the eyes.
 Glue the star rocker to the outside of the horse.
 Glue on the bridle and add the beige circle and star.

 Glue the beige stars to the rocker.
 Glue on the beige stars to the saddle.
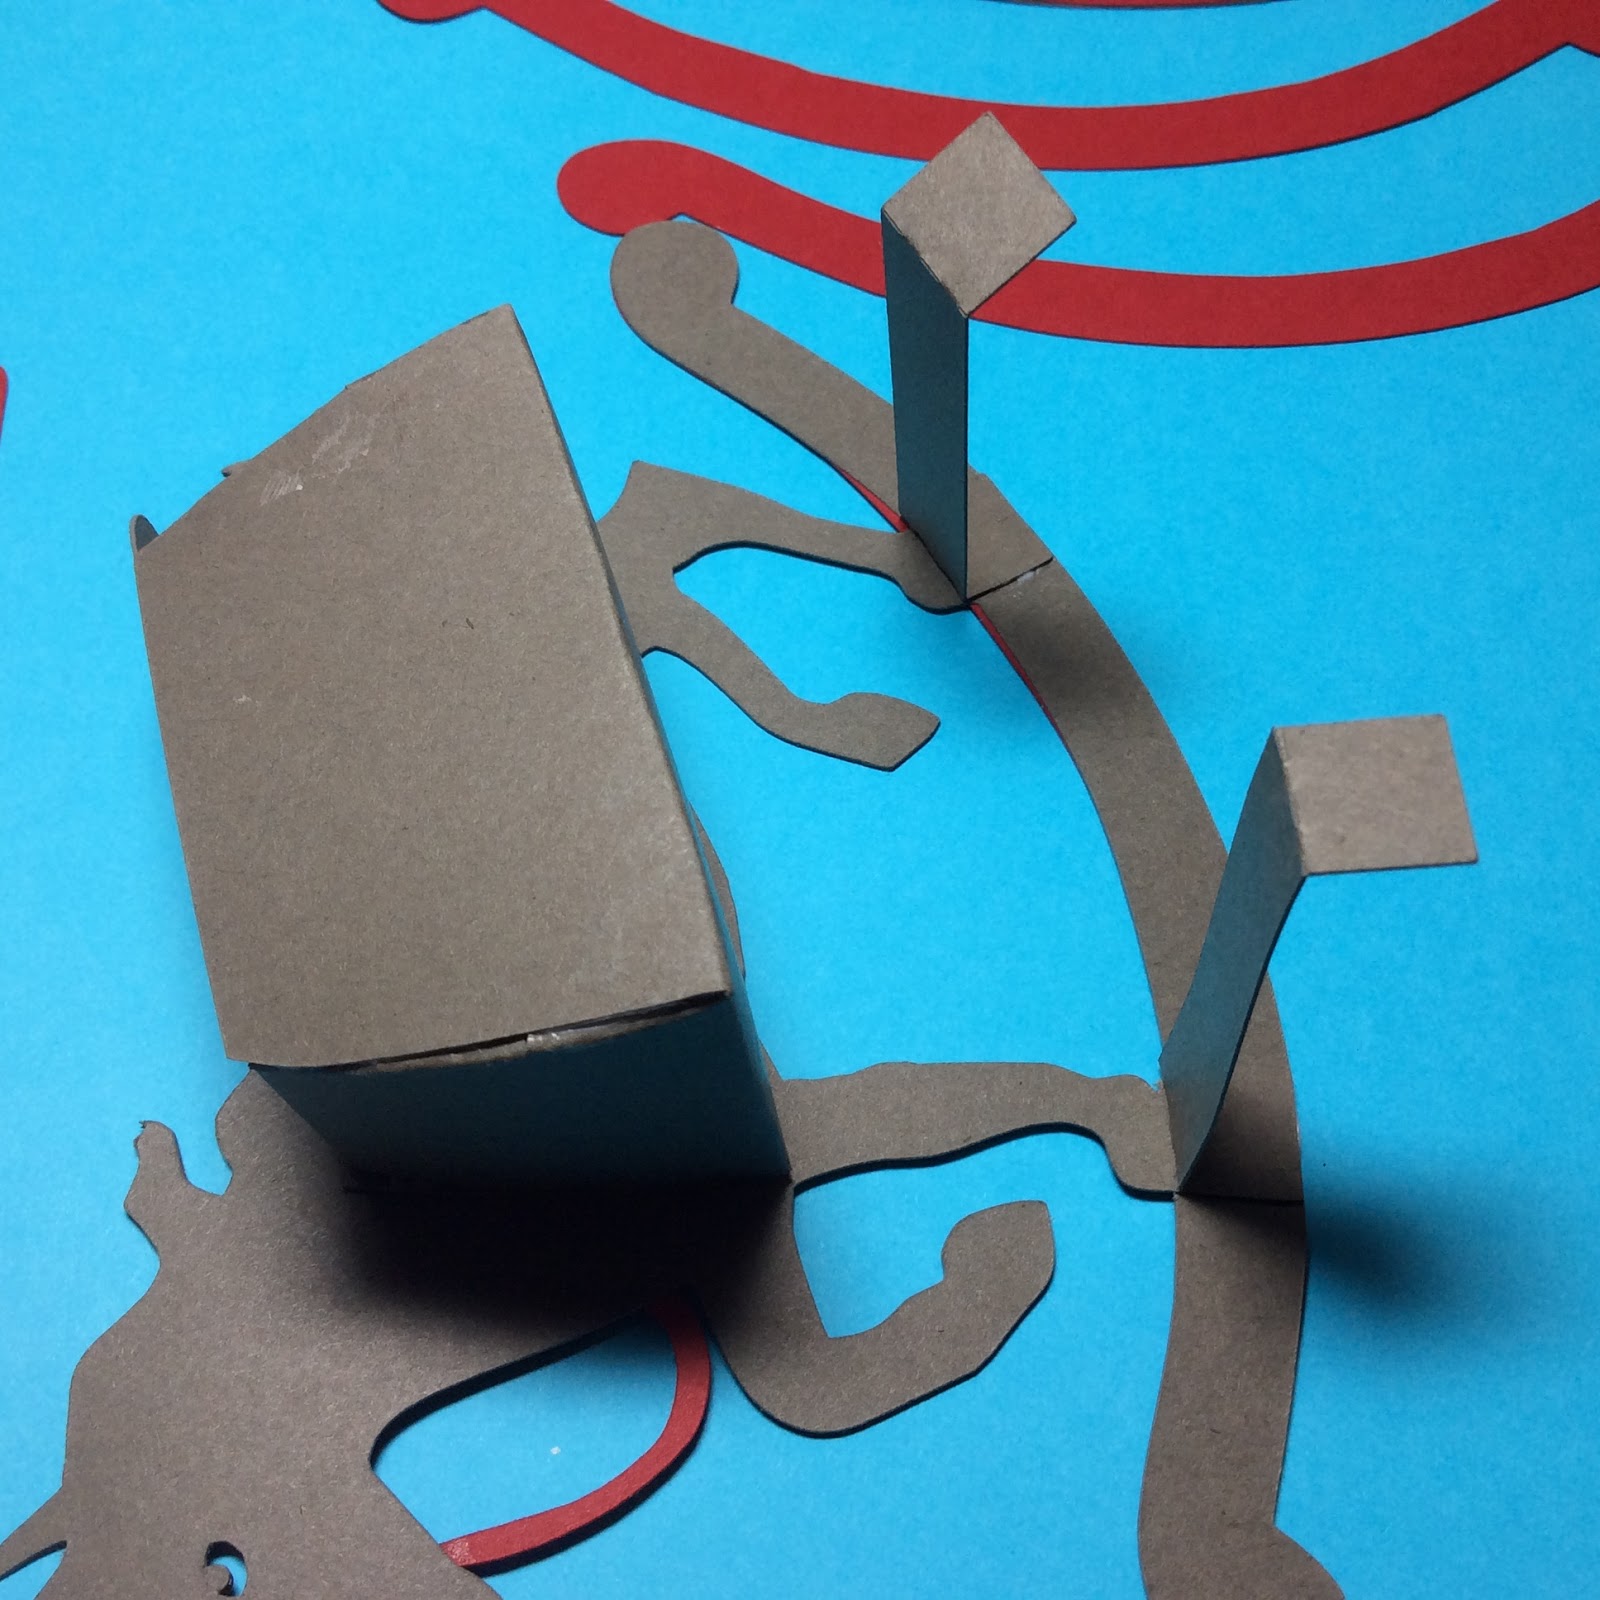
 Make the saddle box by folding the box and putting glue on the six tabs as shown.
 Attach the rocker support and one side of the saddle box to the horse.  Make sure the saddle box can be opened from the back position.
 Alignment photo of saddle box.
 Glue on the other side of the horse to complete the figure.
 Completed rocking horse without the inside rocker or saddle bags.
 Glue on the inside rocker to both sides.
 Glue and align the saddle bags.  Start on one side with the star.

   Add the top saddle piece (square piece) and then the other star saddle piece to complete the rocking horse.
 Box in open position.

I hope you enjoy making this rocking horse.  It is truly amazing to see it rock!

Saturday, March 19, 2016

Easter Bunny Swing Card

 
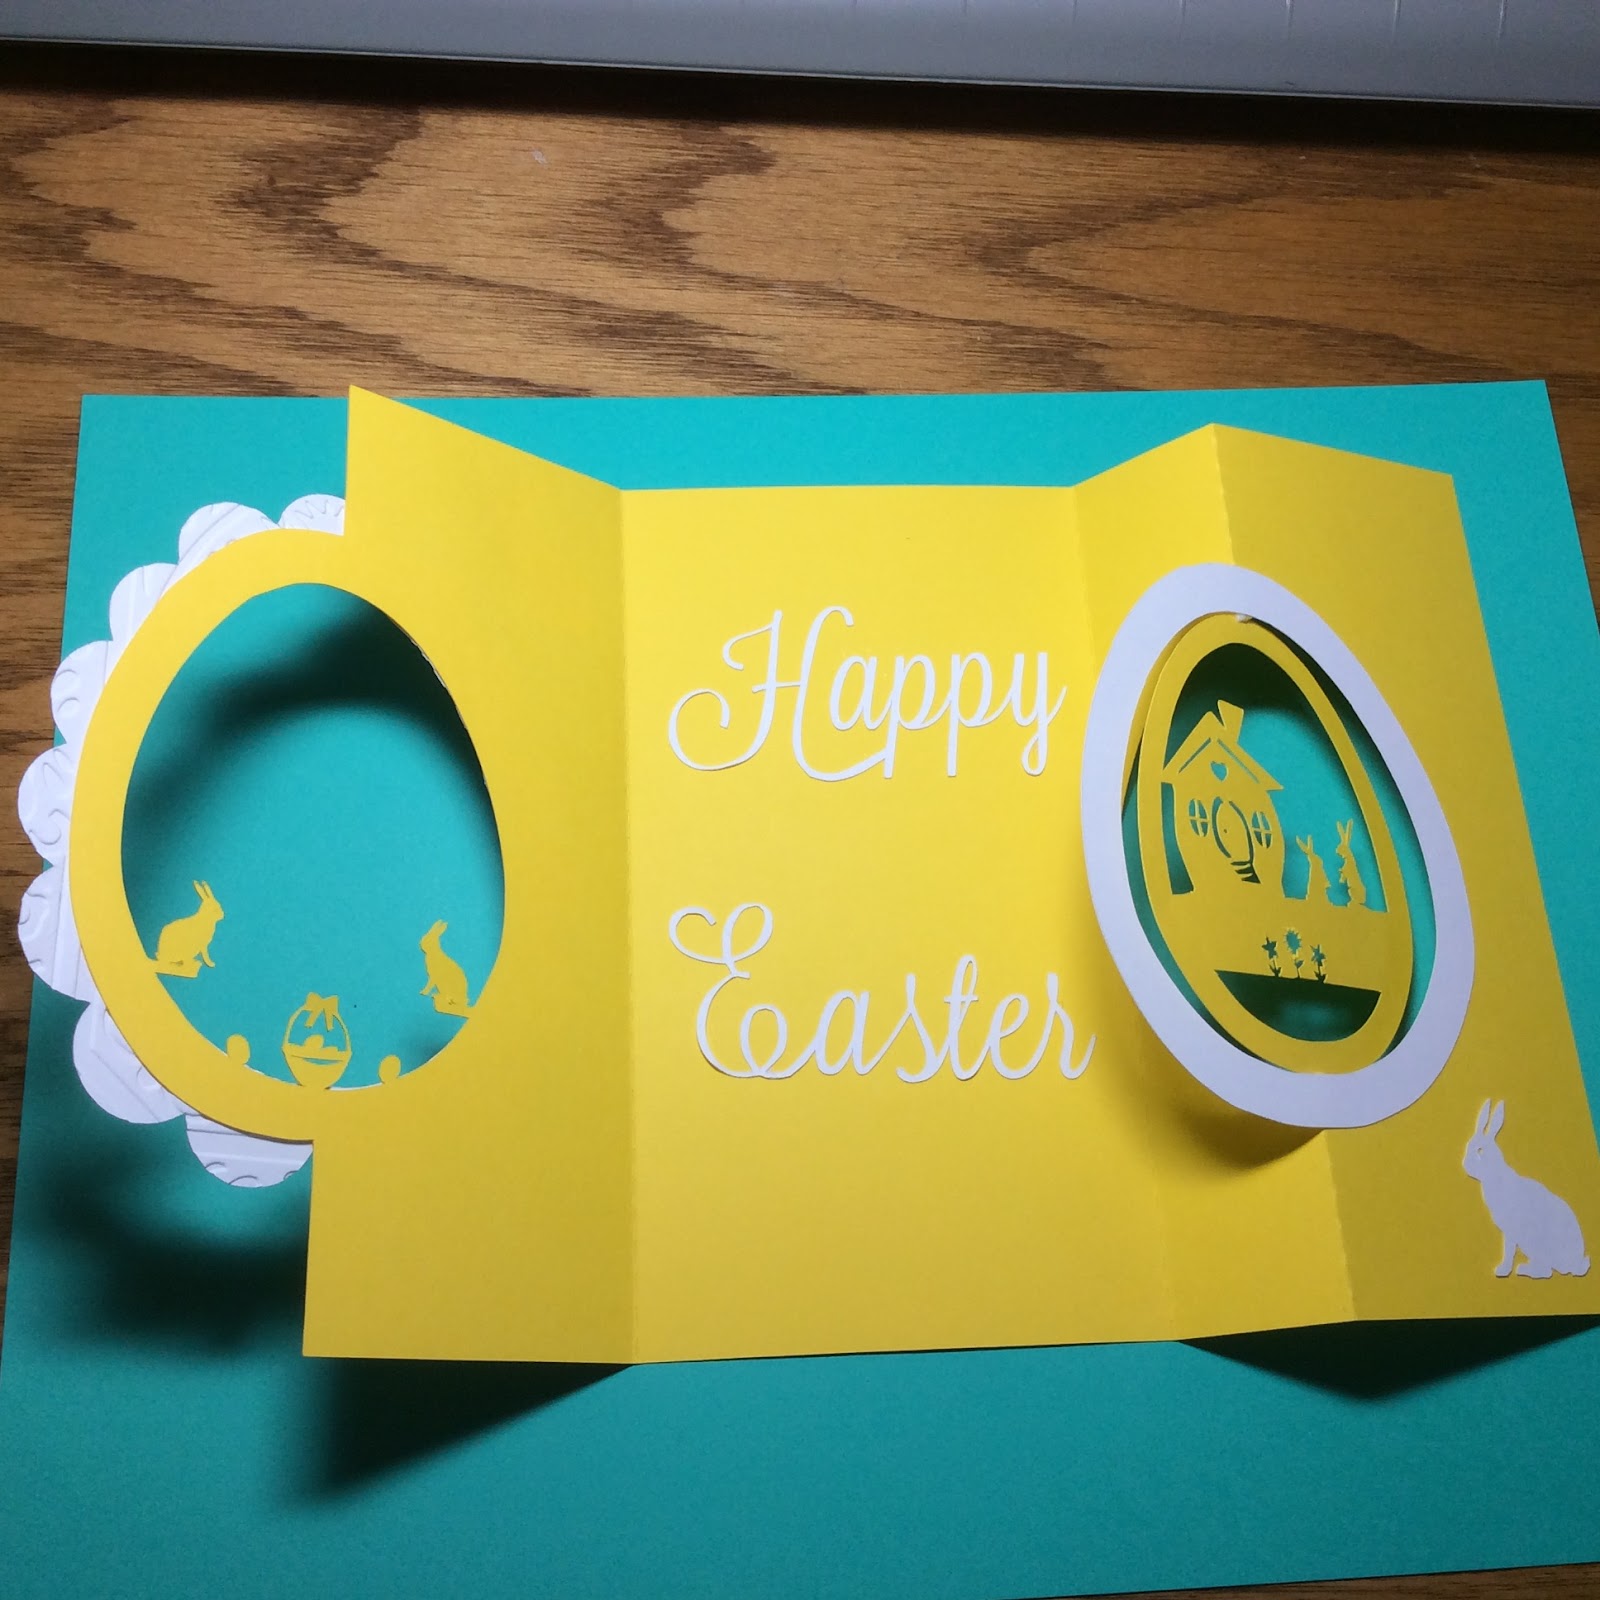
 Easter Bunny Swing Card

I made this Easter card to look like the inside of an egg. The interior scene swings outward.  I recommend adding a dot of glue at the top and bottom of this scene as this will tear if the card is repeatedly opened and closed. The card is sized for an A6 envelope.

I used cardstock.  Here is the PDF.
https://drive.google.com/file/d/0B7oGIyVDbRGYUjM2alJ6RFlrTjg/view?usp=sharing&resourcekey=0-3LUbLdHCcYGTjZr2ESzFug

Here is the .Studio file.
https://drive.google.com/file/d/0B7oGIyVDbRGYZndURDVHbV9DeEE/view?usp=sharing&resourcekey=0-HLGDCxq5VwDwHcUcbl6lvg

Fold the card as shown.

I added a dot of glue at the stress points.
Add the embellishments.


Happy Easter!!!


Saturday, March 5, 2016

Easter Bunnies Sliceform Diorama


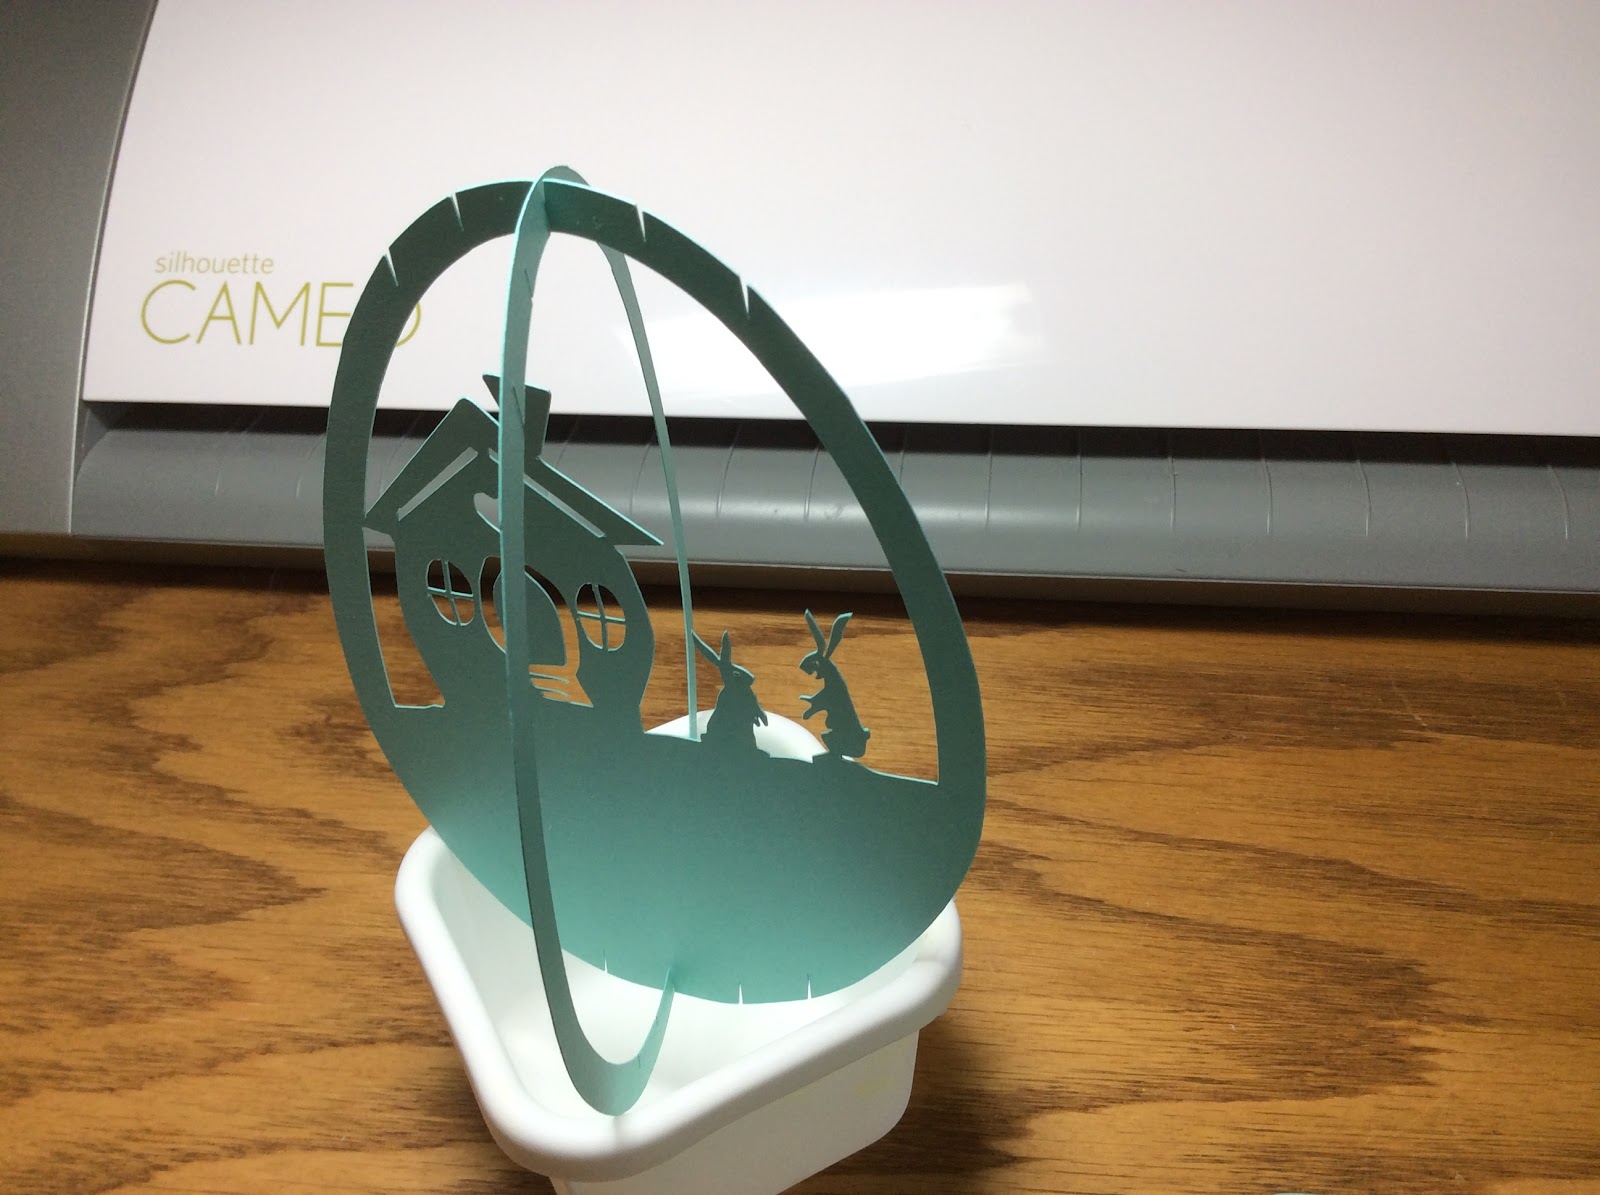
I created a diorama of an Easter bunny scene.  I used a previous egg sliceform that I designed and added the interior scenery.  There are three sets of slices.  The first slice is the center one. The second slice is the next largest one on each side of the center.  The third slice is the smallest and it is attached on the outermost notch on each side. I recommend cutting all of the pieces and placing them on a table in consecutive positions so that you do not get confused as to their placement because size does matter.


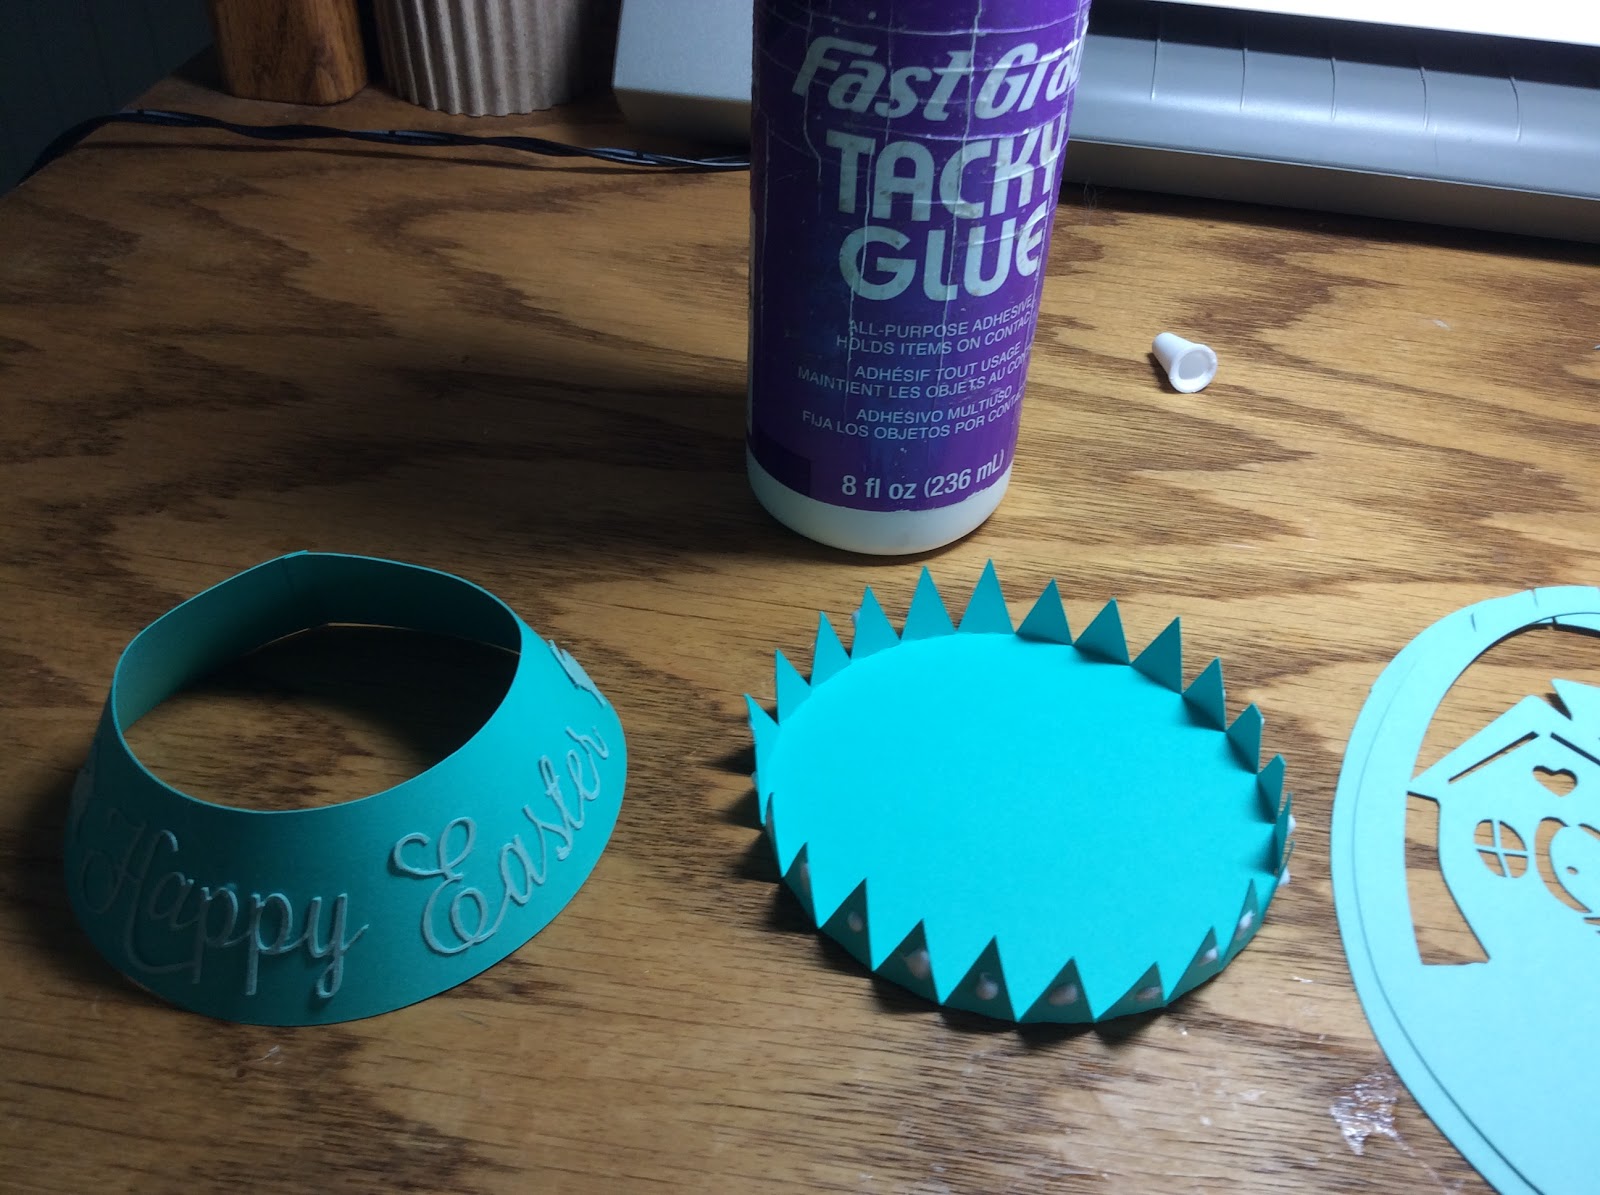
Make the base by attaching the Easter greeting.  Bend the tabs as shown.  Glue the side into a cone. Glue the base to the side.


The slices be attached starting at the center and going outward. Slide the largest two pieces together at the center notch.


Slide the tree slice to the back of the house slice at the next notch. On the front side of the house, slide the flower slice to the next notch. Repeat this for the basket slice on each side.


 All of the picture pieces will now be attached. 


The pieces that are left are the cross slices which are plain.  These slices need to be attached by size with the largest piece attached first on each side. The smallest slice is then attached, one on each side, to complete the diorama.

I used cardstock.  Here is the PDF.
https://drive.google.com/file/d/0B7oGIyVDbRGYemxKQXY5SGJmdFk/view?usp=sharing&resourcekey=0-LST0ybJnNWguh9HB16kECw

Here is the .Studio file.
https://drive.google.com/file/d/0B7oGIyVDbRGYNXF3SjM1ZHVLX0U/view?usp=sharing&resourcekey=0-4iU0S28YCOURL30nChMpTQ


Happy Easter!