
Cherry Blossom Wedding Cake Box

Katie's Wedding Cake
Here is the PDF.
https://drive.google.com/file/d/0B7oGIyVDbRGYRmhERUd6VThnUm8/view?usp=sharing&resourcekey=0-IwW3dX6YpRvgl74lYFJP_Q
Here is the .Studio file.
https://drive.google.com/file/d/0B7oGIyVDbRGYWDFndXdXbjJYekk/view?usp=sharing&resourcekey=0-eZVe1TtUIdKPpi0ftMPnYA
I used metallic white Neenah cardstock from their Creative Collection that I purchased at Office Depot. The flowers were made with two colors of pink cardstock from Michaels.
There are a lot of similar pieces to make this wedding cake. I would recommend cutting out the box bottom pieces first so that you do not mix them up with the top cake pieces which are slightly bigger.

Glue the box bottom side piece into a circle.

Fold the tabs inward as shown above and put a drop of glue on each tab. Insert the inside box bottom piece to form one layer of the bottom.

Put a dot of glue on each tab near the edge of the circle.

Adhere the outside box bottom circle to complete the bottom of the box. Set it aside.
Now cut out the cake layers.

Glue the layers into a circle as shown.

Fold the tabs of the smallest layer inward and glue in the inside smallest circle.

Glue the larger small circle to the top of the cake.

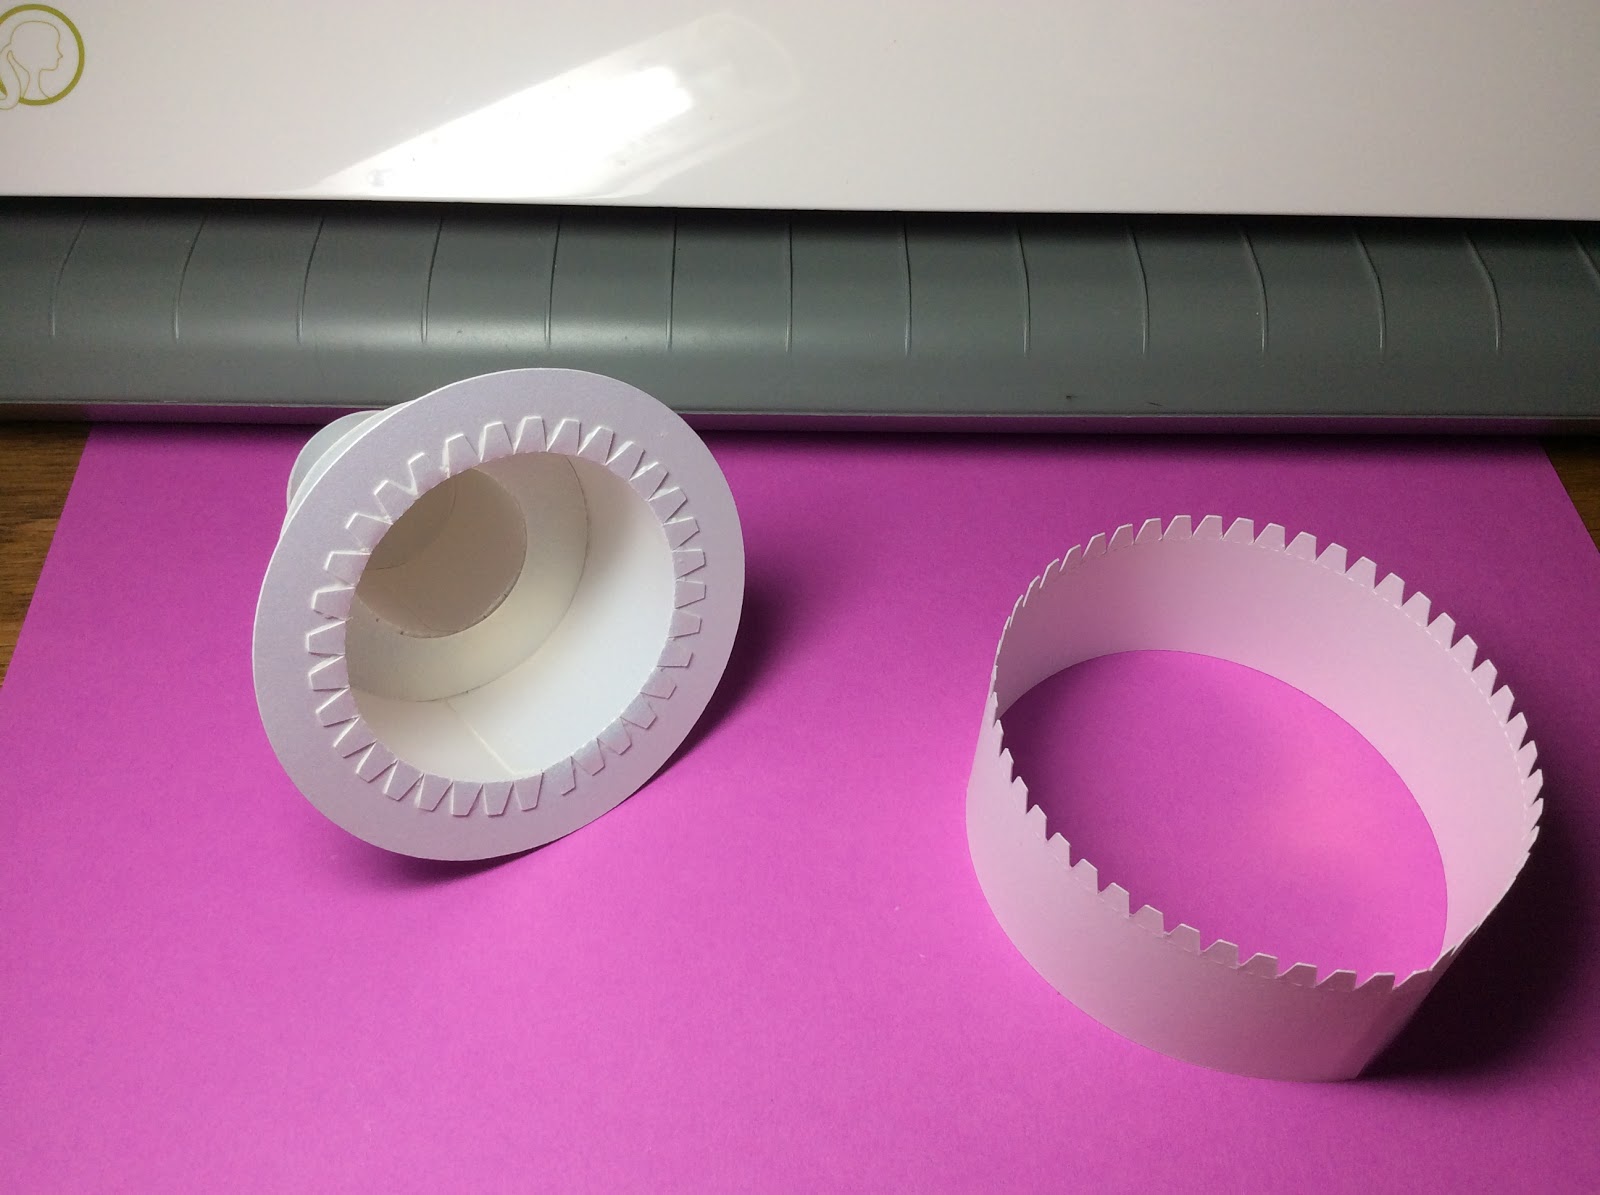
Fold the tabs of the smallest layer outward and put glue on the tops of the tabs.
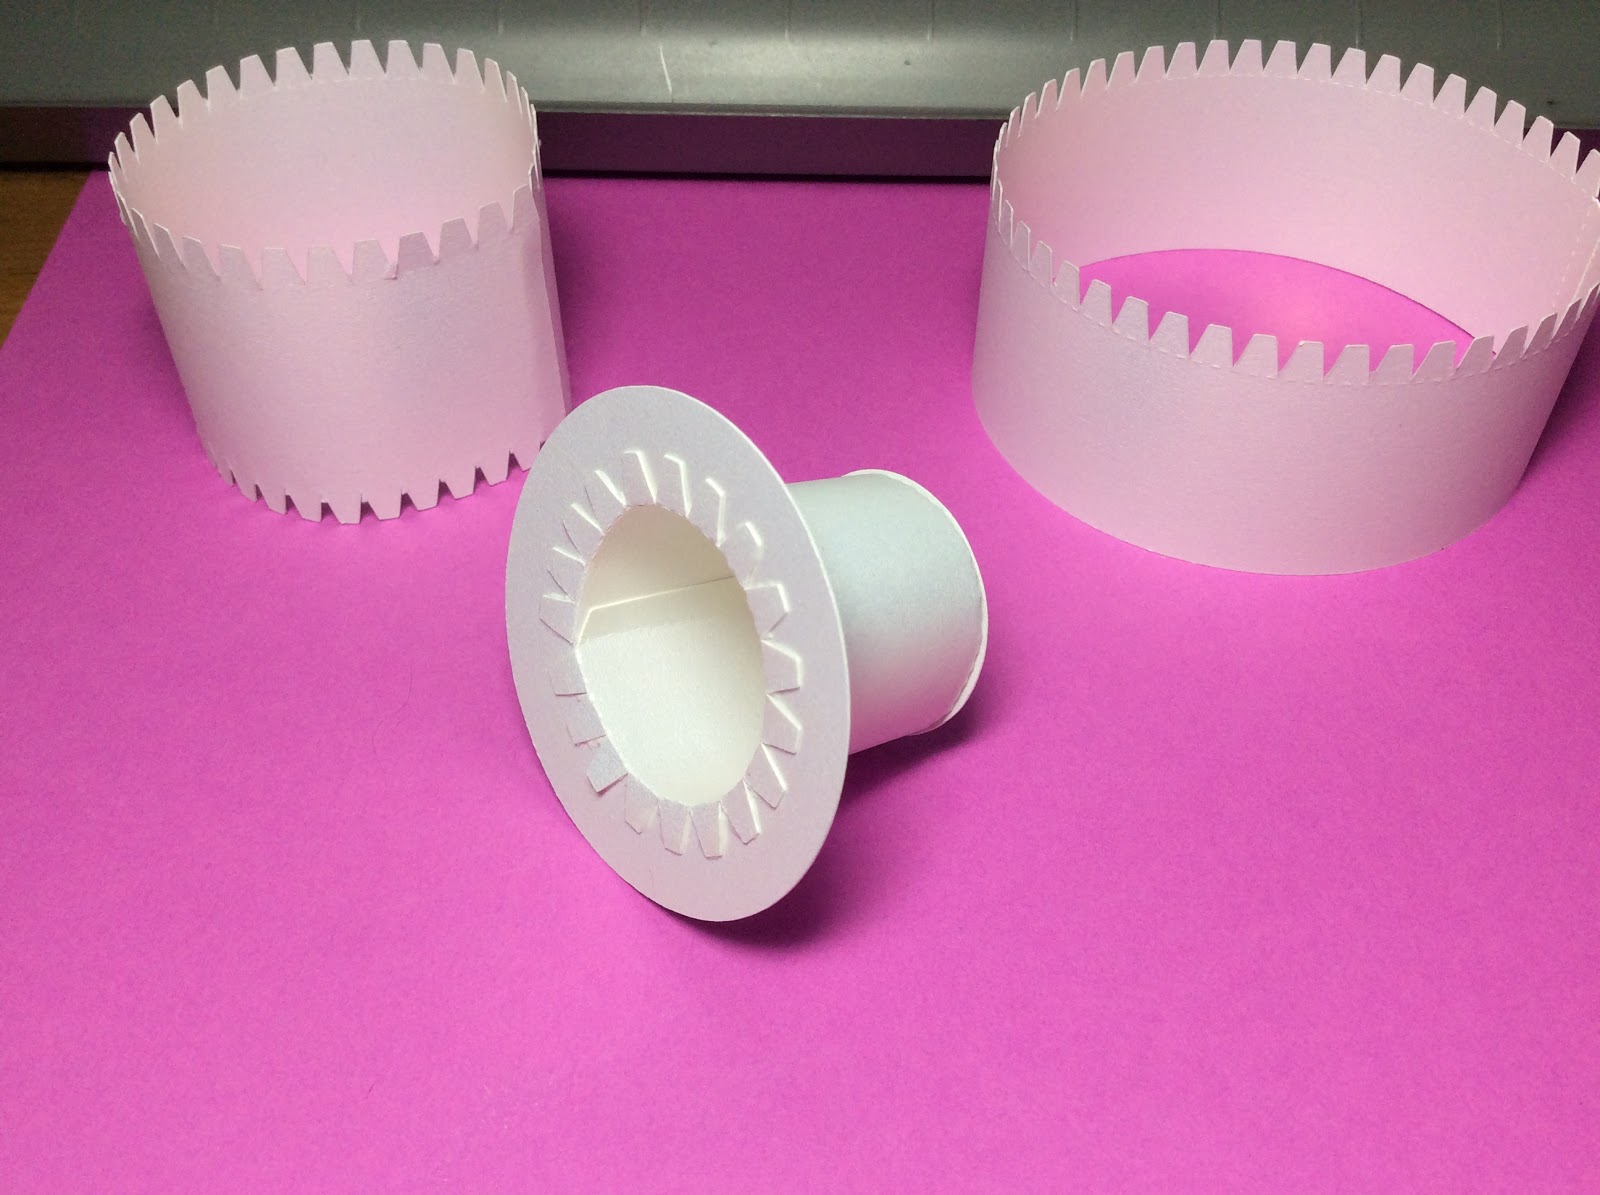
There are two small rings. One of the rings is slightly larger than the other. Using the slightly larger ring, slide it across the smallest layer and attach it to the tab. It will look like a top hat.

Fold the top tabs on the middle layer inward and the bottom tabs outward as shown above on the left.

Put glue on the top tabs.

Attach the smallest layer by matching up the seams. Make sure they are aligned so that the final product will look nice. Note: gluing is a slow process. Make sure all of the edges are aligned and that it looks like a round circle.

Glue the smallest ring into the interior.
Put glue on the top of the tabs. There are two small rings. One of the large rings is slightly larger than the other. Using the slightly larger ring, slide it across the middle layer and attach it to the tabs. It will look like a top hat with two layers. Sorry for the bad picture but it will look like the above photo.

Fold the tabs of the largest layer outward and put glue on the tops of the tabs.

Attach the largest layer by matching up the seams.

Glue the large ring to the interior.

Embellish the cake box with flowers or ribbons. Notice that all of the seams are aligned.

I pinched the petals upwards to create a 3-D effect and I added a bead to the center of the flower.

I added two rows of beading around the cake. I added a third row of beading to the bottom of the box so that it would look nice when it was separated from the cake.

I made a white version to give to a neighbor.

Happy Wedding Day!
Hi, this is really very nice blog. I have learned a lot of good and informative stuff from your blog. Thank you so much for sharing this wonderful post. Keep posting such valuable contents.
ReplyDeletePlease visit our website by clicking the links given below.
Wedding Cake Box Extensions - Risers - Extenders x 100
Bake-pro