Monday, May 30, 2022

A Rubber Band Pop-Up Sliceform Flower

A Rubber Band Pop-Up Sliceform Flower 

Bottom view.  

Notice that there is a diagonal with a rubber band in the base.  The rubber band is stretched to allow the flower to lie flat. This flower is suitable for mailing and will fit into an A7 envelope. I made two versions of the flower.  Many more versions can be made by altering the combinations of the petals, leaves and the insects that I have included in the files. 

Here is the PDF. I used 65 lb card stock and a one inch rubber band for the pop-up base. (The rubber band is similar to the rubber band that is used on a Rainbow Loom.) 

Here is the .Studio file.

Here is the SVG.

Slide the two largest semicircles together to form the center slices.

Insert all of the upward facing slices.

Complete the center of the flower by inserting all of the downward facing slices.

Fold one of the pop-up bases in half and apply glue to one side of the base. Repeat for the other pop-up base.

Crease the base as shown above.  Glue the smaller tab together and insert the one inch rubber band. Apply glue to the inside diagonal as shown above.

Form the base as shown above.

Insert the other side of the rubber band so that the diagonal can now lie flat.

Apply glue to the pop-up columns and attach to the corners opposite the diagonal.

Apply glue to the pop-up column posts and adhere to the inside of the sliceform.

In the center of the above photo, the post and the sliceform can be seen where it was attached.

Glue the petals to the sides of the base. The petals can be creased upwards or downwards depending on your preference.

Repeat gluing the petals to the sides of the base.  Adhere the insect or the butterfly.  The butterfly has a tab which needs to be attached to the butterfly and the petal.

After the petals have been glued on, glue the leaf and the base wrap. Notice that the base has been depressed and it is flat.  By making the base flat, it makes it easier to glue and align the base wrap.

Bottom view

Top View

Top view with butterfly.

Bottom view 

I am posting these pop-up sliceform flowers on Memorial Day in remembrance to all the people who have served in the military including my father who served in World War II in the Philippines. To the great men and women of our armed forces, thank you for fighting for our freedom and sacrificing so much for us.

Monday, May 2, 2022

A Sea Creature Pop-Up Snow Globe

This sea creature snow globe uses the rubber band pop-up mechanism that was created in my previous two blog postings. https://papercraftetc.blogspot.com/2022/04/a-stem-project-making-pop-up-base-for.html and https://papercraftetc.blogspot.com/2022/04/a-stem-project-resizing-slice-form.html

There are plenty of sea creatures packed into this snow globe. There is an octopus, a sea horse, a star fish, a sea turtle and coral inside this snow globe. This pop-up will delight children and adults alike.

The back view looks great too!
 
This sea creature pop-up snow globe lies flat and will fit into an A7 envelope. The rubber band mechanism inside the base will deploy and the snow globe will expand when it is taken out of the envelope.


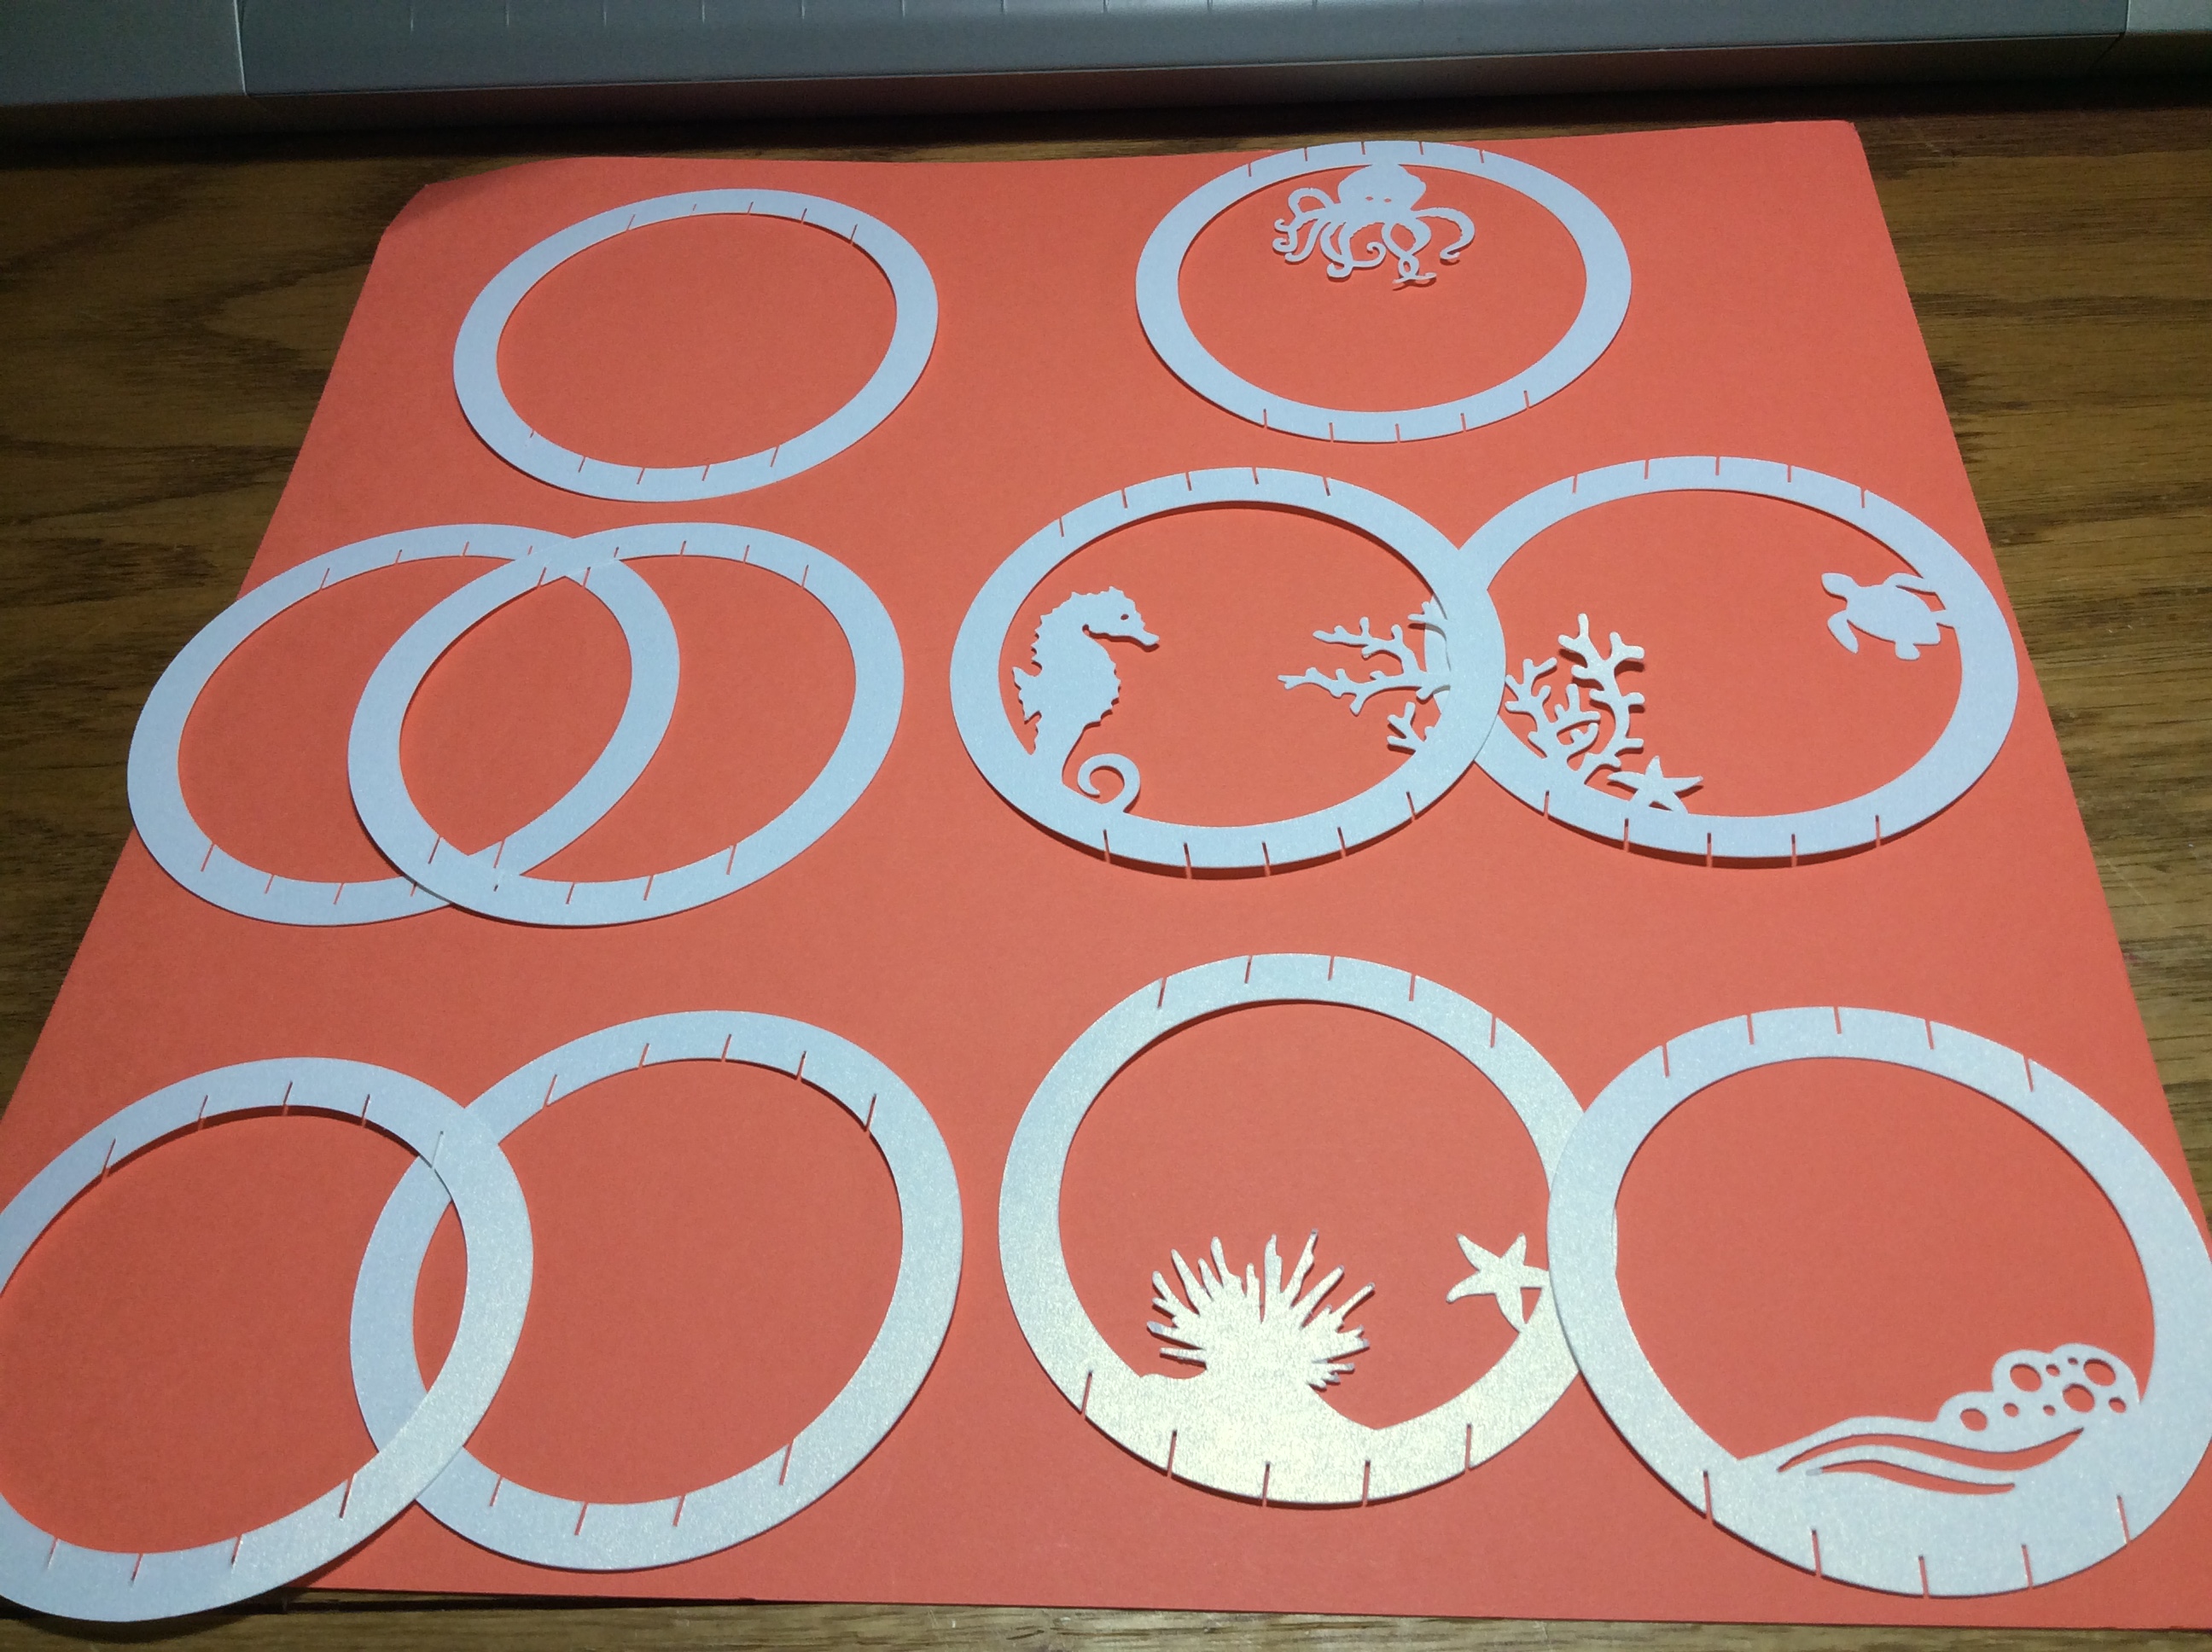
Here is the PDF. I used Neenah brand 65 lb metallic card stock from Office Depot. A one inch rubber band is required for the pop-up base. (The rubber band is similar to the rubber band that is used on a Rainbow Loom.) https://drive.google.com/file/d/1oM59RFHOj8AUm0wwqXKoMwhI636R6DBp/view?usp=sharing

Here is the .Studio file.

Here is the SVG.

Make the slice form sphere. The slice form sphere directions are in this blog posting, https://papercraftetc.blogspot.com/2020/10/a-stem-project-how-to-make-slice-form.html#comment-form 


Make and assemble the slice form sphere base and rubber band base using the directions in this blog posting. https://papercraftetc.blogspot.com/2022/04/a-stem-project-making-pop-up-base-for.html


Wrap and glue the base with pretty paper to complete the pop-up sea creature snow globe. 

Sunday, April 24, 2022

A STEM Project: Resizing a Slice Form Sphere

After making the slice form sphere with a pop-up base.  I tried to insert the pop-up into an A7 envelope.  Much to my disappointment, it was too big by 1/4 inch.  Typically, slice forms can not be resized because the slits in the paper need to accommodate the thickness of a piece of paper. 

The slice form was 1/4 inch too big for the A7 envelope.

I looked at the original size of the slits of the slice form sphere and they were .02 inches wide.  The slits in the slice form base were a little smaller at .17 inches wide. I know that the slits can be as tight as .15 inches wide (not optimal but it does work). Resizing the design would be easy with the Silhouette software, so there is no harm in trying this method before redoing the slice form models. To resize the 4 inch slice form sphere to a 3 3/4 inch sphere.  I calculated that I needed a .9375 scaling factor.

3.75/4 = .9375 scaling factor

In the Edit function, select all.  This will put a bounding box around the entire design.

In the Transform function, under scale, use a .9375 scaling factor.  After the entire design was rescaled, I determined the smallest slit was .17 inches and that is an acceptable slit width. 

The point of this blog posting is that while conventions might indicate that something won't work.  Try it anyway, I had nothing to lose except a few minutes of time.  This is one of the reasons I like designing with paper.  It is quick to experiment and the cost of the paper is reasonable.  I typically make the same model over and over again until I am satisfied with the results. I have high standards and will not concede. In this case, it was a simple solution of rescaling the design.

My resized pop-up slice form now fits in an A7 envelope.

Saturday, April 23, 2022

A STEM Project: Making a Pop-Up Base For A Slice Form Sphere

I have always wanted to create a pop-up mechanism for my slice forms.   I think this rubber band mechanism achieves my goal. 

Slice form base with a rubber band pop-up base attached

When the side is depressed, the base lies flat.

In this blog posting, I will make a pop-up base for the slice form sphere that was created in a previous blog posting,  https://papercraftetc.blogspot.com/2020/10/a-stem-project-how-to-make-slice-form.html#comment-form The entire design, slice form sphere, slice form base and pop-up base can lay flat as a two dimensional object and then it can be expanded into a three dimensional model with the help of a rubber band.

Here is the PDF.  I used 65 lb. cardstock. A one inch rubber band is required for the pop-up base. (The rubber band is similar to the rubber band that is used on a Rainbow Loom.) 

Here is the .Studio file.

The slice form sphere file and directions are in this blog posting, https://papercraftetc.blogspot.com/2020/10/a-stem-project-how-to-make-slice-form.html#comment-form 


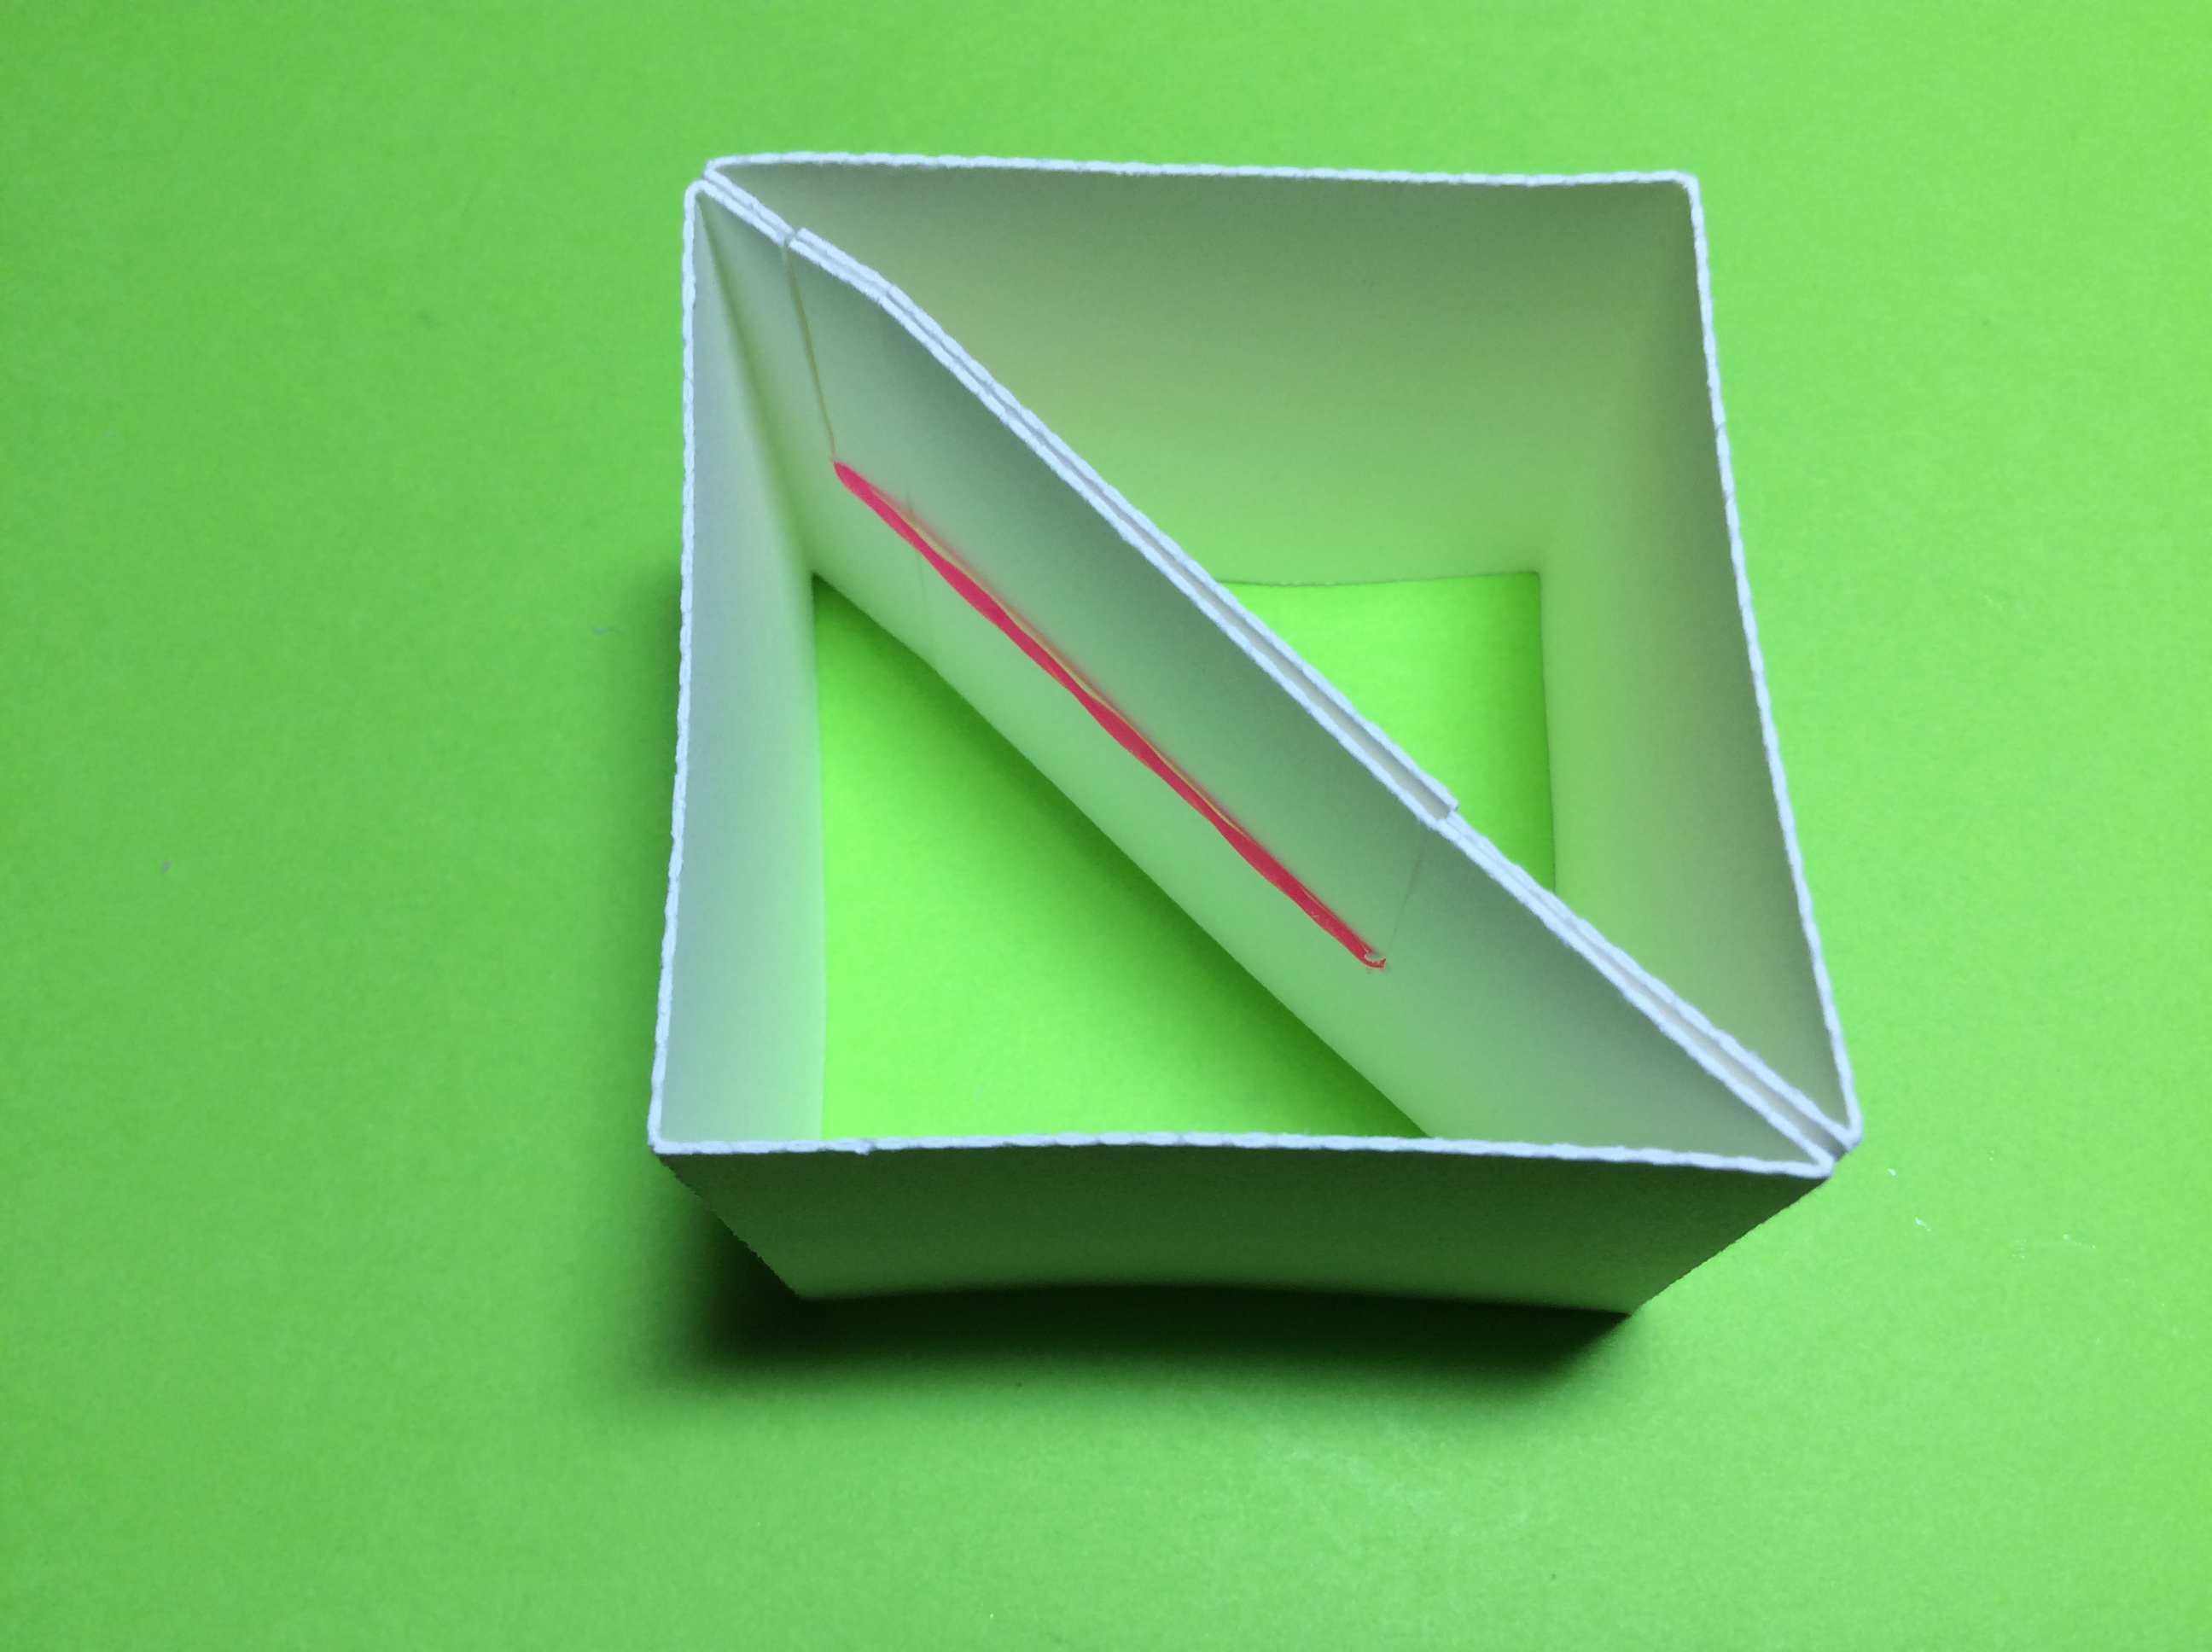
The pop-up base consists of a two inch square with a diagonal going across the square.  This diagonal is cut into two lengths which equal the entire length of the diagonal.  A rubber band keeps the two diagonal pieces together. 

The rubber band expands when the base is pressed down at the corner that is opposite to the diagonal.  When the side pressure is released, the expansion tension on the rubber band is released and the rubber band returns to its natural state  This phenomenon allows the slice form to deploy and become three dimensional.

Here are the calculations that I used to create the paper strip.  One strip creates a right triangle.  Two strips create a square with a diagonal in the middle. 
Pop-up base Calculations


Make the Pop-Up Rubber Band Base

There are two sides to the rubber band base. Each side is folded over to create a two-ply base. Crease the paper as shown above.  

Glue the folded sides together.

Glue the tabs together. Make sure that the slits are going in the same direction.

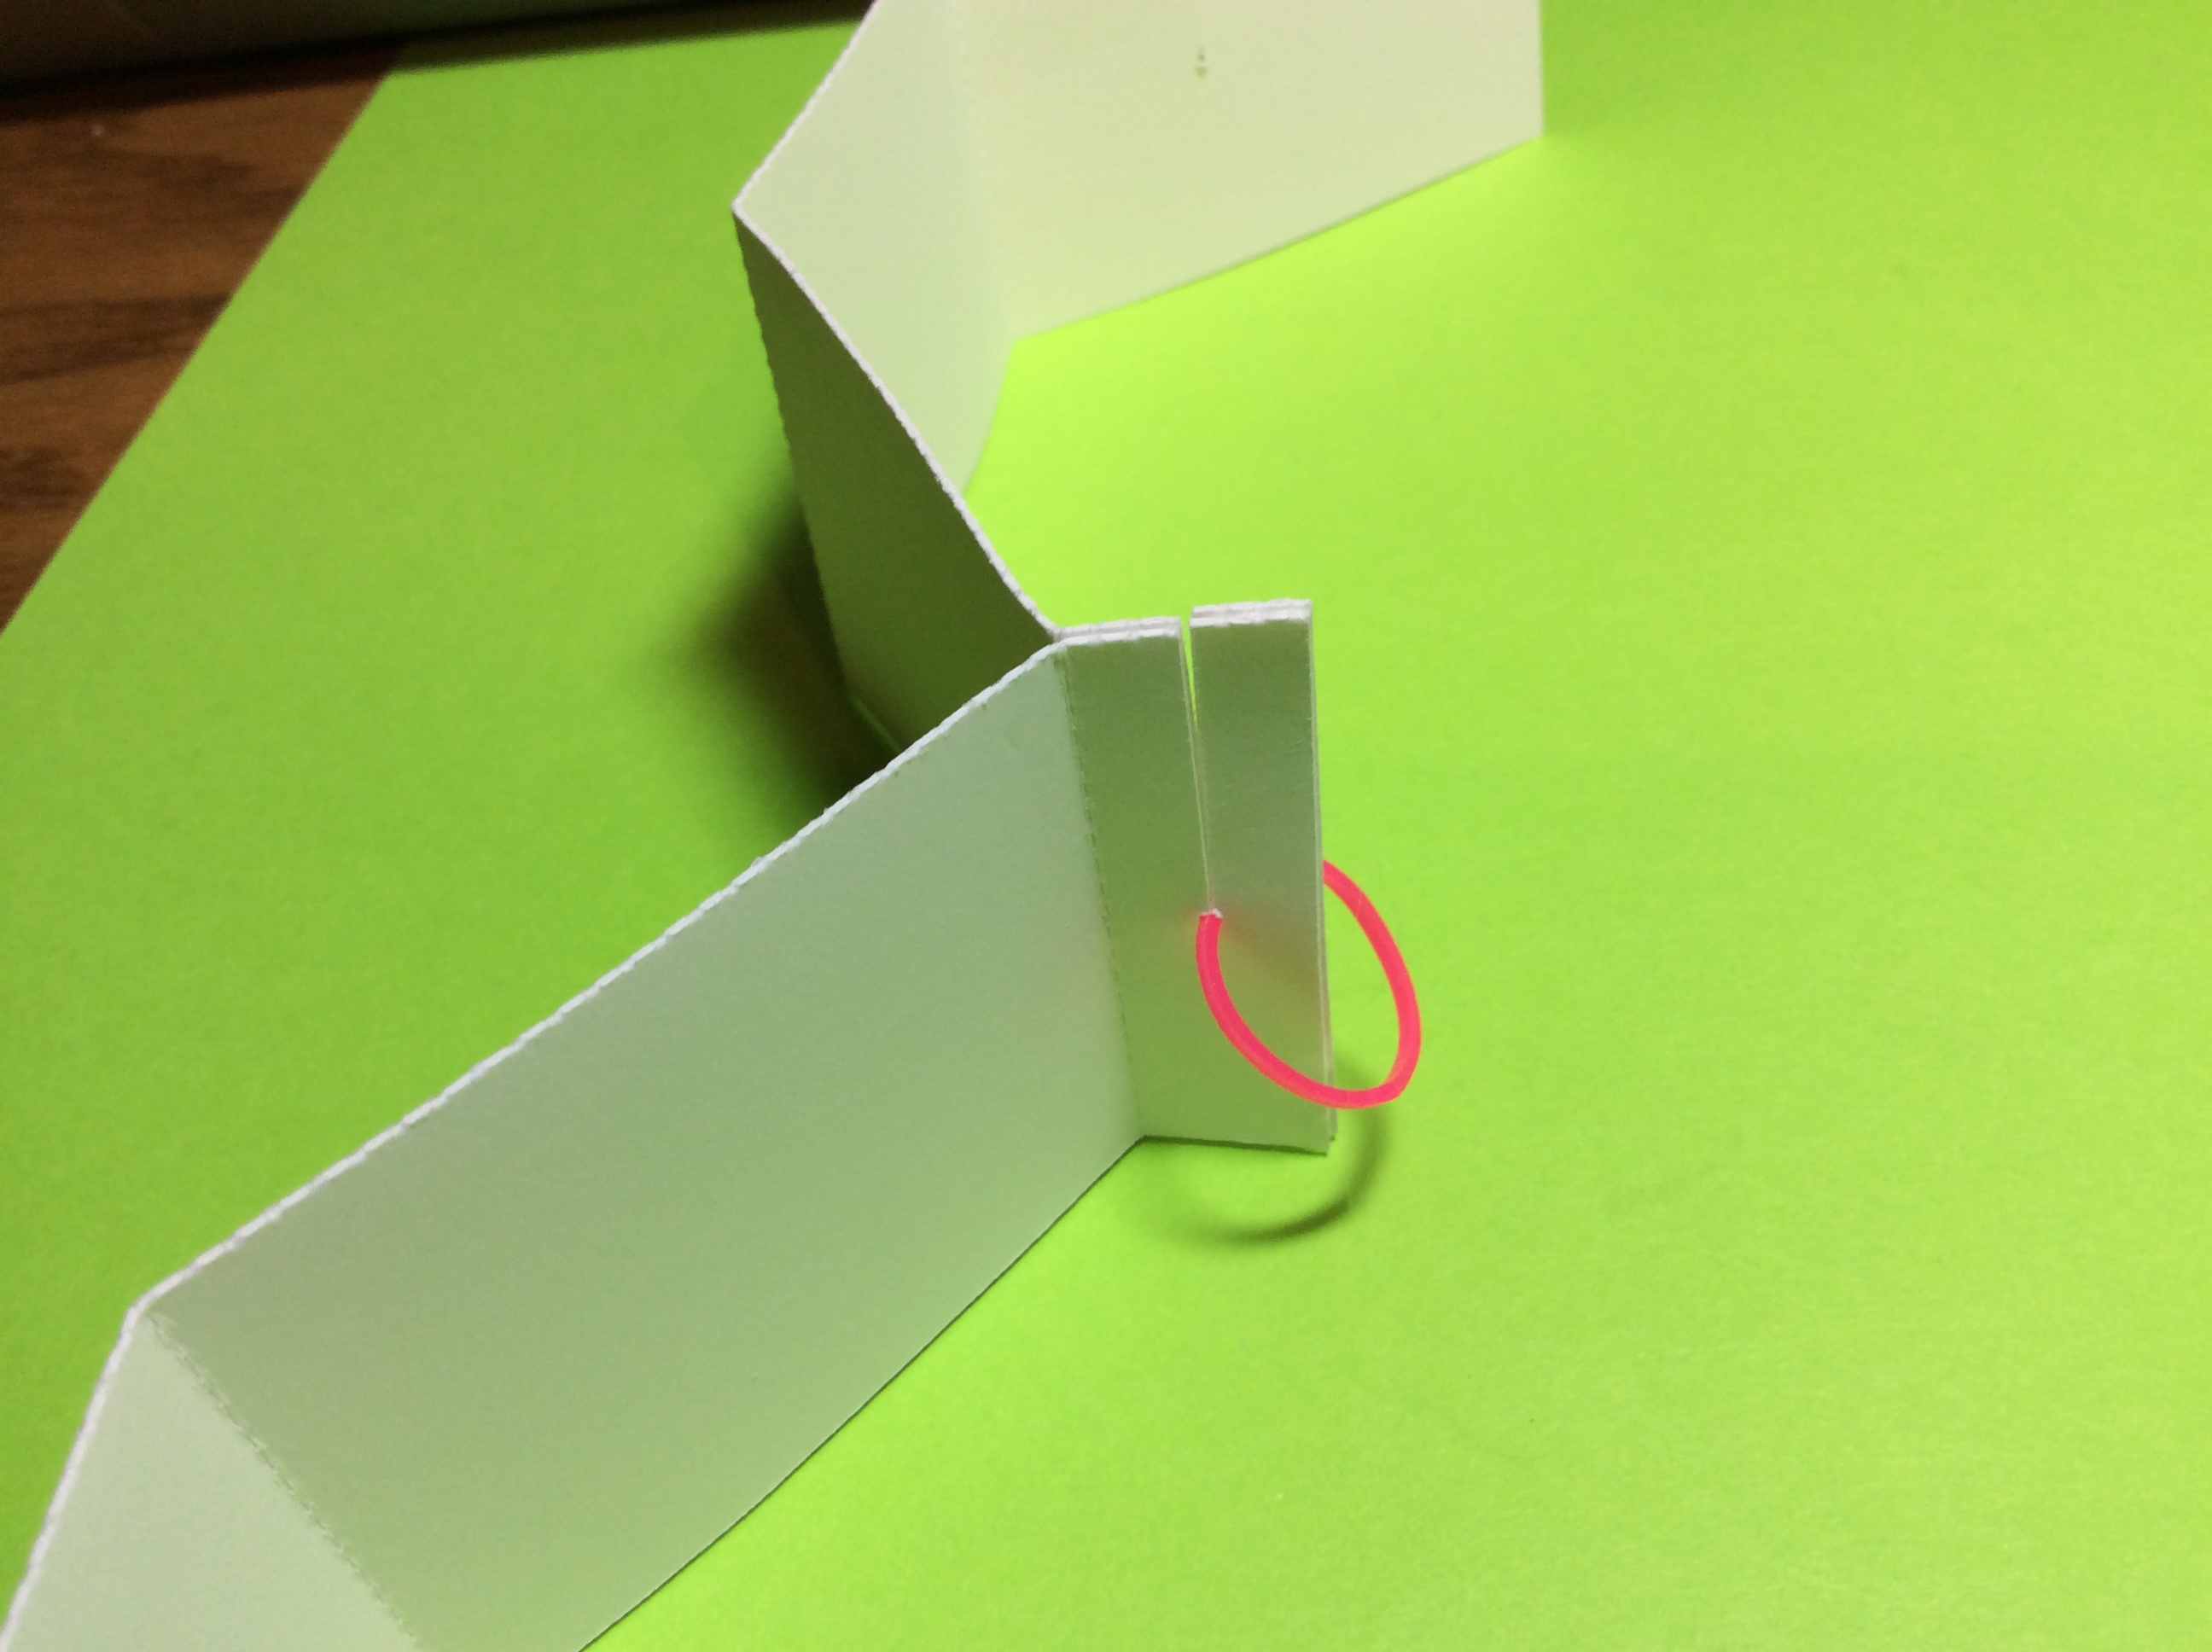
Slide the one inch rubber band into the slit and align the rubber band with the round hole in the base of the slit.

Apply glue to the diagonal as shown above.

Adhere the other side of the diagonal.  Make sure that the slits on the long side of the diagonal align.

Slide the rubber band onto the slit on the long side of the diagonal.

This rubber band base can now fold flat when the corner opposite the diagonal is pushed down.

Make the pop-up columns by creasing the paper into a square and gluing the tab together. Repeat for the other column.

Apply glue to the side of the column that has a tab. Attach this side to the right angle that is opposite the diagonal.  Repeat for the other column.


Make the Slice Form Base

Arrange all of the slices by size.  Take the largest slice and slide them together as shown above.

Continue sliding the pieces with the upward facing slits onto this assembly.  

Slice the downward facing slits onto the assembly to finish making the slice form base.


Make the Slice Form Sphere Using the directions from this previous blog posting https://papercraftetc.blogspot.com/2020/10/a-stem-project-how-to-make-slice-form.html


Assemble the Three Parts of the Pop-Up 

Apply glue to the column tabs as shown above.

Slide the slice form base onto the pop-up base.  The tabs of the columns will be glued inside the slice form  base. Flatten the base so that the glue adheres correctly. 

The slice form base is now attached at two spots.  In the photo above, it is attached on the left side.  The right side is not attached as this allows the slice form to fold flat.

Top View

Apply glue to the tabs on the center slice of the slice form base.

Adhere the tabs to the center slice of the slice form sphere. Wait for the glue to dry before collapsing the pop-up.

The pop-up will fold flat.

Rubber Band Pop-Up Base with a Slice Form Sphere