Wednesday, July 21, 2021

A STEM Project: A Simple Mechanical Claw and a 3D Mechanical Claw

A claw is a mechanical device that can grab or pick up objects.  In this blog posting I will make a simple mechanical claw and a 3D mechanical claw. By pulling up on the claw arm, you can pick up objects. To release the object, pull the claw arm down. In my next blog posting, I will make an amusement park arcade game using a smaller version of the 3D mechanical claw to pick up pompoms. https://papercraftetc.blogspot.com/2021/07/a-stem-project-amusement-park-arcade.html

A simple mechanical claw and a 3D mechanical claw


Four regular size brads or fasteners are needed for the simple mechanical claw and six regular size brads are needed to make this 3D mechanical claw.


#1. Simple Mechanical Claw

Layout the pieces to make the simple mechanical claw and four brads (paper fasteners)

Fasten one of the arm pieces to the claw piece with a brad.  The claw on the right shows the underside of the piece on the left. 

Align the two claw holes and the top of the body holes together as shown above.

Fasten a brad to this point.

Align the bottom hole of the arms to the center area of the body and insert a brad into the hole.

Turn the assembly over, making sure not to dislodge the brad.

Slide the pull arm hole onto the brad and splay the brad as shown above.


Fold the two sides of the body over the pull arm. Apply a piece of Scotch tape over the center seam

Completed simple mechanical claw. To operate the claw move the pull arm down to open the claw.


Move the pull arm upward to retract the claw.


#2. 3D Mechanical Claw


Layout the pieces to make the 3D mechanical claw and six brads (not shown).

Bend the semicircle(dotted line) at the bottom of each claw at a right angle to the claw.  Glue two of the claws together to make a two layered claw with a circular base. The photo shows two completed claws on the top and right of the photo.

Bend the dotted lines on the body and pull arm pieces as shown above.

Insert a brad into the hole on the top of the body assembly. I paired a claw and an arm together in the left of this photo as these will be the two pieces that will be attached next.

Insert an arm hole onto the brad.

Insert the claw piece onto the brad with one side of the brad threading on the left of the hole and the other side of the brad threading on the right of the hole.

Here is a better view of the brad positioning.

I cut the tip of the brads because they were too long.

Repeat the above procedure for the other two claws.  The above photo shows all of the claws attached to the body assembly.

Place the pull arm piece underneath the body assembly, aligning the holes of the arm to the pull arm piece.

Fasten a brad to each of the three holes with the splayed area on the interior side of the pull arm.  Check the tension on the brads to make sure that the claw can freely move up and down.

Fold the pull arm and body into a triangular prism.

Apply glue only to the outer tab of the body assembly.  The inner tab of the pull arm is folded inward and remains unattached. 

Completed 3D Mechanical arm

Sunday, July 4, 2021

A STEM Project: Yoshimoto's Cube #1 - Two Stellated Rhombic Dodecahedrons Can Be Flexed To Form a Cube

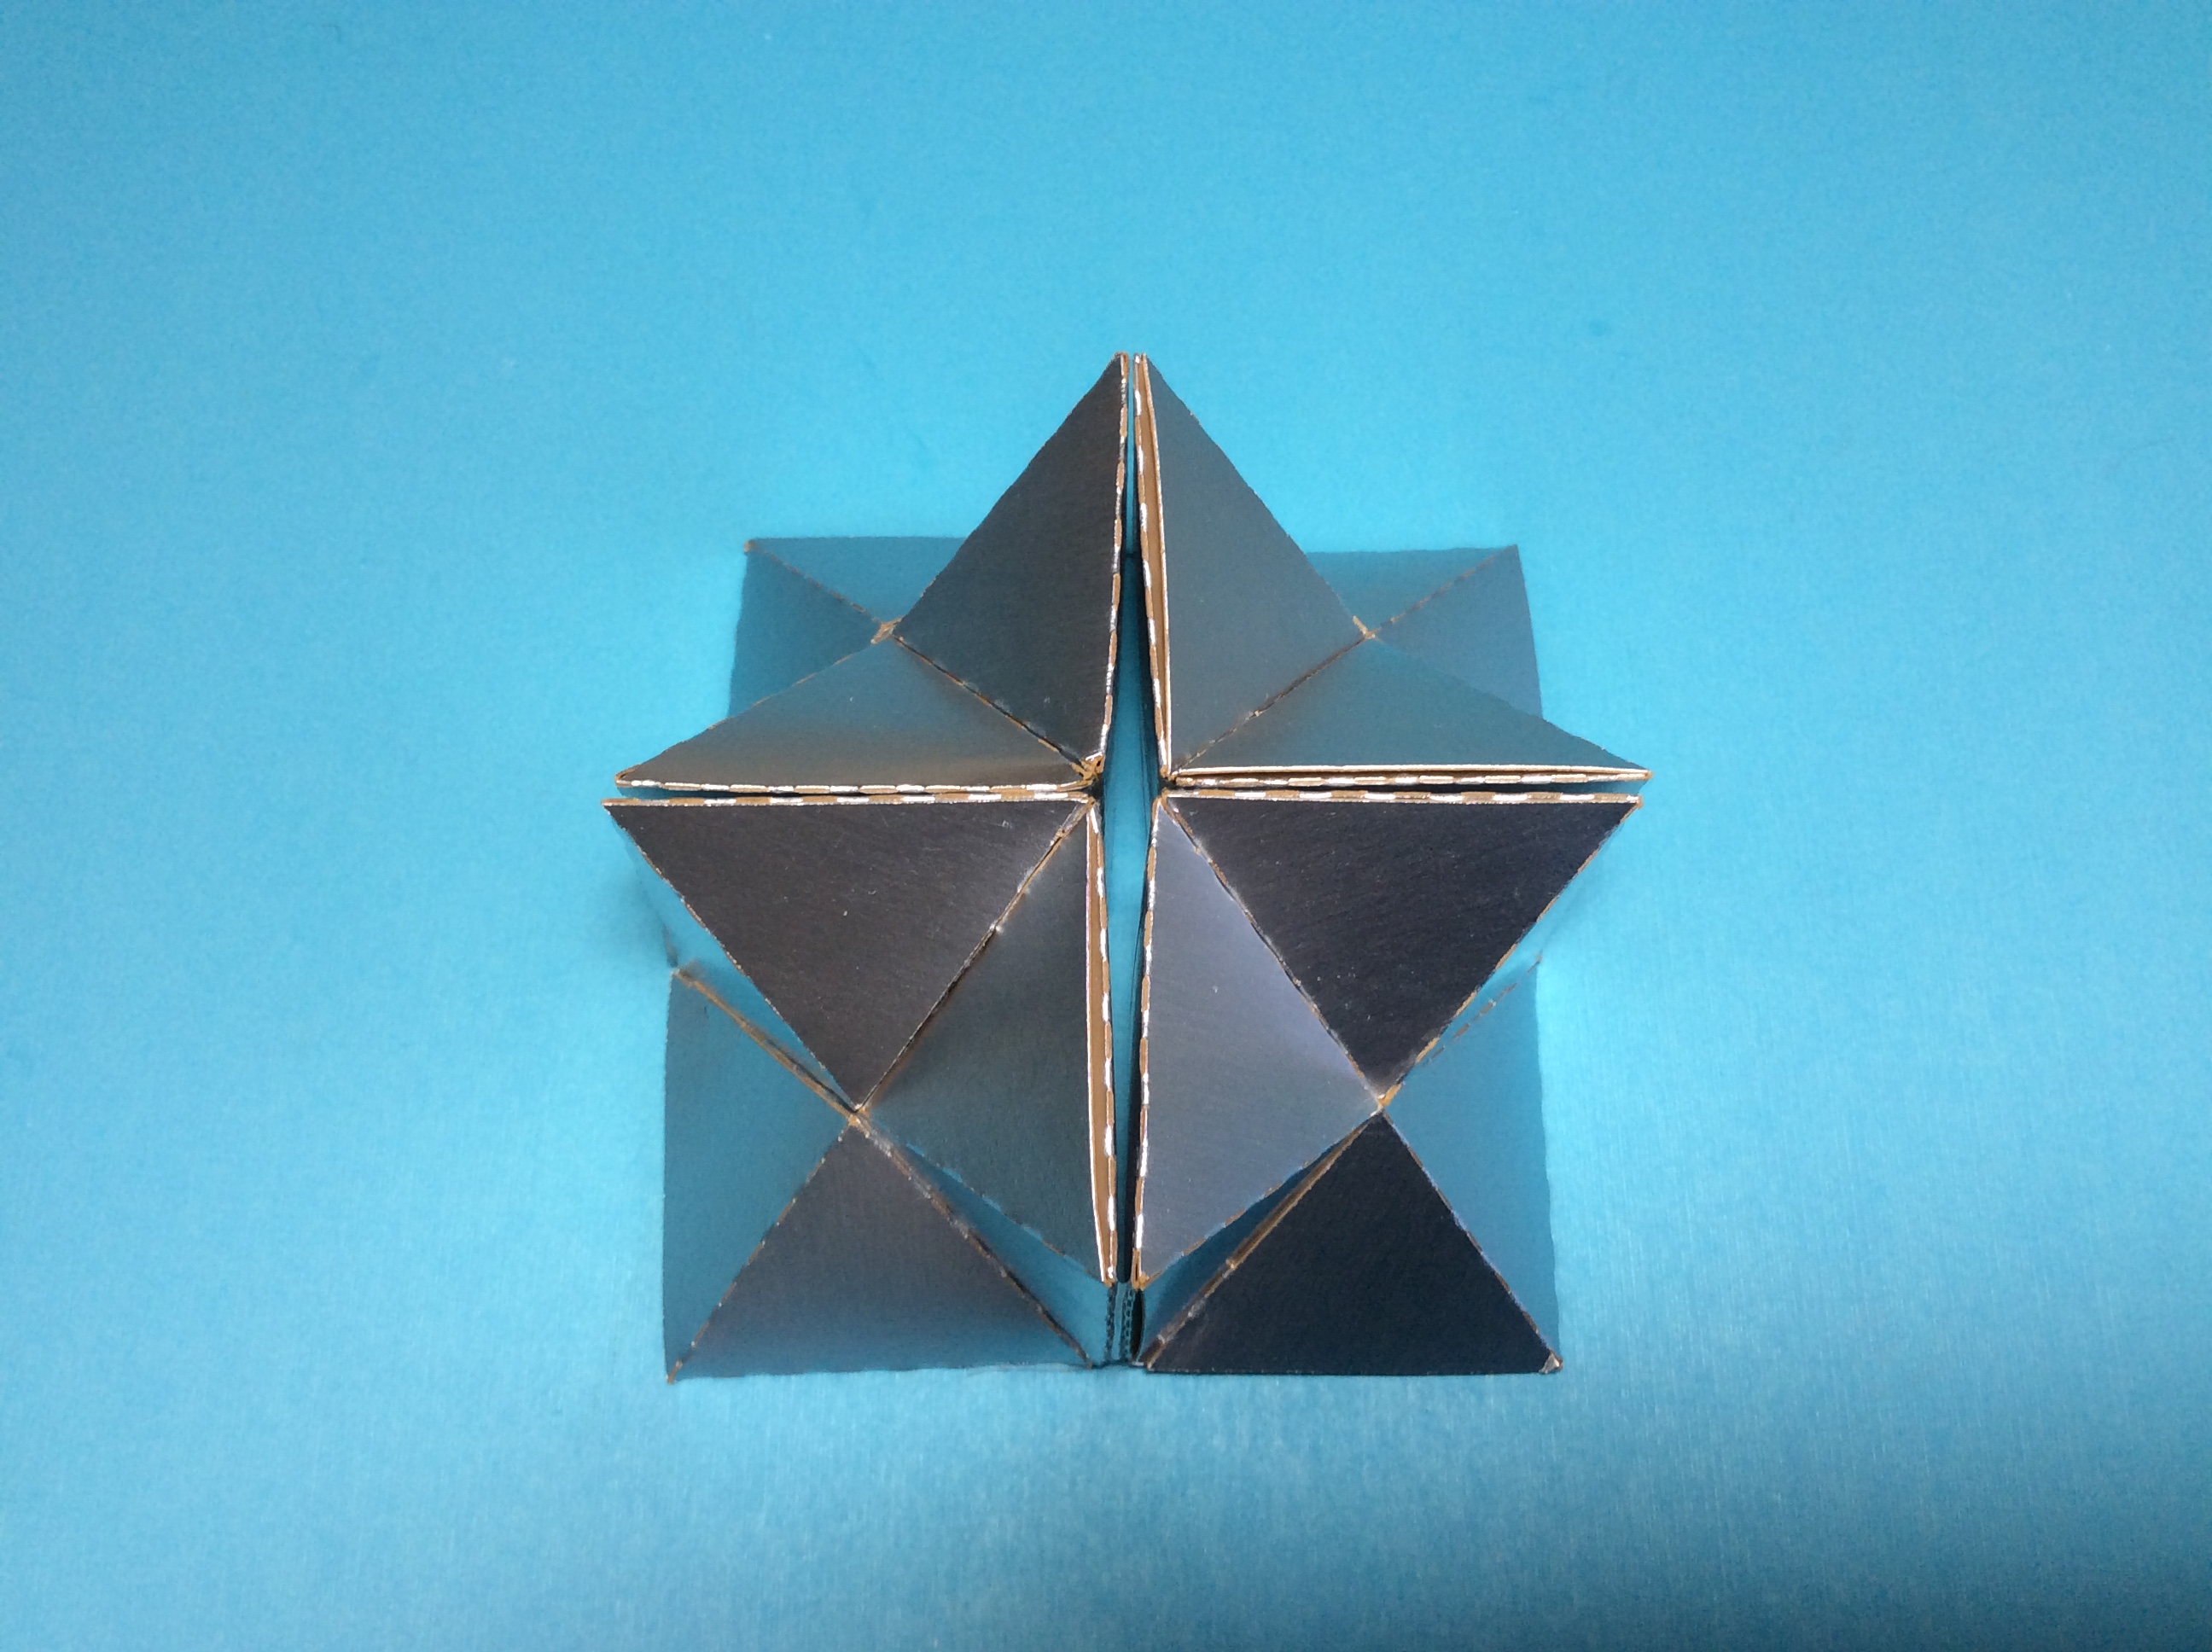
Two Stellated Rhombic Dodecahedrons

Two Stellated Rhombic Dodecahedrons can be contained in a Cube

In this series of four blog entries, I will be recreating, in the style of, Naoki Yoshimoto's "Shinsei Mystery Puzzles". The word "shinsei" means application in Japanese. This blog entry will explore the puzzle entitled "Yoshimoto's Cube #1". In 1971, Naoki Yoshimoto discovered a way to divide a cube into equal parts in three-dimensional space. The result was a series of three puzzles by Yoshimoto. 

"Yoshimoto's Cube #1" is two, twenty four flexible triangular pyramids that are taped together to form a cube or a stellated rhombic dodecahedra depending upon the configuration of the pyramids.  Two of these flexible polyhedra can amazingly interlock to form a cube. 

After Yoshimoto's discovery of this amazing flexible polyhedra, he introduced it in an exhibit at the Museum of Modern Art  entitled "From Cube to Space".  In 1982, "Yoshimoto Cube #1" was honored to be included in the museum's permanent collection.

I designed the pyramids to require minimal gluing as there are forty eight pyramids to make. The silver pyramids are smaller than the gold pyramids so that they will fit into the box that I designed to contain the cube. Cut out 24 gold pyramids and assemble them to create the gold stellated rhombic dodecahedron.  Repeat for the silver pyramids.


Make the Box

Two of the stellated rhombic dodecahedrons can fit in this box.

Make 24 pyramids in each color, silver and gold.

Cut out 24 pyramids.
 
Mountain fold all of the dotted lines. Remove the two slits if it did not cut correctly.

Apply glue to the inside of the semicircular tab as shown above. 

Insert the tab into the square base. If you have any difficulty inserting the tab, use a needle to widen the slit.

Apply glue to the inside of the other semicircular tab.

Insert the tab into the side of the pyramid.

Completed pyramid. 

Assemble the pyramids in groups of three according to color.

Tape two pyramids together at their base. Make sure to cut off any tape that is overhanging the edge of the pyramid.

Tape a third pyramid to this configuration. Make sure to cut off any tape that is overhanging the edge of the pyramid.

Form these three pyramids into a cube shape and tape the edge. Make sure to cut off any tape that is overhanging the edge of the pyramid.

Opposite side of this three pyramid configuration. Continue to make these assemblies until eight has been created.

Complete the assembly of the grouped pyramids into a stellated rhombic dodecahedron
Please note: The tape acts like a hinge and should only be on the surface indicated.


Tape one side of the grouped pyramids together. Repeat for the other three pairs.  Make sure to cut off any tape that is overhanging the edge of the pyramid. I turned over one of the pairs on the left so that you could see what the other side looks like.

Place two of the grouped pyramid pairs with the hinges as shown above and...

bring the pairs together to form this star.

Place a third group pair as shown above with its hinge on the top.

Rotate the entire assembly so that the squares are facing you.  Apply two strips of tape to the vertical edge where my two fingers are pointing. Make sure to cut off any tape that is overhanging the edge of the pyramid.

Place the last grouped pair with the hinge on the top.

Rotate the entire assembly so that the squares are facing you.  Apply two strips of tape to the vertical edge where my two fingers are pointing. Make sure to cut off any tape that is overhanging the edge of the pyramid.

Two Stellated Rhombic Dodecahedrons in a Cube

Two Stellated Rhombic Dodecahedrons can be contained in a Cube

Two Stellated Rhombic Dodecahedrons

Please check out my other blog postings for Yoshimoto's Cube #2. https://papercraftetc.blogspot.com/2021/06/a-stem-project-yoshimotos-cube-2-two.html

and Yoshimoto's Cube #3.


Wednesday, June 30, 2021

A STEM Project: Yoshimoto's Cube #2 - Two Rings of Twelve Triangular Pyramids Can Be Flexed to Create a Cube

Two rings of twelve triangular pyramids can be flexed to create a cube. I made a box to contain them as they are very flexible and will not stay in the cube shape.

Two halves make up the cube.

Twelve triangular pyramids make up a ring for a total of twenty four triangular pyramids to create a cube.

In this series of four blog entries, I will be recreating, in the style of, Naoki Yoshimoto's "Shinsei Mystery Puzzles". The word "shinsei" means application in Japanese. This blog entry will explore the puzzle entitled Yoshimoto's Cube #2. In 1971, Naoki Yoshimoto discovered a way to divide a cube into equal parts in three-dimensional space. The result was a series of three puzzles by Yoshimoto.  

This design is twelve flexible triangular pyramids that are glued together to create a ring.  The two rings of twelve triangular pyramids are interlocked to form a cube. 

Here is the PDF.   I used 65 lb. cardstock. 

Here is the .Studio file. 

Here is the SVG.

To Make Yoshimoto's Cube #2


Make a box to contain the cube.

Cut four of the above pieces. Orient the piece as shown with the large tab on the right. Valley and mountain fold the dotted lines like an accordion. This piece creates six triangular pyramids. I recommend making all four sections together as an assembly line as the instructions are the same.

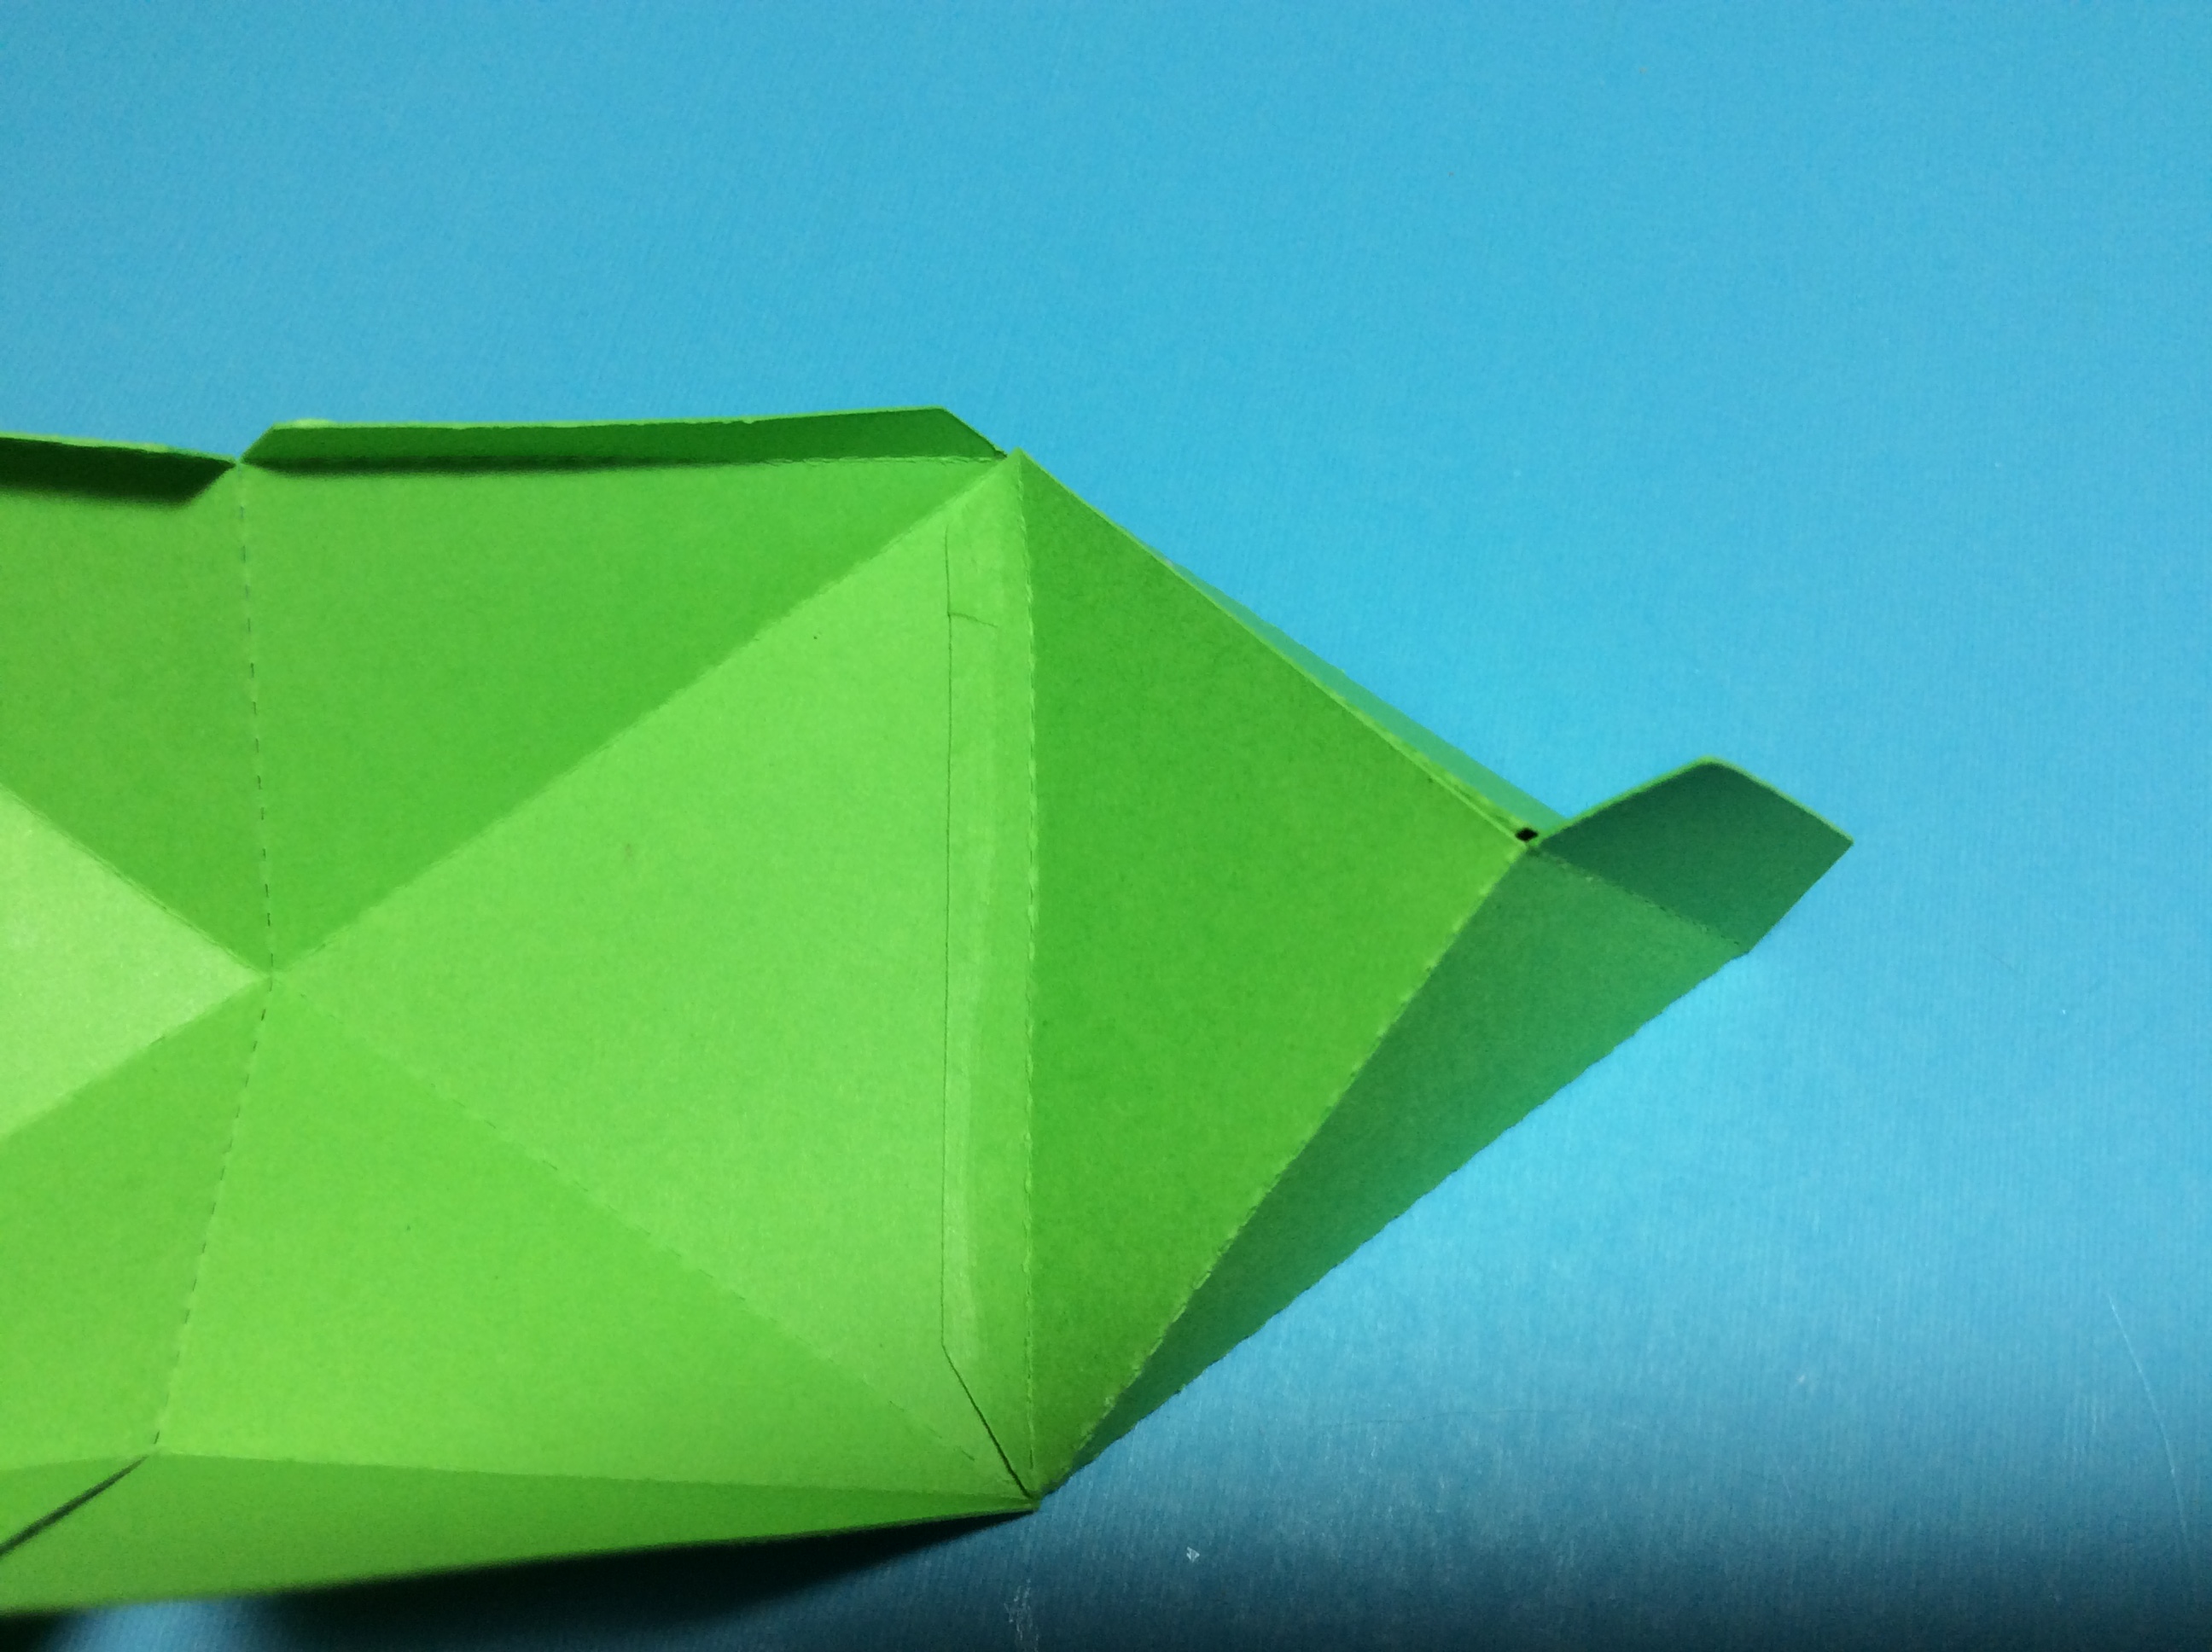
Mountain fold all the remaining dotted lines except the large tab on the right.

Turn the piece over with the large tab on the right.

1. Apply glue to the two tabs as shown above.

2. Adhere the bottom tab to the center of the diamond.

3. Adhere the top tab to the inside of the triangular pyramid.

4. Apply glue to the two tabs as shown above.

5. Adhere the bottom triangle to create another triangular pyramid. 

Repeat the above five steps until you get to the last triangular pyramid where the last tab is should not be glued. 

Fold the small tab inward and adhere the other two sides of the triangle. There is an opening at the base of one triangle for the large tab to be inserted later to create the ring.

Completed segment.

Glue both sides of the large tab and insert into the opening of the other segment.

Apply glue to both sides of the large tab and insert into the other side of the segment to complete the ring.

Repeat gluing the other ring together.

Push the lower six triangular pyramids together.

Flex the top and bottom triangles upward to create a square base. Place in a box.

Repeat for the other ring to make two parts of the cube.

Interlock them to create the cube.