The above placement of the pieces is the solution to the puzzle
My latest obsession is jigsaw puzzles. I learned that there are people who can put a 500 piece puzzle together in about 30 minutes. I wondered how long it would take for me to do this task. I purchased a Ravensberger puzzle called Circle of Colors: Donuts. It took me three hours to complete this puzzle. Here is a link to the puzzle https://www.ravensburger.us/products/jigsaw-puzzles/adult-puzzles/circle-of-colors-donuts-17346/index.html
While it was a lot of fun to put the puzzle together, I don't think I am close to becoming a puzzle champion. However, I can make a puzzle easily using my Silhouette software. In this blog posting, I have reimagined a puzzle called "One Tough Puzzle". The puzzle is no longer produced but you can find a copy on Ebay. The puzzle is just nine pieces that can be assembled together but there is only one way that the puzzle will fit together correctly. There are over 300,000 wrong ways to put this puzzle together but just one right way! My puzzle has the same results.
Here is the PDF. I used 65 lb. cardstock which has a different color on its opposite side. This is necessary to solve the puzzle.
I was amazed at how easy it was to convert any Silhouette Studio file into a file to be printed with my Ender 3 V3 SE, 3D printer in Tinkercad. TinkerCad is a free 3D modeling program, http://tinkercad.com.
Using the Silhouette Studio Business Edition (you need to have this upgrade), save your file as an SVG. The project designed in the Silhouette software should not be bigger than your 3D printer space. For my Ender 3 printer, the size is 8.6 x 8.6 x 9.8 inches. While you can resize it later, it is easier to stay within your limitations of the size of your 3D printer. As an aside, if it is a large project, don't cram the entire project onto one Silhouette workspace with little space between pieces. Break up the project into different Silhouette Studio files. Also, do not save any work outside of the viewable area in Silhouette as everything is copied to the SVG file.
At the end of this tutorial about Tinkercad, I will explain how I created the print tolerance puzzle using the Silhouette software because I wanted to know how close puzzle pieces had to be in order to slide into one another easily after being 3D printed. As a conclusion, I determined that I like .014 inch tolerance for my Ender 3 printer.
In TinkerCad, create an account and then Create a 3D Design
In the upper left portion of the screen, is the file name "Daring Krunk". A unique file name is automatically created each time a new project is created. Type over the file name and change it to your file name. In the upper right portion of the screen, there is an import command. Click the import command.
Choose your Silhouette SVG file.
Choose the Import command.
The SVG file is then placed on the workplane in Tinkercad. Click on the image of the design. The result is shown above. There is a blue outline around the image. To the right of this image is the height the SVG when imported, 10 mm. The height can be changed by either using the slider or hovering over the height of 10 and changing its value.
I chose 2.5 mm. You will notice that the height of the design was recalculated in Tinkercad when the height was changed. The design can now be exported to your 3D printer by selecting Export in the upper right hand corner.
Click on .STL to save the file. The file is now ready to be used in your 3D printing software.
(In my Creality Print software for my Ender 3 printer, I had to Open the file and Slice it. Once sliced, I exported the file and printed my design.)
Creating the print tolerance puzzle using the Silhouette software
Using the puzzle feature, I created a 2 row x 2 column puzzle.
I broke the path of each piece in point editing mode.
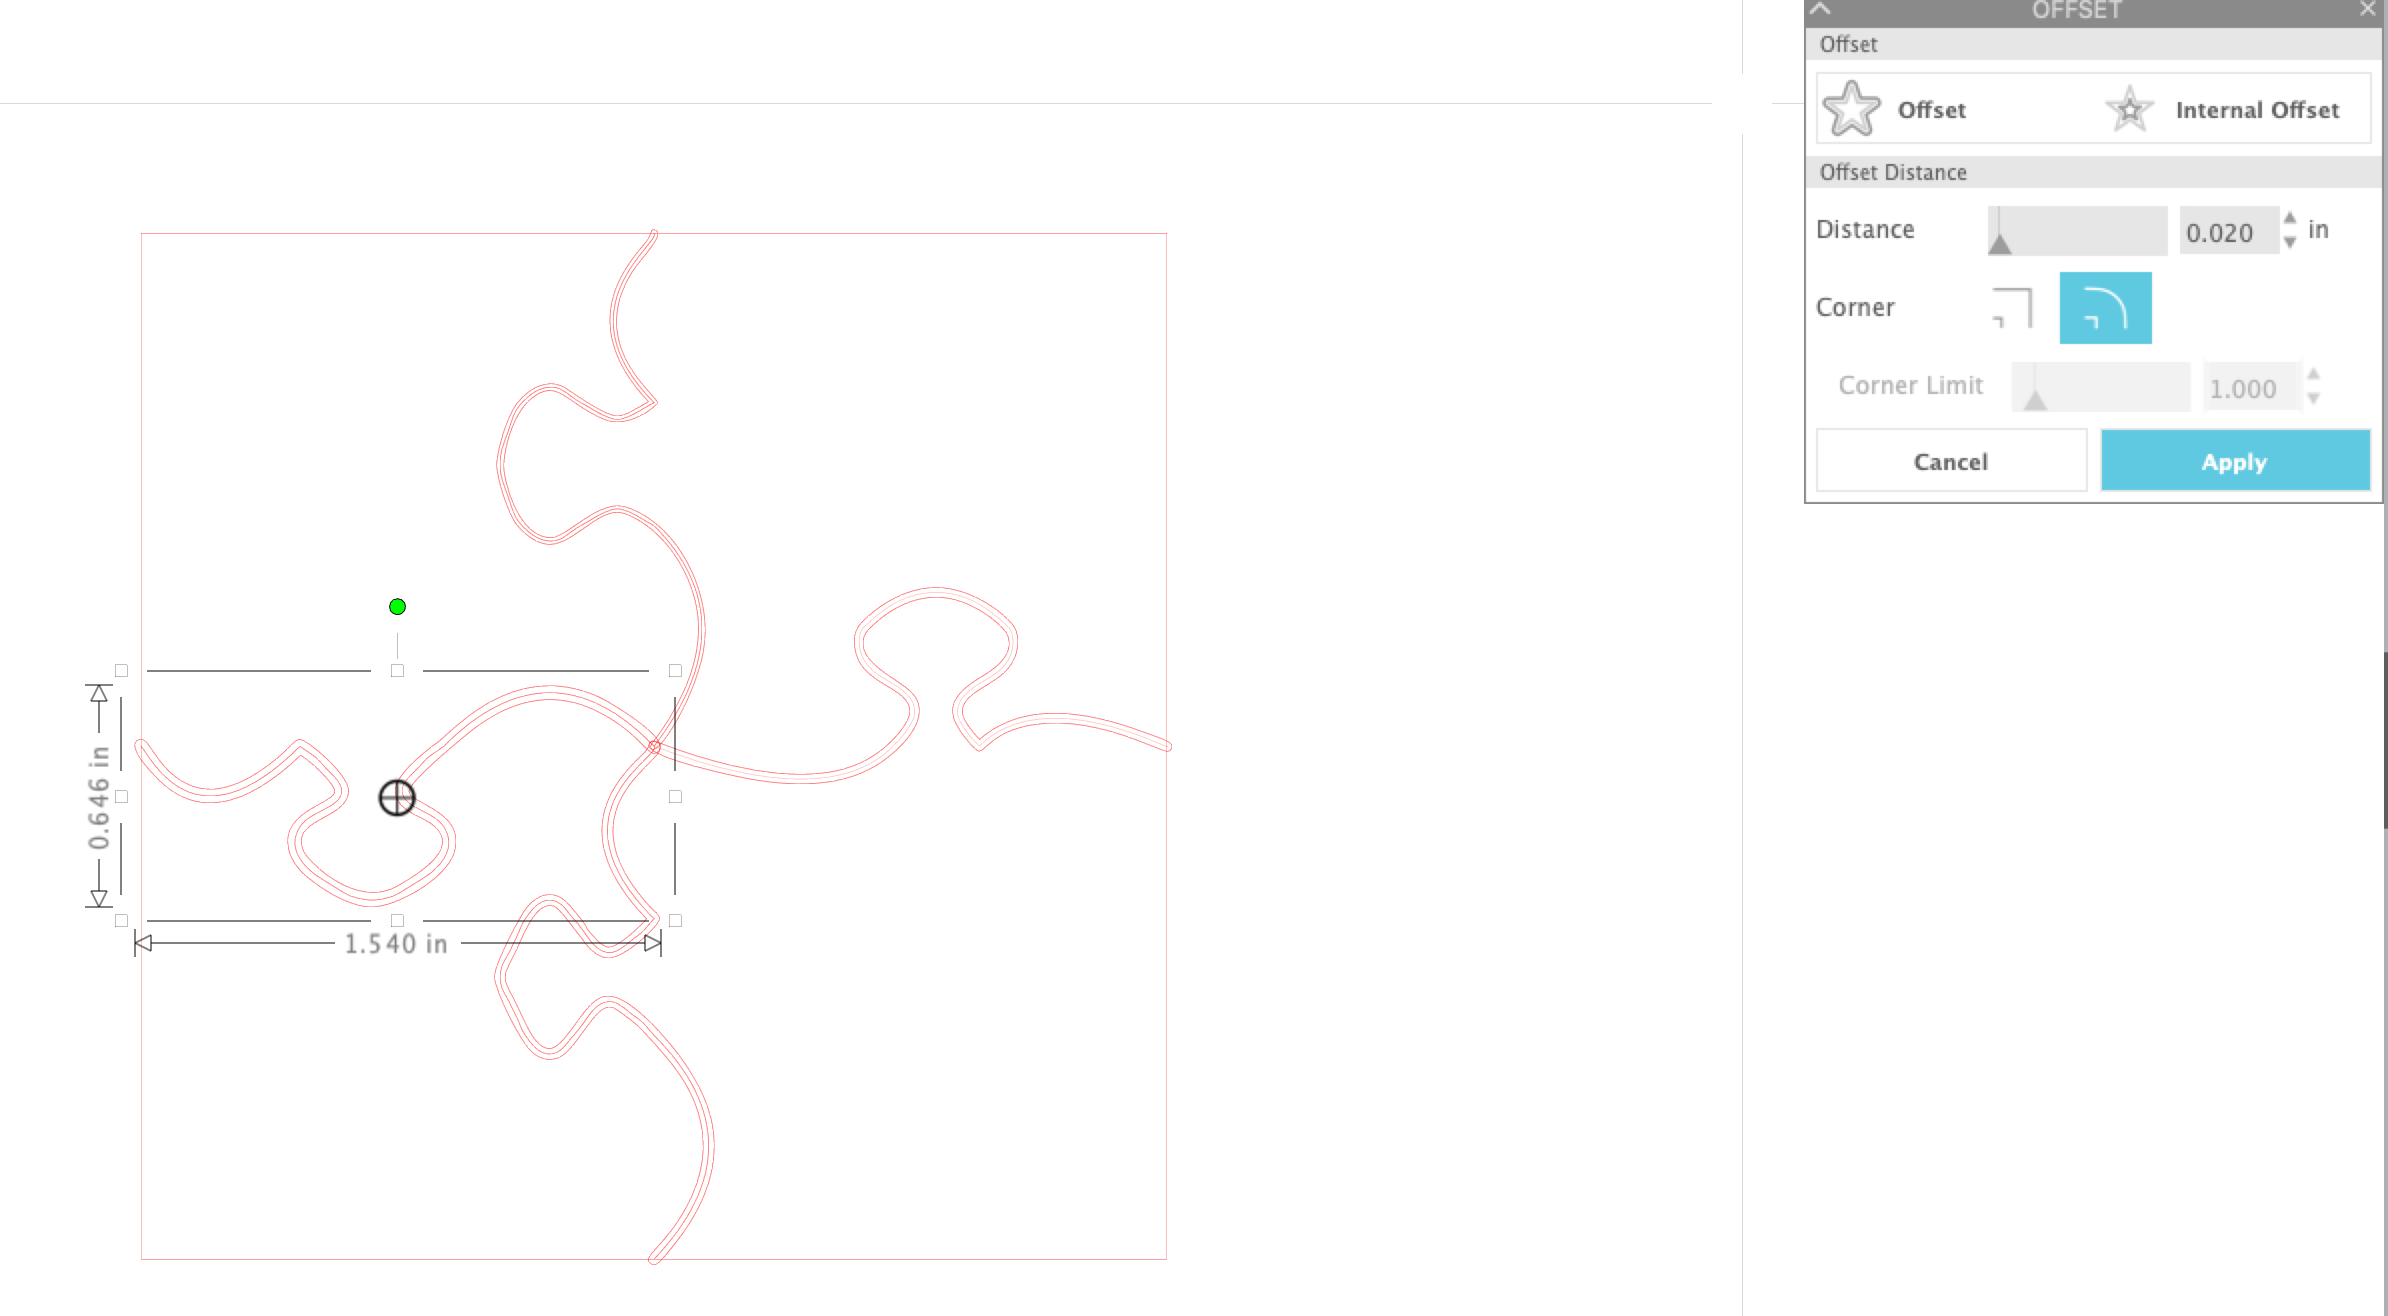
In the Offset window, I offset each internal wavy line with a different value, .01, .014, .016 and .02 inches. Delete the original curvy line as it is no longer needed.
Send the frame of the puzzle to the back ( highlighted in blue).
In the Modify window, subtract both images.
Please note, I changed the border to a curved corner box before I modified it (not shown).
The Silhouette created the above print tolerance puzzle.
The sum of the areas of the two squares on the legs (a and b) equals the area of the square on the hypotenuse (c).
The Pythagorean Theorem explains the relationship between the three sides of a right angle triangle. It states, "the area of the square whose side is the hypotenuse is equal to the sum of the areas of the squares on the other two sides." The Pythagorean theorem can be written mathematically as an equation, a2 + b2 = c2 , where a and b are the legs and c is the length of the hypotenuse.
Here is a video of the model.
In this blog posting, I prove the Pythagorean Theorem by filling the largest square with yellow split peas, (you can use rice or beans). Moving the model to empty the large square into the two smaller squares proves that the quantity of the large square is equal to the quantity of the two smaller squares. There are small gaps around the center triangle which allows the yellow peas to flow between the squares.
Here is the PDF. I used 65 lb. cardstock and an acrylic sheet.
Here are directions from a previous blog posting that show how to make the frame sides.
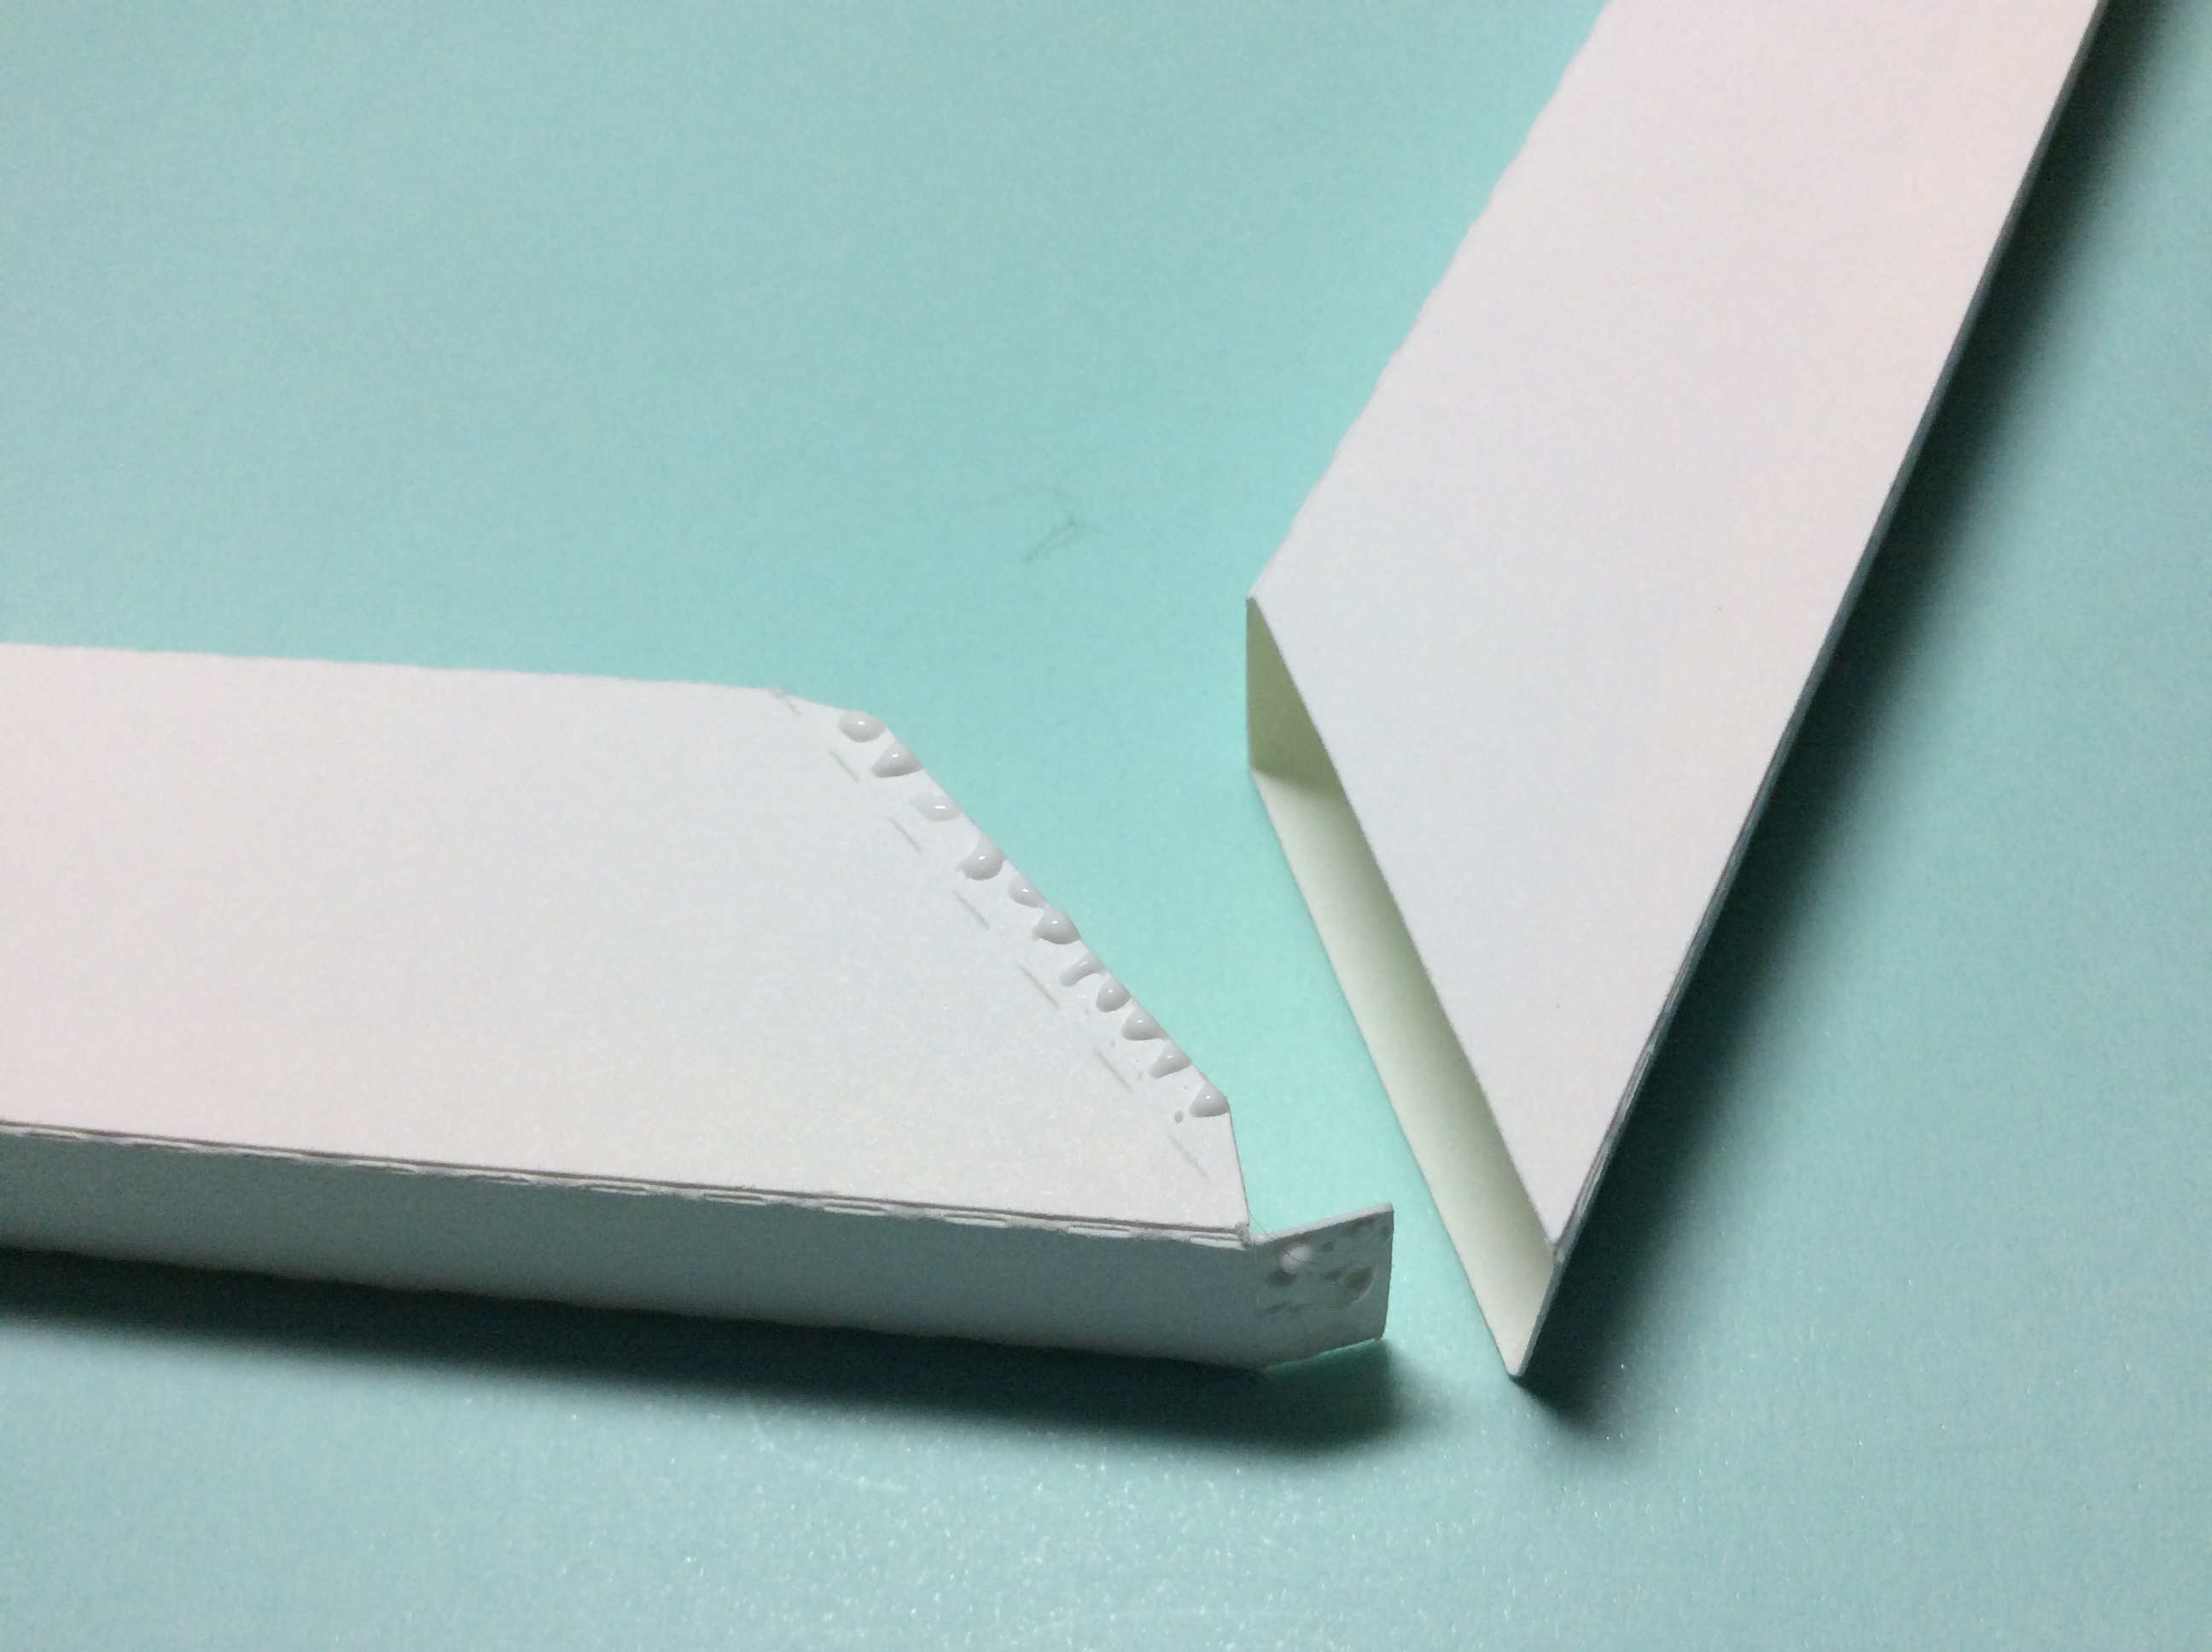
Crease and apply glue to the tab as shown above for the side piece with the wing tabs. Flatten the piece to adhere the glue. Form the piece into a block.
Crease the sides of the piece without the wing tabs. Apply glue to the tab as before. Adhere the glue by pressing down on the side piece to flatten it. Once the glue is adhered, form the piece into a block.
Apply glue to the wing tabs. Insert the tabs into the side without the winged tabs.
Make the Pythagorean Theorem Model
The frame sides are glued together in the following sequence from 1-9 as shown above.
Glue the squares and triangle onto the backing. Make a 3 dimensional triangle and glue the sides down to the center of the base triangle.
Glue the sides of the model to its base
Glue the second triangle to the center of the 3D triangle. Attach the acetate to top and tape the sides. Remove the acetate.
Fill the large square with yellow split peas and reattach the acetate.
The yellow split peas can move from square to square with the gaps surrounding the triangle.
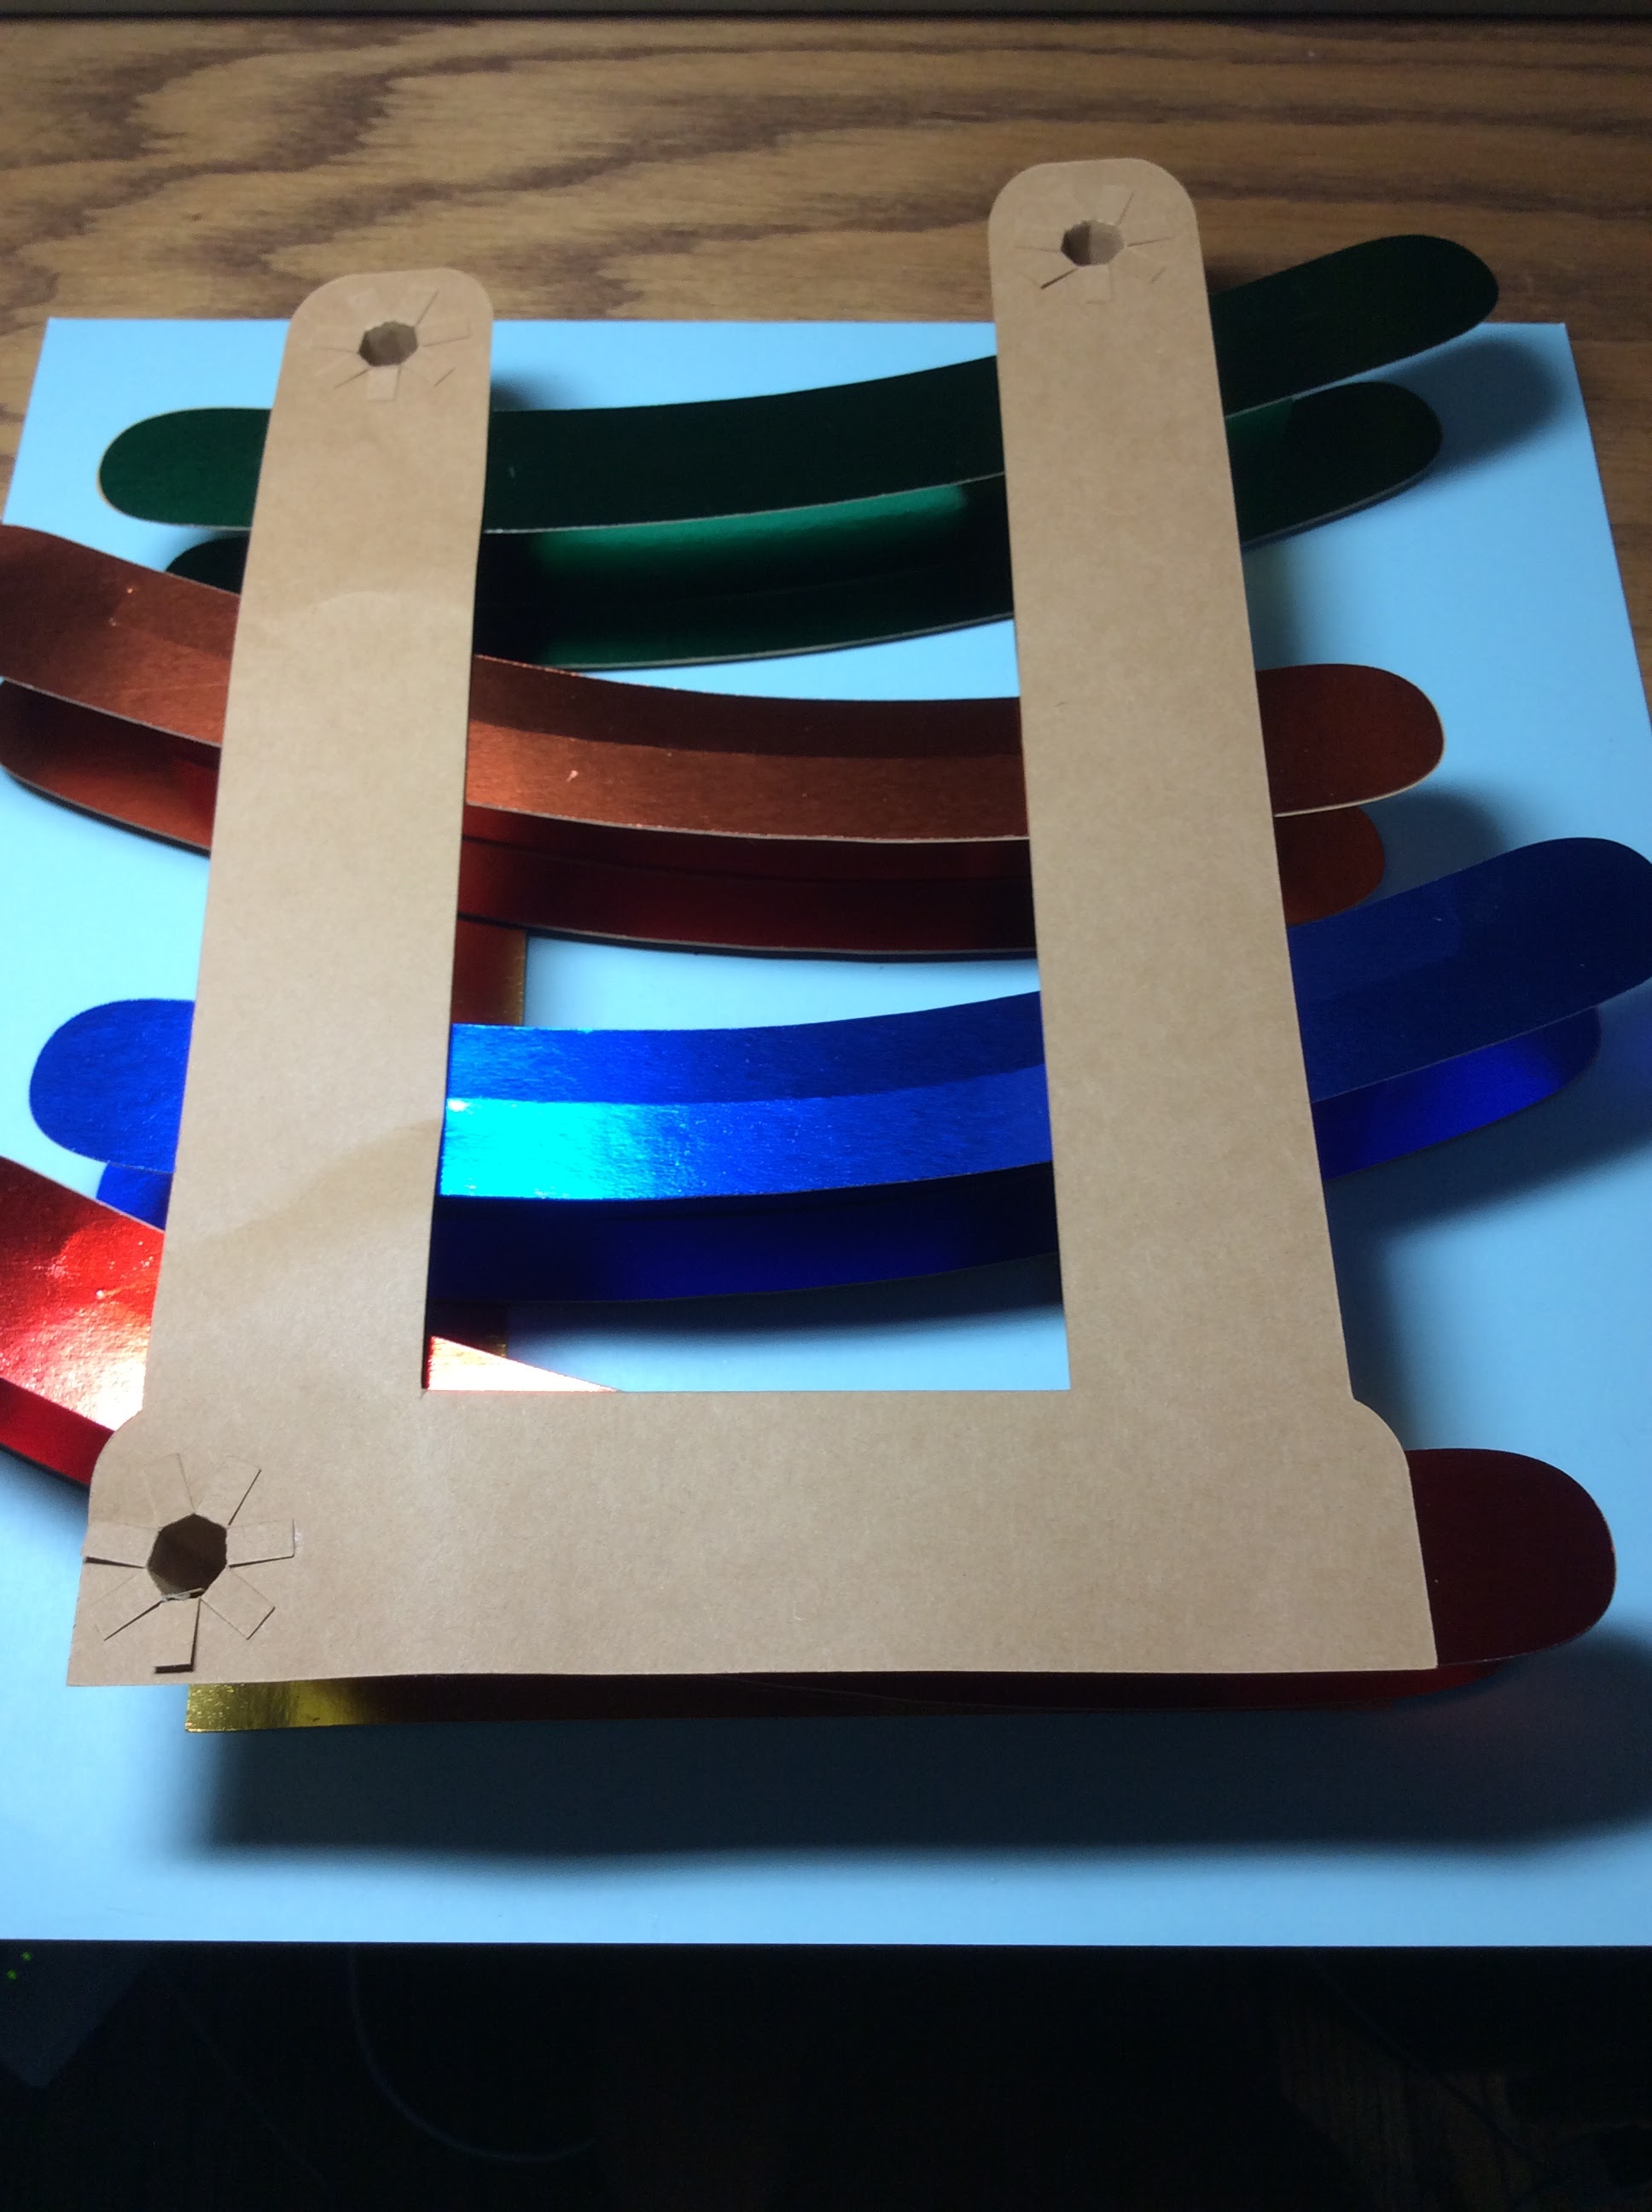
The object is two ball bearings that have been placed side by side with cardstock. I used black and white cardstock so that the movement of the object can be seen flipping from one parabola to another.
When the object is released from the highest parabola, it travels down the parabola and falls off of that parabola. The falling motion flips the object. The process of traversing and flipping the object is repeated for each parabola.
Here is a video which shows the movement of the object.
Here is the PDF. I used 65 lb. cardstock, Glue Dots and two 9 mm ball bearings.
Woodland Creatures Eating Apples From An Apple Tree With a Rotating Base With a Gear
Fall has arrived and the apple trees are full of fruit. Woodland creatures are scurrying about eating the bounty of the apple harvest. I wanted to recreate this scene by placing an apple tree in the center. Two deer, a squirrel and a rabbit are foraging around the base of the tree for apples. A blue bird and a raccoon are sitting in the apple tree above the woodland creatures scurrying about when the gear is rotated.
The apple tree is stationary and is attached to an octagonal box. The box can be filled with candy for gift giving.
Two group of ghosts are holding a "Boo" sign which rotate around the haunted house.
Side view
Video of the Gear in action.
Halloween is coming and I wanted to add to my display of Halloween decorations. The haunted house remains stationary while two groups of ghosts holding a "Boo" sign rotate around the haunted house when the gear is rotated. The haunted house is attached to an octagonal box. The box can be filled with Halloween candy for gift giving.
Here is the PDF. I used 65 lb. black and white cardstock, black and white glitter cardstock and orange shimmer paper.
Glue on the orange luster paper to the back of the windows.
Glue on the four black glitter pieces to the roof of the main turret.
Adhere the three turrets into a square by applying glue on the tabs.
Apply glue to the main turret's side tabs and adhere.
Fold all of the tabs as shown above.
Slide the main turret's tabs into the slots on the house piece. Glue and adhere into place.
Apply glue to the six tabs shown (not the bottom tabs). Adhere into a house.
Slide the two side turrets into place on the black glitter roof. Apply glue to the tabs and adhere.
Apply glue to the inside of the black glitter roof. Slide the roof onto the house and adhere.
Fold the tabs of the top of the turret and glue the square into place on the top of the turret. Make sure that the fencing is aligned. I used a needle to move the square accurately into place.
Cut a 5 inch piece of 20 gauge wire. Glue the white glitter moon shape onto one side of the witch moon piece.
Glue the wire to the moon and glue on the other white glitter moon shape.
There is a hole in the center of roof. I used a pin to locate the center. Slide the wire through the hole.
Slide the wire through the black glitter base and bend the wire 1/4 of an inch at a right angle.
Glue the tabs of the house onto the base. Make sure that the front of the house is facing away from the tab in the back of the base.
Crease the tabs on the tree and fold the center of the tree in half at the dotted line. Slide the tabs into the base and glue the tabs down.
The tree will be facing away from the house when the tabs of the tree are glued down. Glue the gingerbread soffit to both sides of the house.
Glue and stack the four gear axles together. Notice that I do not use a lot of glue because too much glue will warp the cardstock
Apply glue to the axle and adhere the stack of four axles to the base.
I used a small knife to apply pressure to the glue on the base so that it would adhere.
There will be a slight overhang. Make sure that the overhang is centered.
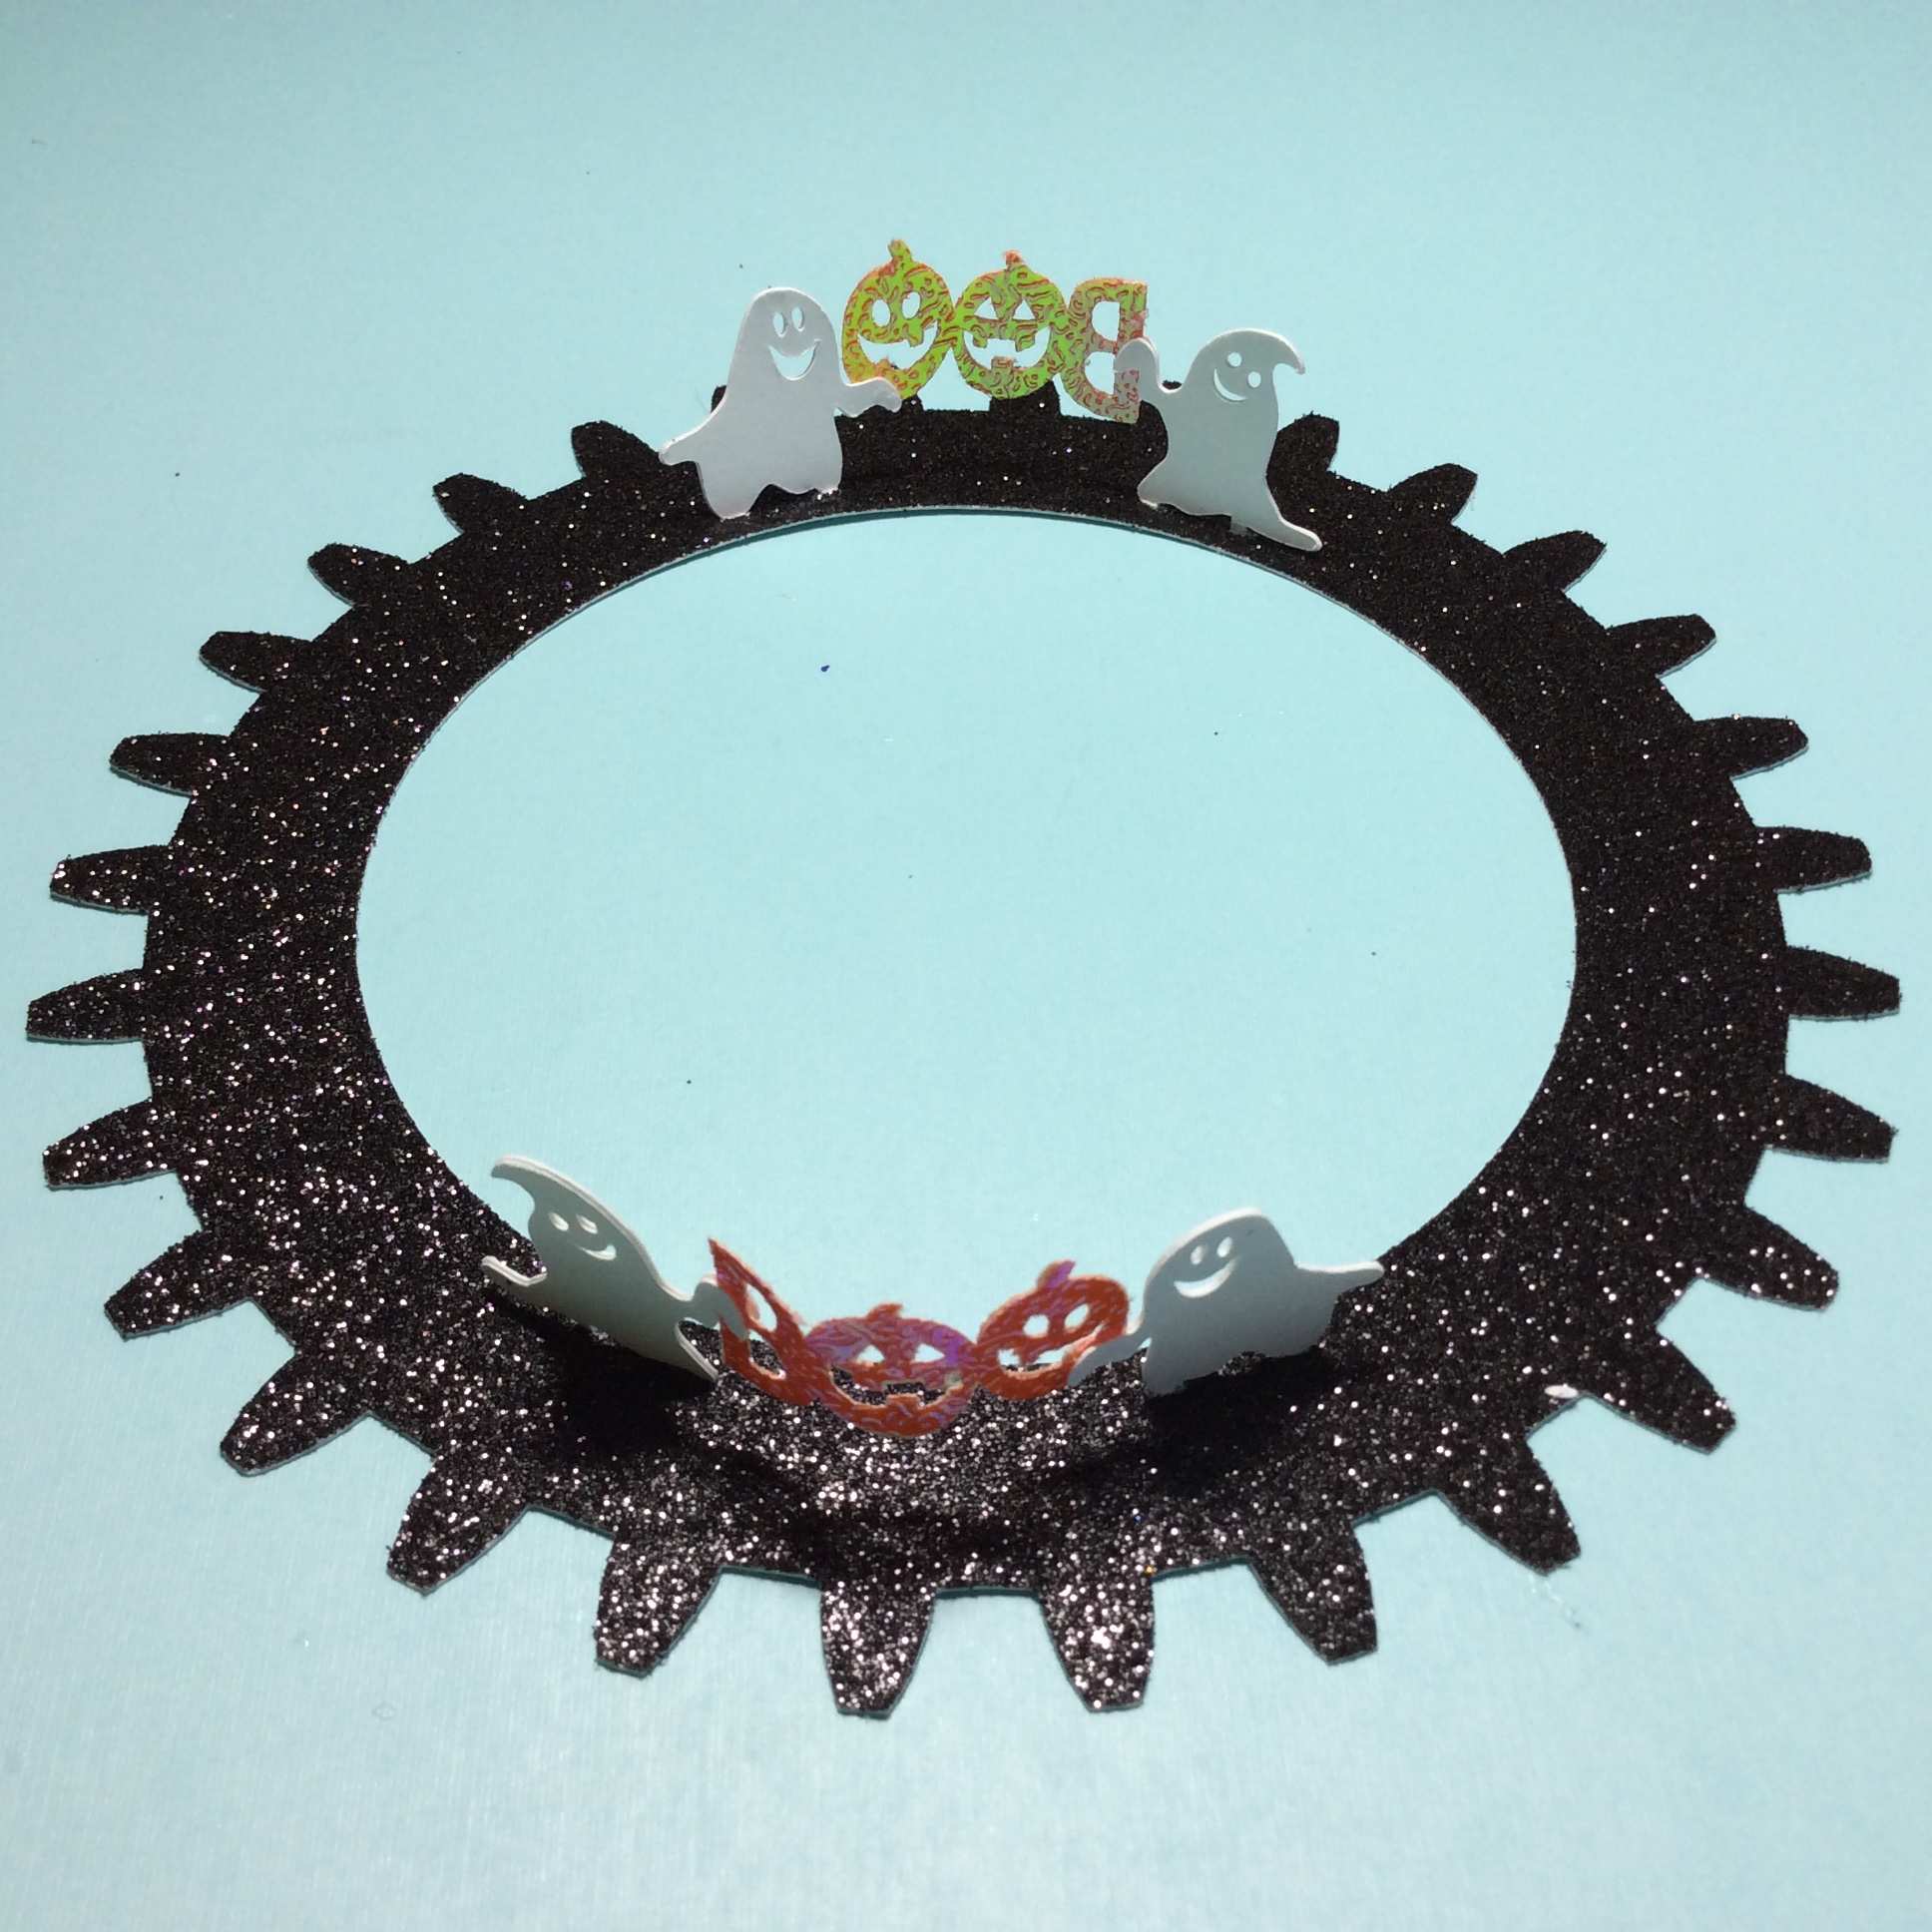
Glue the two sides of the "Boo" together. Glue the ghosts together but leave the tabs at the bottom and the arms unglued. The tabs at the bottom will be splayed apart later and the "Boo" will be held together at the arms.
Insert the tabs of the ghosts into the gear, splay the tabs and then glue them down as shown above.
Splay the arms of each ghost and insert the "Boo". Apply glue and adhere the two sides of the arms together
Glue the outer gear casing to the gear axle and casing template.
Glue the three gears together to create one sturdy gear that will rotate without warping.
Place the stacked gears on top of the outer gear casing assembly.
Place the black glitter outer gear casing on top of the assembly. Apply glue to the haunted house base and adhere it to the center of the assembly.
Glue the outer gear casing with tabs to the outer gear casing.
Glue opposite sides together so that the casing is centered correctly. Repeat for the other tabs.
The gear assembly is now complete and the gear should move freely.
Make the Box
Crease the bottom of the box as shown above.
Glue the tabs of the sides together and apply glue to the inner tabs of the box. Adhere the bottom of the box to the tabs.
Turn the box over and apply glue to the tabs. Adhere the bottom of the box. The box is two walled to make a sturdy box.
Glue the pumpkins on the black glitter top. Glue the tabs of the sides together.
Apply glue to the inner tabs of the box. Adhere the top of the box to the tabs.
Turn the top of the box over and apply glue to the tabs. Adhere the top of the box.
Apply glue to the top of the box. Adhere the gear assembly to the top.
Make sure the gear assembly is centered correctly.
Glue a piece of cotton to the end of the ghost.
Insert the cotton into the center turret and apply a drop of glue to the side of the ghost to adhere it to the turret fence.