Wednesday, March 30, 2016

A Rocking Horse Favor Box That Really Rocks


I love rocking horses. My Auntie Arax bought a red and black horse for my brother when he was little.  As a child, I enjoyed playing on the horse with its rocking motion. I recreated this sensation with this paper rocking horse.  It moves back and forth with very little effort.

Here is the PDF.  I used cardstock for the entire horse except for the eyes which is glossy black vinyl because I like the look of shiny eyes.
https://drive.google.com/file/d/0B7oGIyVDbRGYOGhwamljNWo5alE/view?usp=sharing&resourcekey=0-bnW32oFo96PiHcsFy3RFUw

Here is the .Studio file.
https://drive.google.com/file/d/0B7oGIyVDbRGYR2NEQzJ4c1BDWmM/view?usp=sharing&resourcekey=0-oiWVYs0YvfWbivMK1hkMcw


Glue on the black eyes on each side of the horse.
 Glue on the tail, mane and hair by the eyes.
 Glue the star rocker to the outside of the horse.
 Glue on the bridle and add the beige circle and star.

 Glue the beige stars to the rocker.
 Glue on the beige stars to the saddle.
 Make the saddle box by folding the box and putting glue on the six tabs as shown.
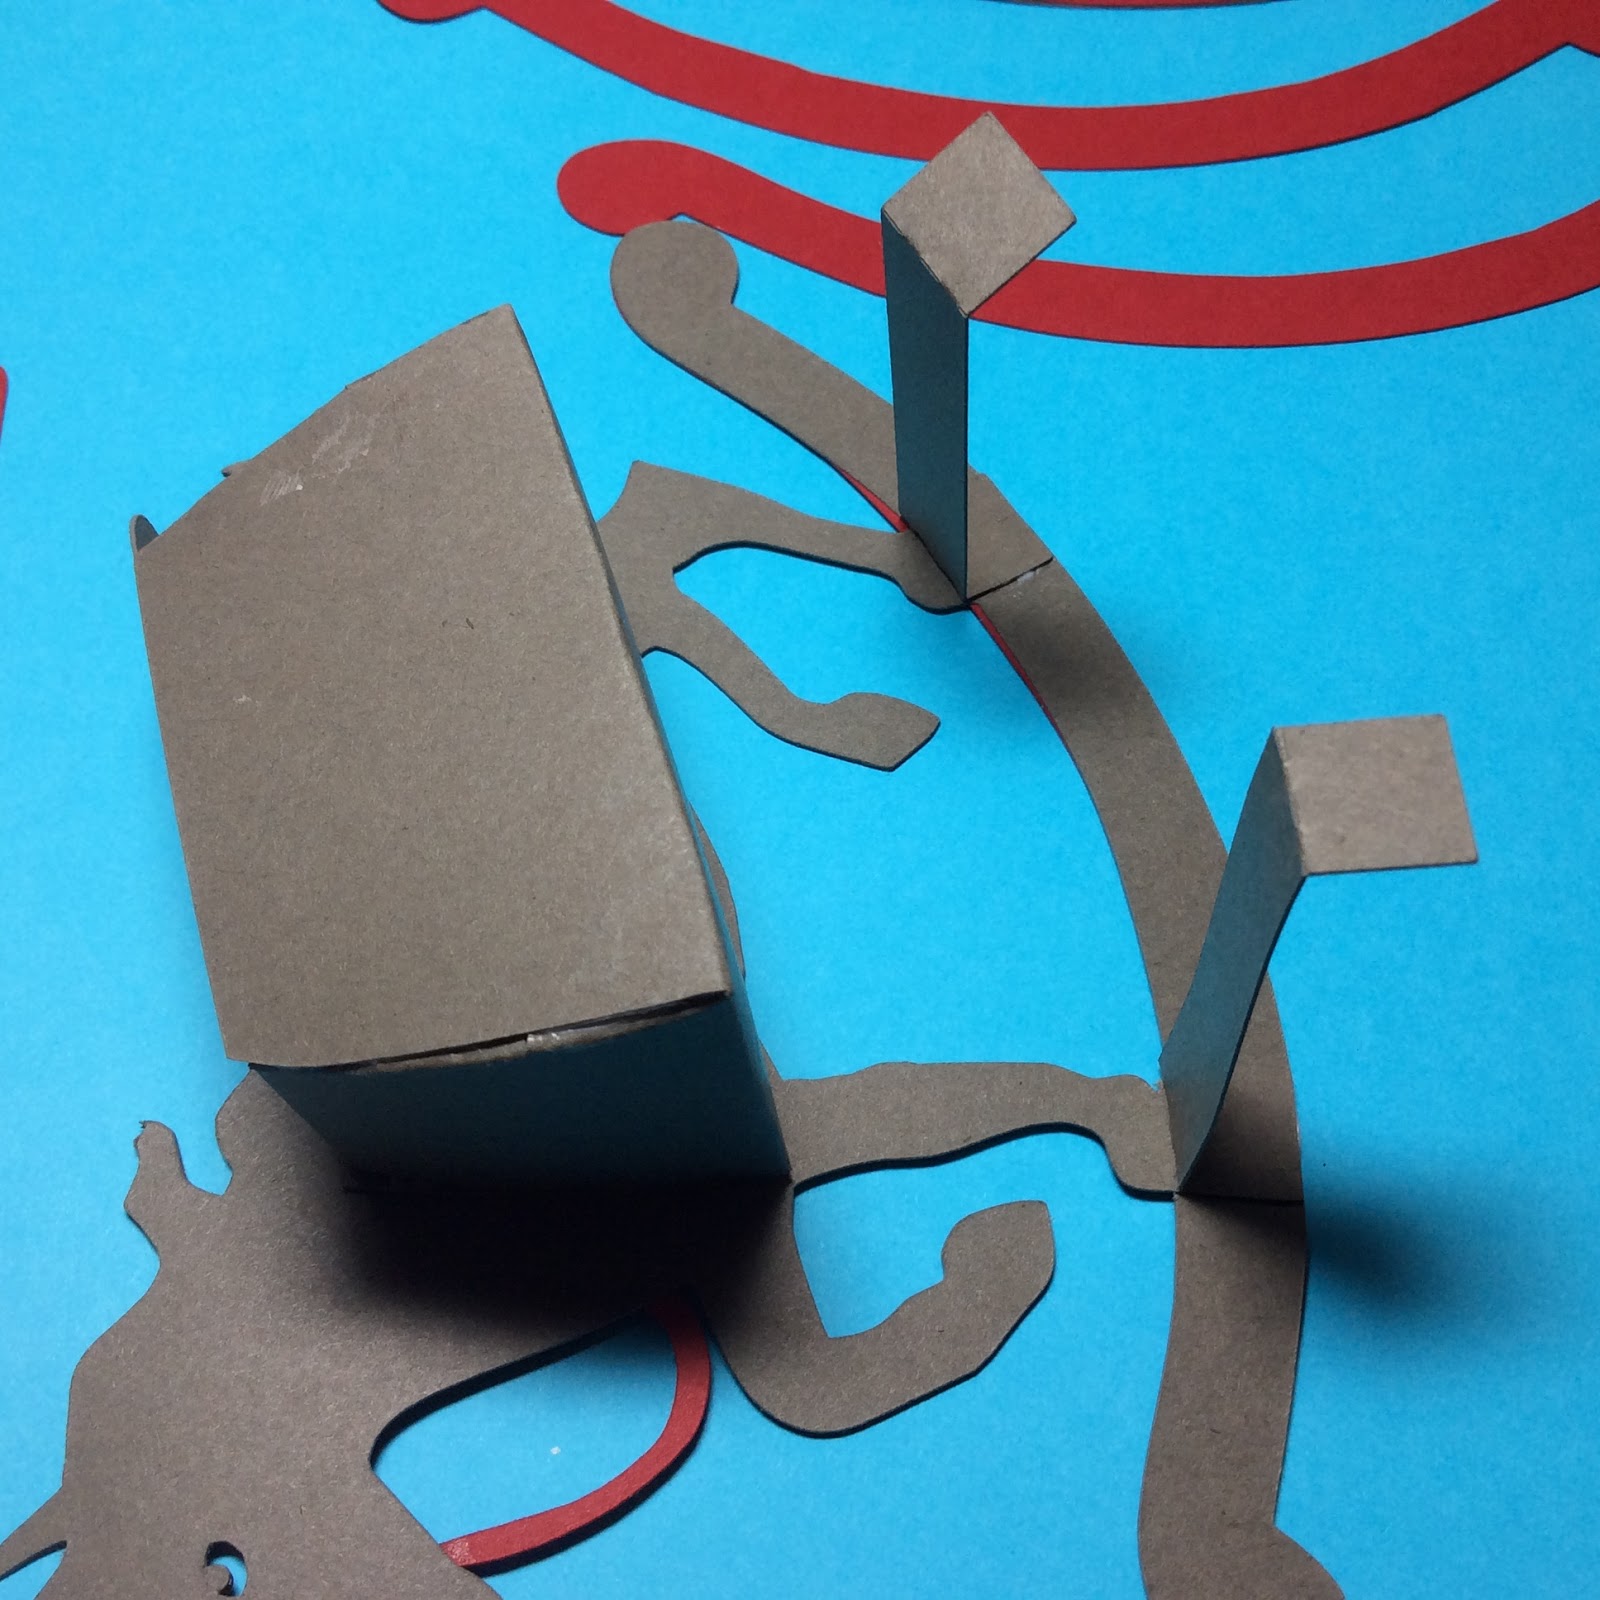
 Attach the rocker support and one side of the saddle box to the horse.  Make sure the saddle box can be opened from the back position.
 Alignment photo of saddle box.
 Glue on the other side of the horse to complete the figure.
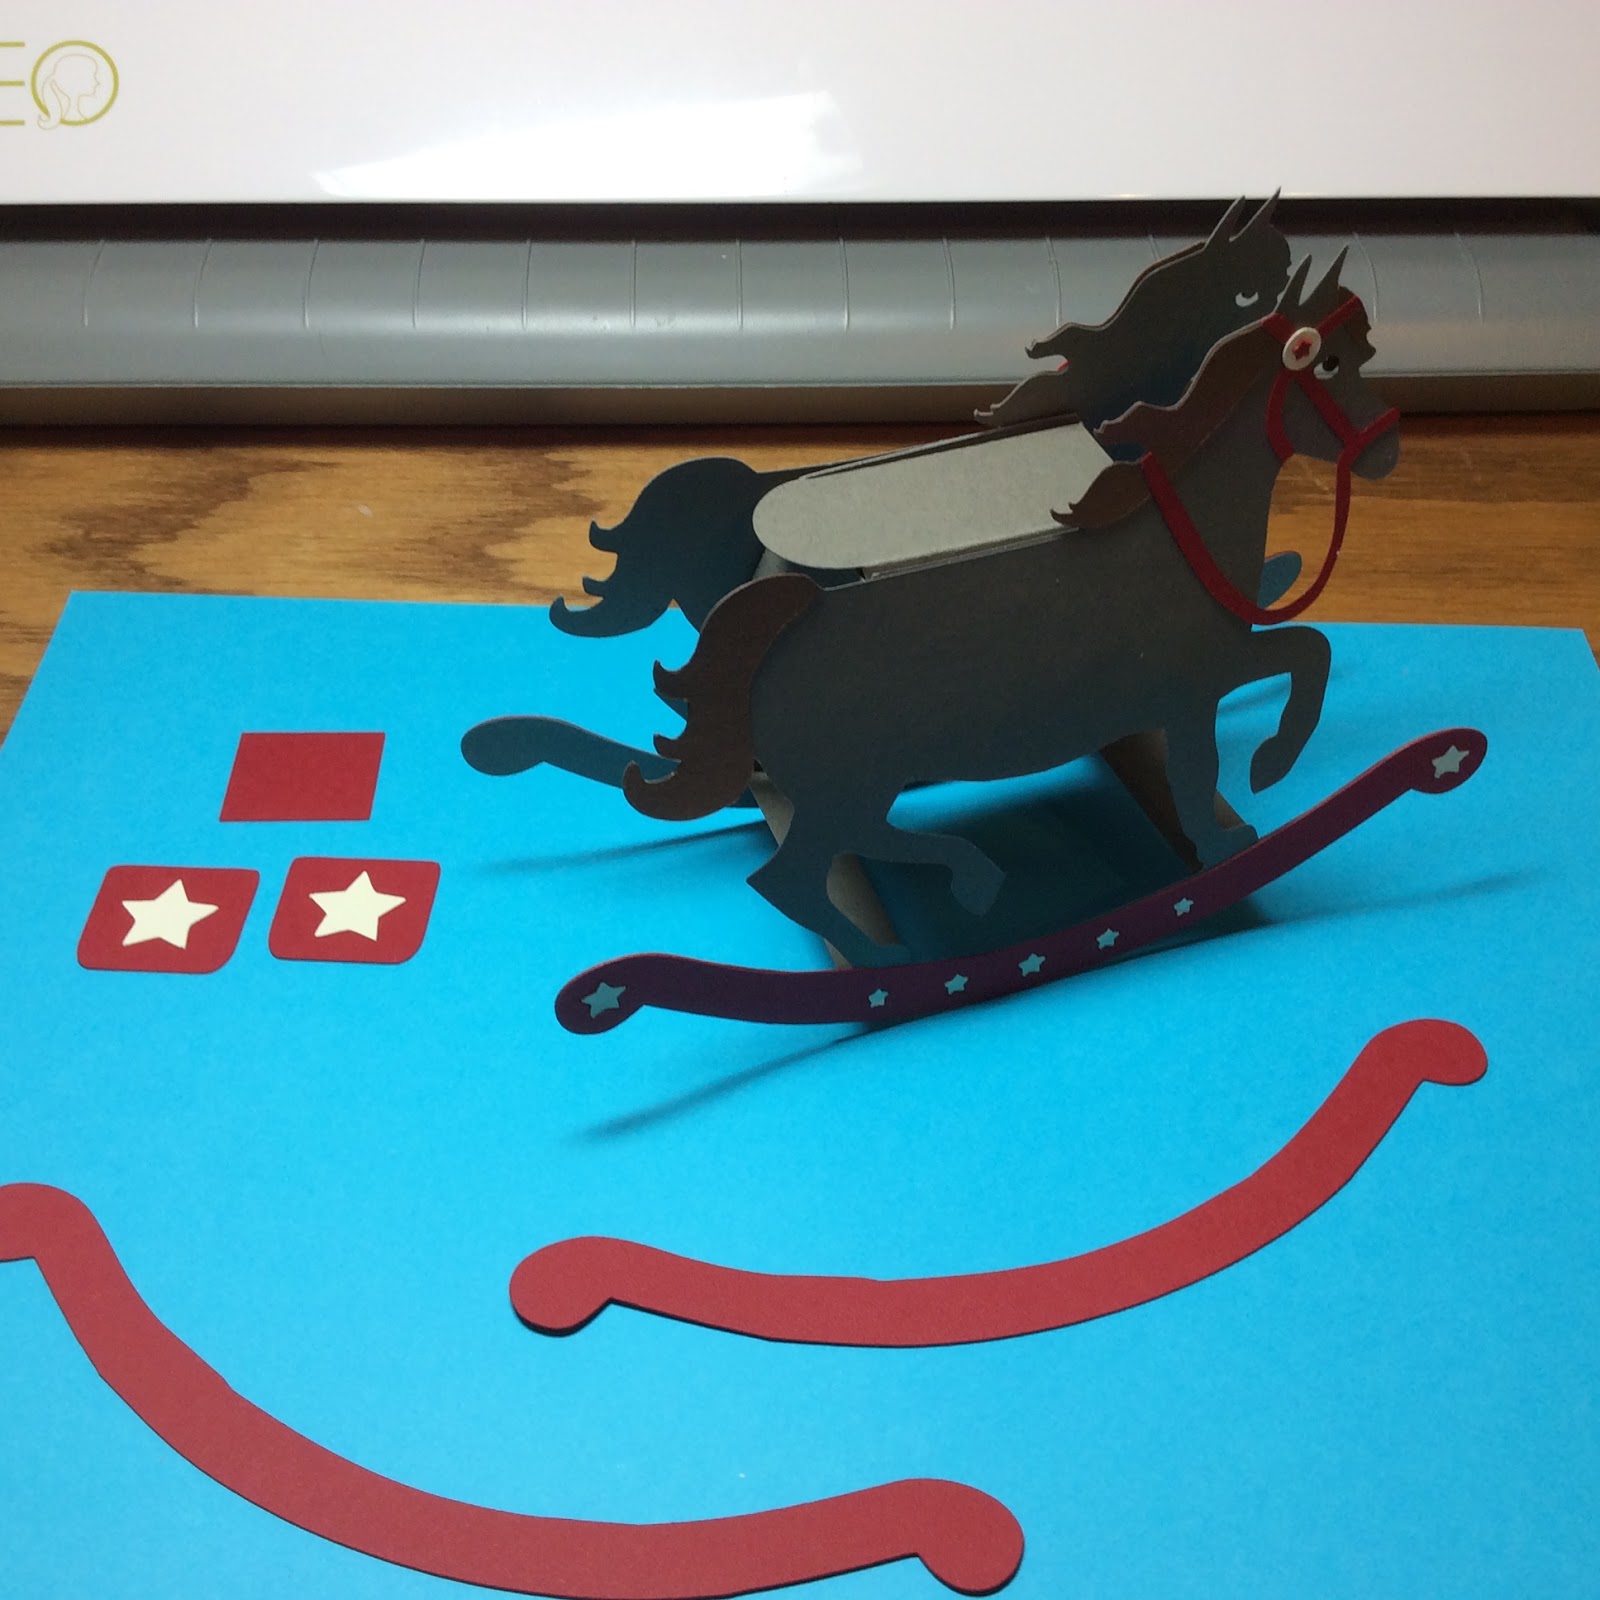
 Completed rocking horse without the inside rocker or saddle bags.
 Glue on the inside rocker to both sides.
 Glue and align the saddle bags.  Start on one side with the star.

   Add the top saddle piece (square piece) and then the other star saddle piece to complete the rocking horse.
 Box in open position.

I hope you enjoy making this rocking horse.  It is truly amazing to see it rock!

Saturday, March 19, 2016

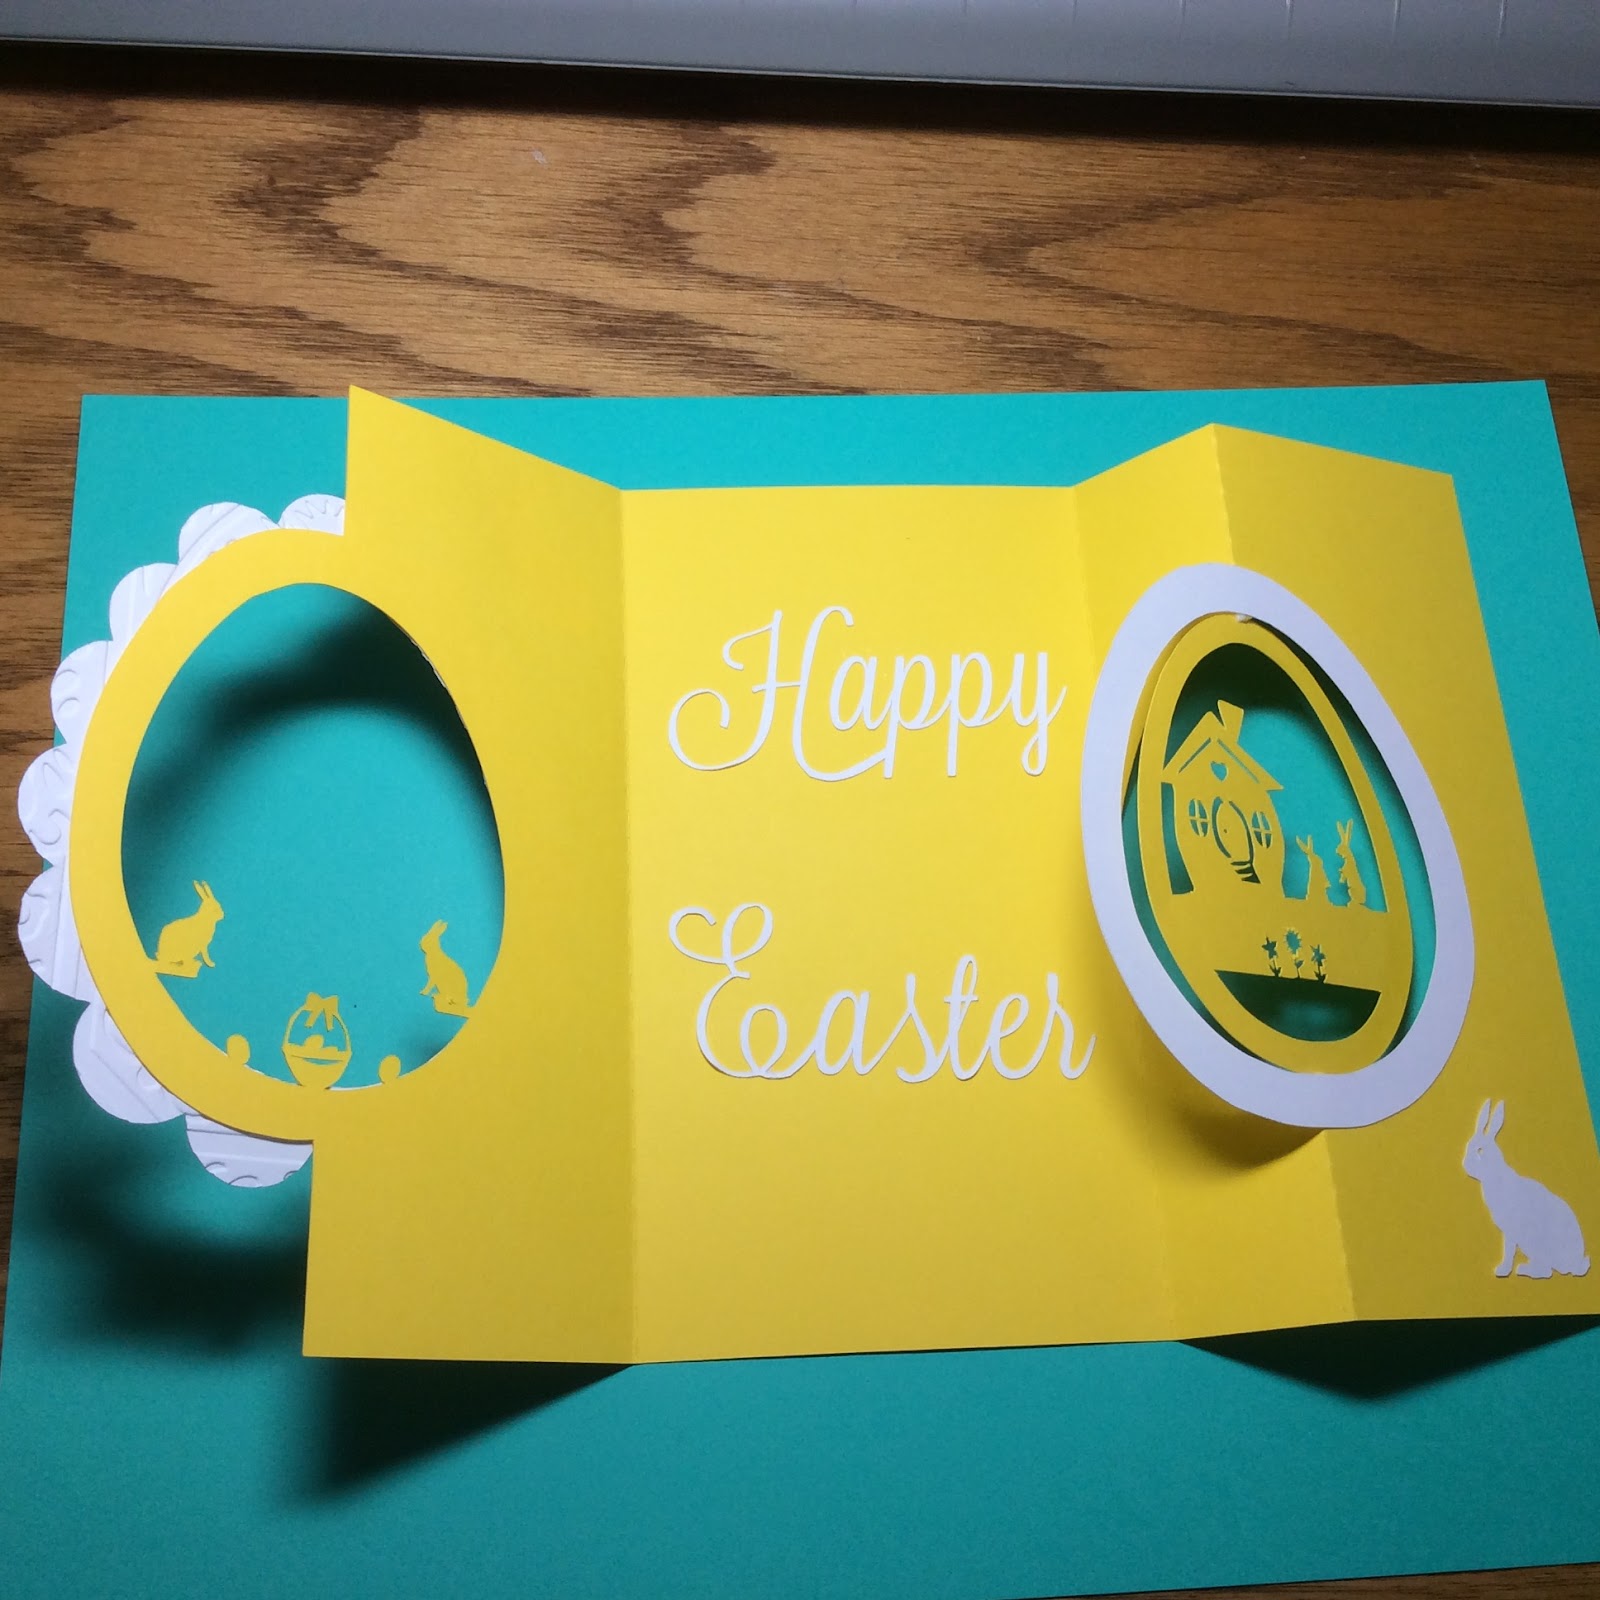
Easter Bunny Swing Card

 
 Easter Bunny Swing Card

I made this Easter card to look like the inside of an egg. The interior scene swings outward.  I recommend adding a dot of glue at the top and bottom of this scene as this will tear if the card is repeatedly opened and closed. The card is sized for an A6 envelope.

I used cardstock.  Here is the PDF.
https://drive.google.com/file/d/0B7oGIyVDbRGYUjM2alJ6RFlrTjg/view?usp=sharing&resourcekey=0-3LUbLdHCcYGTjZr2ESzFug

Here is the .Studio file.
https://drive.google.com/file/d/0B7oGIyVDbRGYZndURDVHbV9DeEE/view?usp=sharing&resourcekey=0-HLGDCxq5VwDwHcUcbl6lvg

Fold the card as shown.

I added a dot of glue at the stress points.
Add the embellishments.


Happy Easter!!!


Saturday, March 5, 2016

Easter Bunnies Sliceform Diorama


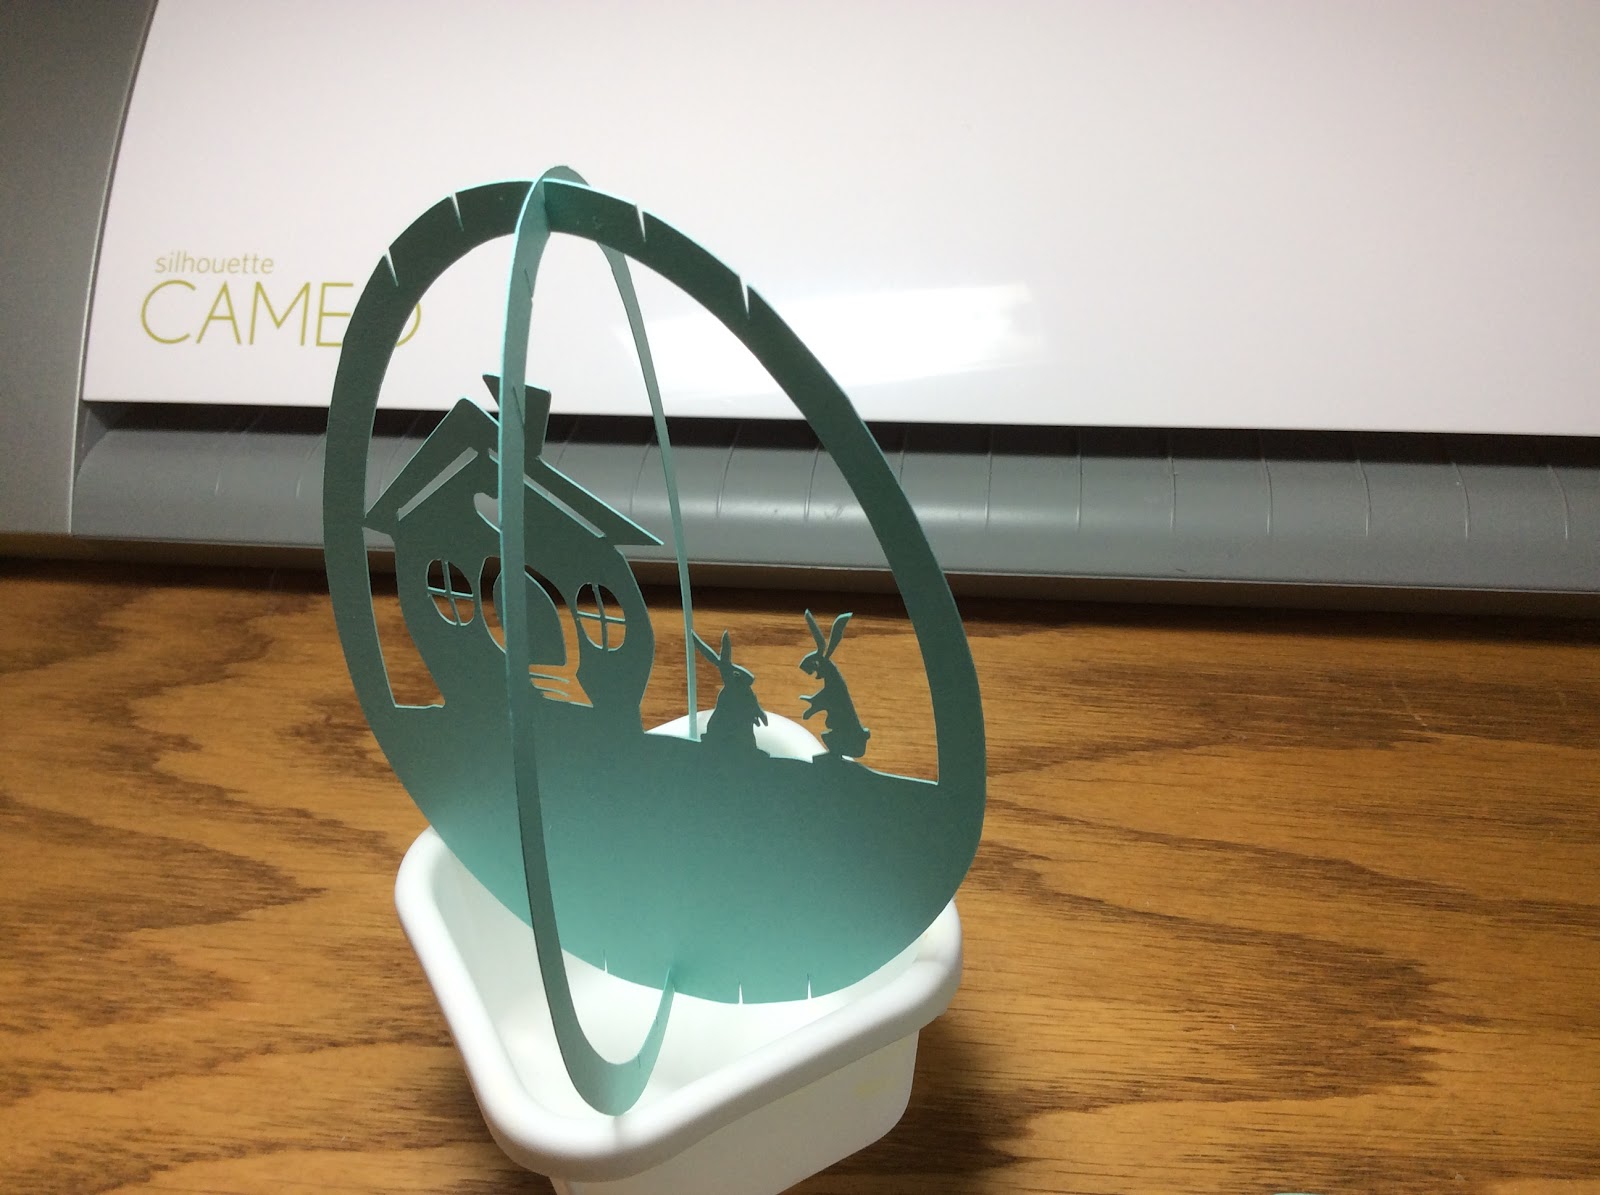
I created a diorama of an Easter bunny scene.  I used a previous egg sliceform that I designed and added the interior scenery.  There are three sets of slices.  The first slice is the center one. The second slice is the next largest one on each side of the center.  The third slice is the smallest and it is attached on the outermost notch on each side. I recommend cutting all of the pieces and placing them on a table in consecutive positions so that you do not get confused as to their placement because size does matter.


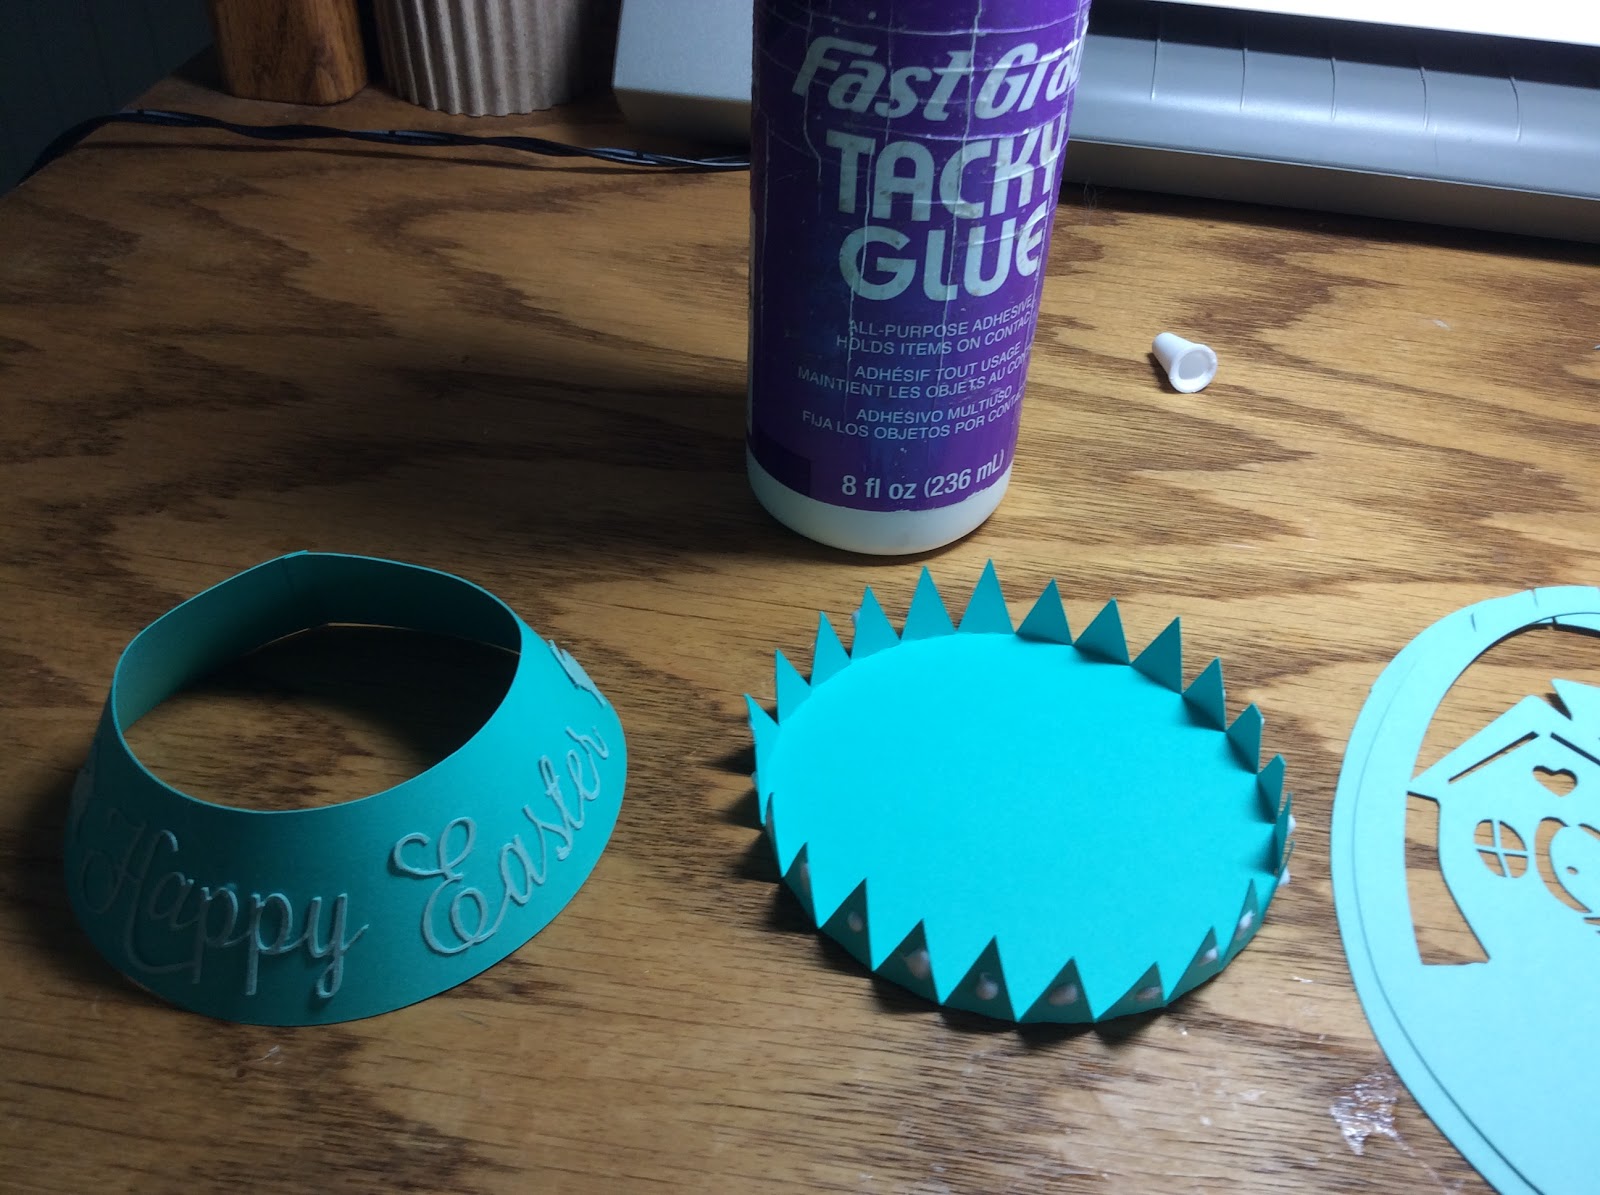
Make the base by attaching the Easter greeting.  Bend the tabs as shown.  Glue the side into a cone. Glue the base to the side.


The slices be attached starting at the center and going outward. Slide the largest two pieces together at the center notch.


Slide the tree slice to the back of the house slice at the next notch. On the front side of the house, slide the flower slice to the next notch. Repeat this for the basket slice on each side.


 All of the picture pieces will now be attached. 


The pieces that are left are the cross slices which are plain.  These slices need to be attached by size with the largest piece attached first on each side. The smallest slice is then attached, one on each side, to complete the diorama.

I used cardstock.  Here is the PDF.
https://drive.google.com/file/d/0B7oGIyVDbRGYemxKQXY5SGJmdFk/view?usp=sharing&resourcekey=0-LST0ybJnNWguh9HB16kECw

Here is the .Studio file.
https://drive.google.com/file/d/0B7oGIyVDbRGYNXF3SjM1ZHVLX0U/view?usp=sharing&resourcekey=0-4iU0S28YCOURL30nChMpTQ


Happy Easter!

Thursday, February 4, 2016

Valentine's Day "Love" Favor Boxes


I created two versions of a "LOVE" box for Valentine's Day.  One is a house style box and the other is a square box. It is in the style of the LOVE sculpture in Philadelphia, PA. This box can hold four Hershey Kisses in one layer.

Here is the PDF.
https://drive.google.com/file/d/0B7oGIyVDbRGYYy1oX1ZPTERZSWM/view?usp=sharing&resourcekey=0-7FoLMsoJDoxjvJdxr6J-4g


Here is the .Studio file.
https://drive.google.com/file/d/0B7oGIyVDbRGYVnVOTFBTbVA5QUE/view?usp=sharing&resourcekey=0-TEs6IAlT2zwXsAgRHylSqQ

Here is the SVG file.
https://drive.google.com/file/d/14UatWqToFFNwxxINw0F1-5DvjMEo-4DH/view?usp=sharing


 I love these boxes.  I made a dozen in one hour.

Happy Valentine's Day! 

Saturday, January 9, 2016

Saving Money With A Coupon Box

A Coupon Box With A Rubber Band Closure

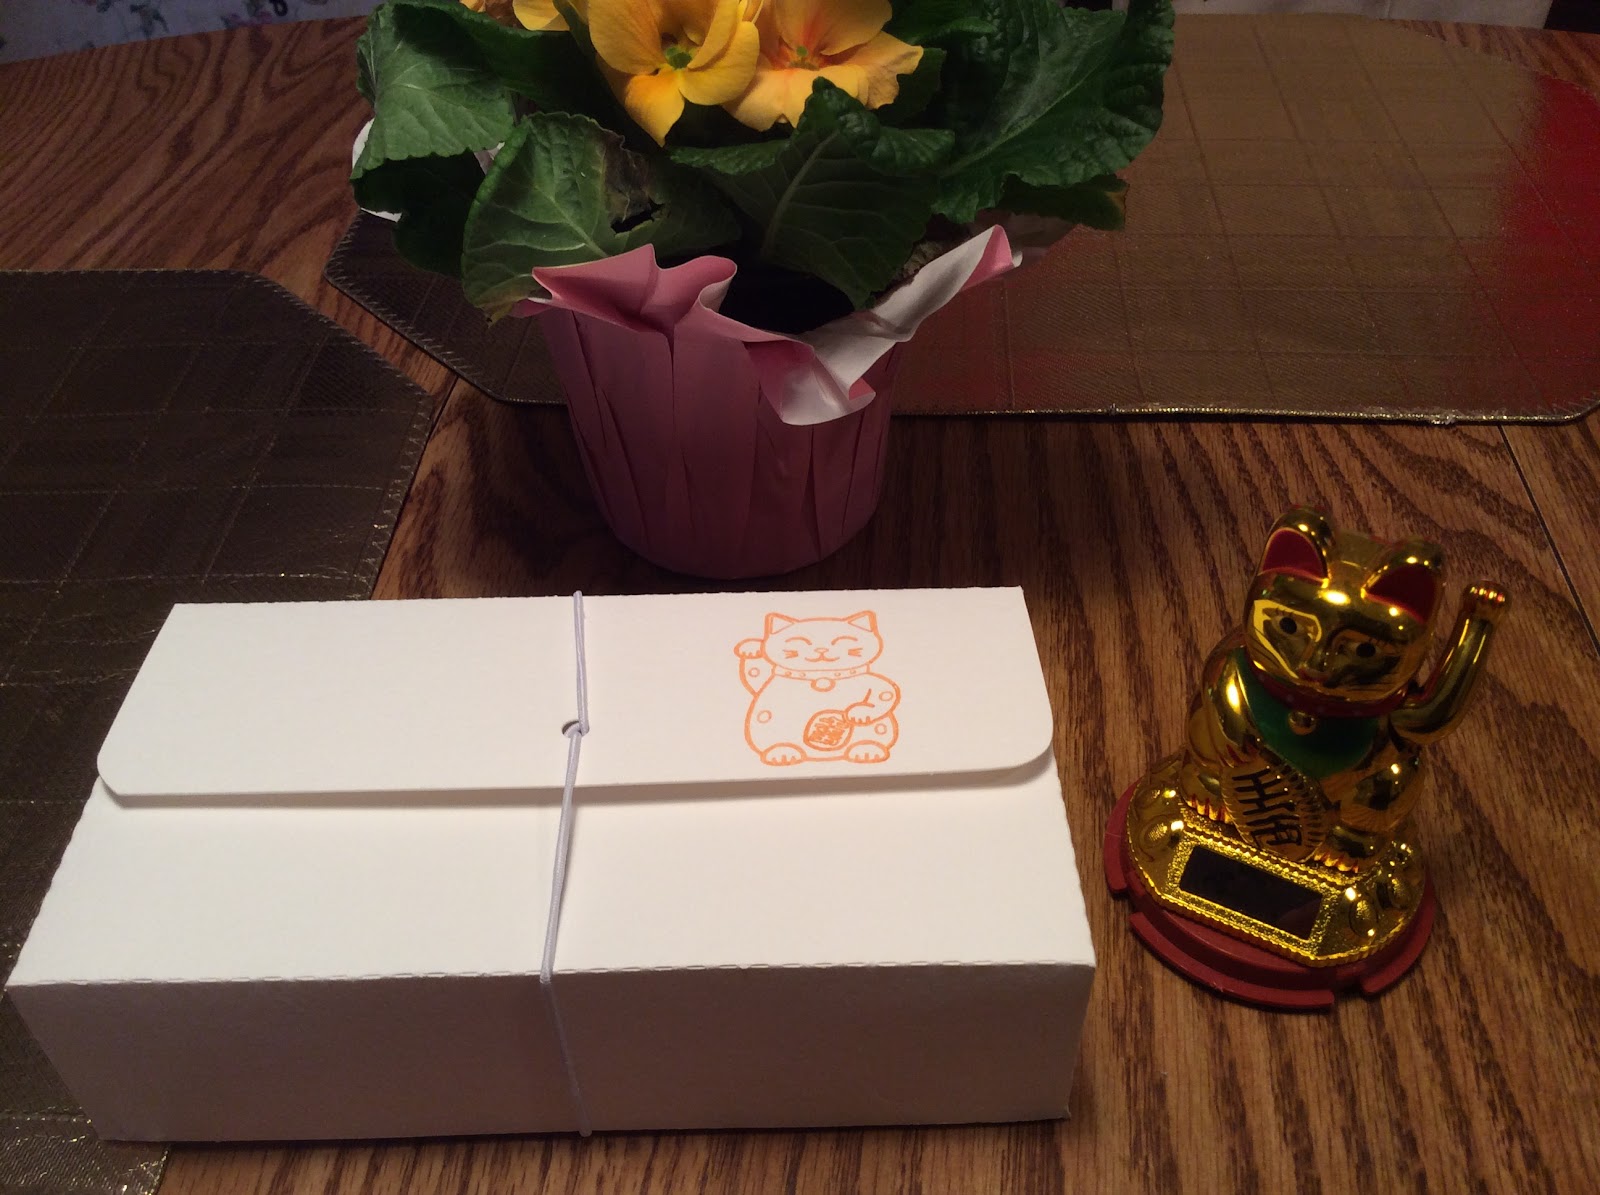
A coupon box is an excellent way to store coupons for saving money at the grocery store. This box is made out of 140 lb. cold press watercolor paper.  The watercolor paper makes the box very sturdy.  I also designed the box to have two bottom pieces so that the coupon box would sit firmly on a surface instead of falling over with the weight of the coupons inside.When making the coupon box, thread a large rubber band or elastic thread through the hole in the top of the box and tie as shown in the photo below.

A Look Inside The Coupon Box
I have included eighteen dividers to separate the coupons into different categories.  These dividers were cut from card stock.


Here is the PDF file.
https://drive.google.com/file/d/0B7oGIyVDbRGYZGE2YWRmLXJ5U1k/view?usp=sharing&resourcekey=0-bzOKXZ8mHVapaBj0DOAQIQ

Here is the Silhouette .Studio file.
https://drive.google.com/file/d/0B7oGIyVDbRGYZ3FjaHloWlZnVk0/view?usp=sharing&resourcekey=0-GkJqMOmVOesZh0yZ388dUw

  The gold cat is a good luck charm and it is going to bring you lots of money.

Happy Couponing!


Monday, December 21, 2015

A Gingerbread House for Christmas

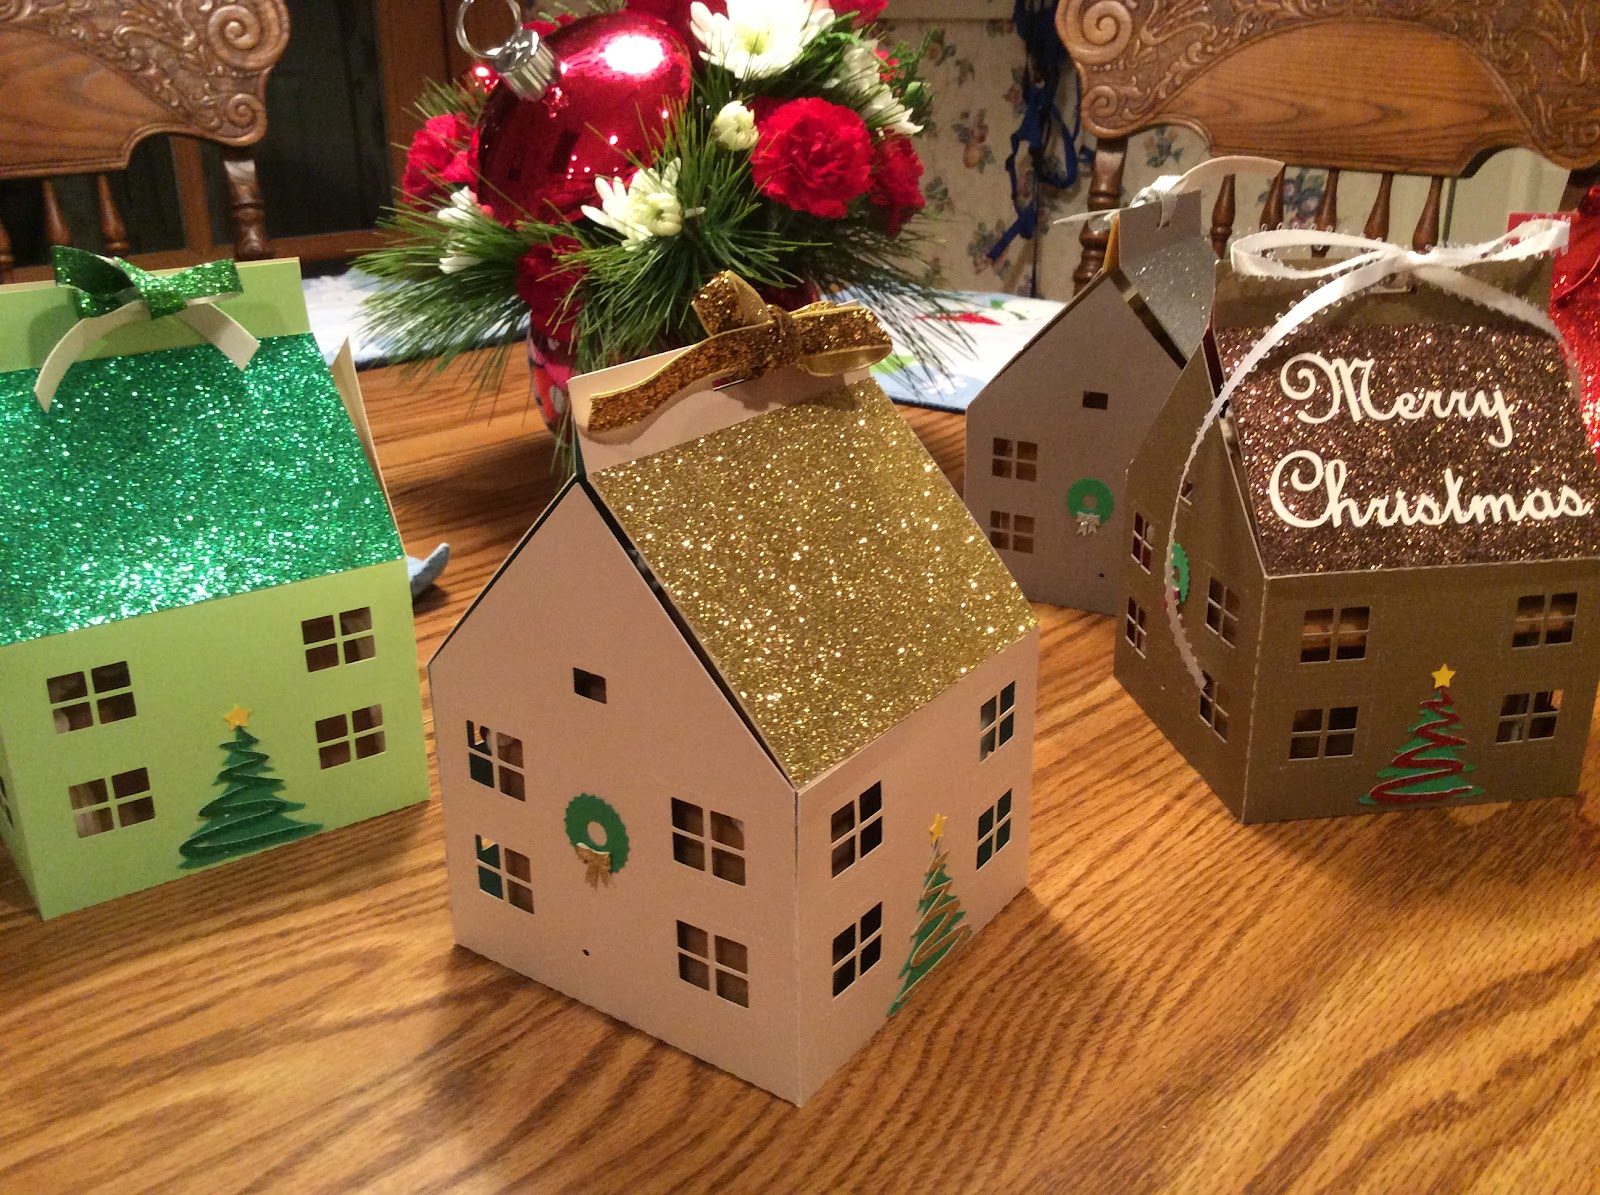
 A paper house to hold a delicious cookie gingerbread house.

I love making Gingerbread houses.  Here is a box which you can make for storing and gifting a gingerbread house. I have included my gingerbread cookie recipe and template to cut the cookie dough to the correct size to fit into this paper house.

I used cardstock and glitter cardstock to make the paper gingerbread house.

The instructions to make the paper house is easy.  Glue the four sides together at the tabs and glue the two roof pieces to the sides of the house. Glue the glitter roof pieces to the top of the roof. Glue the greeting to the top of the roof.  Insert the cookie house by placing the lifter at the bottom of the house and lowering it into the box. Thread a ribbon through the hole at the top and tie a bow.

Here is the PDF.  
https://drive.google.com/file/d/0B7oGIyVDbRGYZDVfN1JOZUpHOVU/view?usp=sharing&resourcekey=0-vUXFbTX2rt4ZOWGcuTilEA

Here is the .Studio file.
https://drive.google.com/file/d/0B7oGIyVDbRGYNTN0RFctOHJmWnM/view?usp=sharing&resourcekey=0-WTkQTln_USeRYY7AWlFoNA

Here is the SVG.  The file extends beyond the visible viewing area. Zoom out to see the entire file. https://drive.google.com/file/d/1d7mwg3kOIq2huZpmpXx6oiSvktjKONSo/view?usp=sharing


Recipe for Gingerbread House Cookie

My recipe to make gingerbread. 

Template to Make Gingerbread House Cookie

Here is a pdf of the house template.
Print it out on your printer and cut the pieces with scissors to make the template. Place the template pieces on your cookie dough and cut them out with a knife to make the house. Bake the cookie pieces according to the recipe.

Frosting Recipe To Assemble the House


Once the cookie pieces have cooled. Make this frosting recipe to assemble the house.

Assembly Instructions For the Gingerbread Cookie House

The base is lined with aluminum foil.
 Frost the outer edges of the side piece.
 Stand it upright on the aluminum foil.
 Repeat for the other side.
 Add the front.
 And back.
 Frost the peaks as shown.
 
 Add the roof pieces.
 Frost the roof line.
 I added some candy decoration.
 There is a piece of paper which I call the lifter which helps to lift the house out of the box.  Add it to the bottom of the aluminum foil before putting the house in the box.
Merry Christmas!