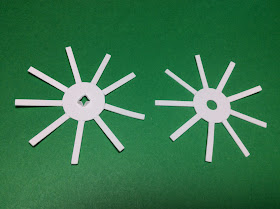
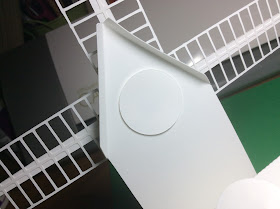
Witch's Hat Carousel
This carousel is a modification of my original carousel. The entire carousel's top moves. Every time I picked up the carousel, I wanted the entire hat to move and not just the inside spinning witches so I modified it so that the axle is not attached to the hat. Please note that the hat is floating on the axle and the piece needs to be picked up from its base.
Witch's Hat Carousel in motion
Here is the PDF. I used glitter card stock that I purchased by the sheet at Joann's. I also used one 65lb. black cardstock for the internal axle piece because the glitter paper had a rough surface.
https://drive.google.com/file/d/1BJvMm2Zbc7Xs5wvLUVws6bTj-8J50FKt/view?usp=sharing
Here is the .Studio file.
https://drive.google.com/file/d/1dMxzhFVtnNNKRyjAla011hiiji-_O9zV/view?usp=sharing
Make the bottom of the box.
Glue the side of the box into a circle. Bend the tabs and apply glue to the inside of the tabs. Adhere the circle to the inside of the box. My paper had glitter on just one side. I wanted the glitter to show on the inside of the box so I placed that side upwards.
Apply glue to the bottom of the box and adhere the other circle to the bottom.
Bottom Box
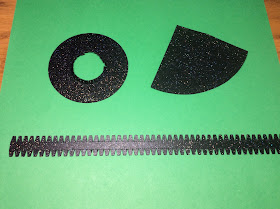
Hat pieces
Bend the hat carefully into a cone. This process takes awhile because you are bending the fibers of the paper and you don't want any creases in the paper.
Apply glue to the tab and adhere the tabs into a cone. This is a slow process because there is tension on the paper. Reapply glue if necessary. Do not be messy with the glue because the glue does show on the black paper. Apply glue to the center of the hat brim.
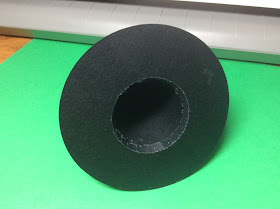
Adhere it to the center of the cone.
Glue the tabbed brim into a circle and bend the tabs inward.
Apply glue to the inside of the tabs and adhere the smaller circle into the center.
Bend the other set of tabs downward and adhere the larger circle to these tabs.
Apply glue to the tabs and adhere the top of the hat.
Thread the buckle onto the gold band.
Glue the gold band into a circle and apply a drop of glue to the back of the band to adhere to the hat.
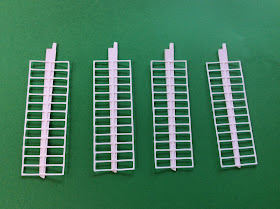
Glue the witches back to back so that the glitter is on the outside. Do not glue the tabs at the ends. Make sure that the two pieces align correctly,
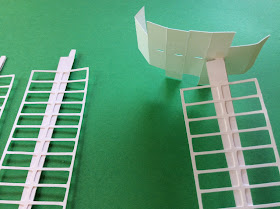
Glue the tabs to the round circle with the holes for the witches.
Glue the center axle into a tube.
Glue the center axle to the center hole.
Glue all of the witches. Repeat for the other circle buy gluing the center axle first and then aligning the holes for all of the witches.
Completed witch assembly.
Assembly the pieces needed for the rim of the top of the box. Apply glue to the piece with the crows as shown.
Attach the crow piece to the glittered piece as shown with the glitter piece aligned at the bottom.
Apply glue to the top brim of the hat as shown above. Adhere to the corresponding glitter piece.
Bend this brim into a circle and glue together.
Slide the brim onto the hat. Apply glue as shown around the inside.
Align the brim as shown.
Inside view of the brim of the hat.
Bend the glittered tabs at a right angle. Apply glue to the crow piece and adhere the glittered tab piece.
Bend this piece into a circle.
Glue together.
Apply glue on the inside tabs and adhere the circle.
Bend the axle into a tube and glue together.
Glue the axle on the center of circle with a hole in the center as shown on the right.
Apply glue as shown.
Adhere the axle piece.
Slide the witch's assembly onto the axle. Apply glue to the top of the witch's assembly as shown above. Adhere the witch's hat.
Witch's Hat Carousel


